How to Use the Cricut Easypress Mini: DIY Custom Shoe Tutorial
This post may contain affiliate links that won’t change your price but will share some commission.
Owning a Cricut machine has literally changed my life, and when Cricut releases a new tool, I get as excited as a kid on Christmas morning. The Easypress has been developing for a few generations, and now Cricut has released the Cricut Easypress Mini.
For the newbies among us, the Cricut Easypress family consists of professional heat-transfer tools with a ceramic-coated heat plate designed to take the guesswork out of producing flawless vinyl crafts. This is a game-changer over using an iron in the old days!
Cricut also recently came out with new Quickswap tools for the Maker!
Today I am going to give you the rundown of how to use the Cricut Easypress Mini – there are some super important steps you will need to take to be successful, which I learned through the process of making my own custom pair of shoes!
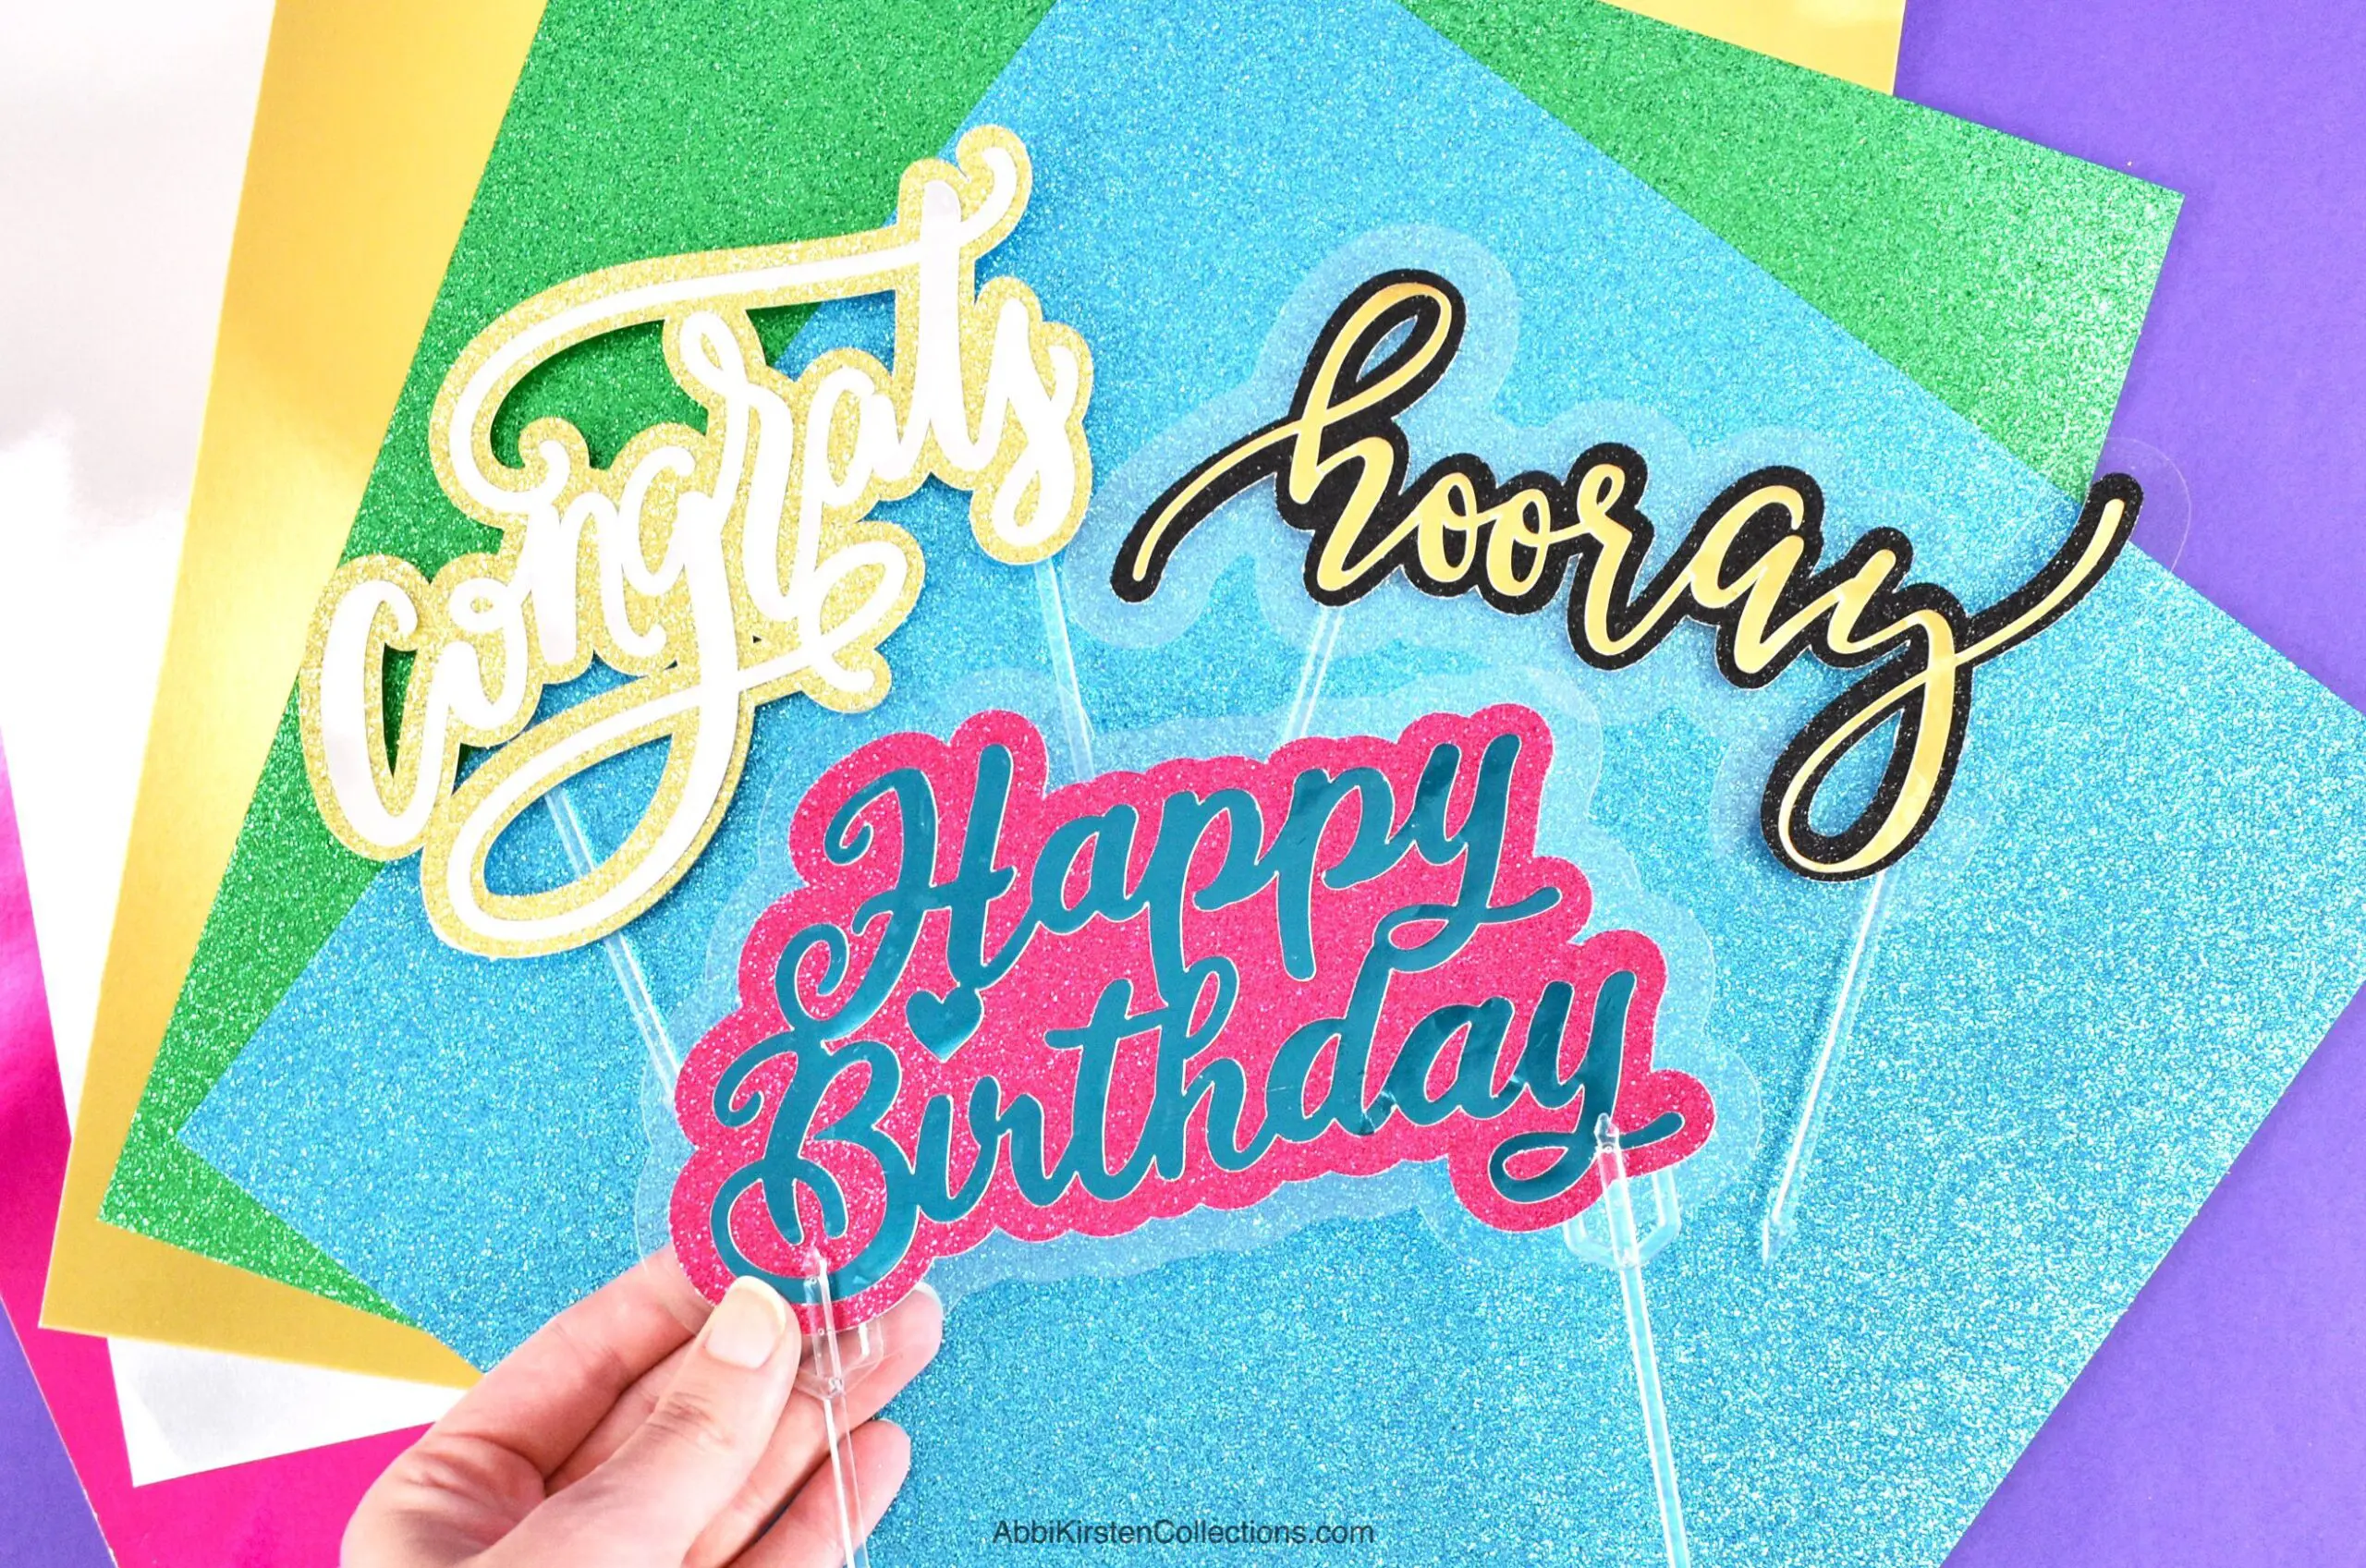
Plus, I will give you a free floral SVG cut file and a super cute panda bear and doxie SVG file, so you turn any pair of canvas sneakers or slip-on shoes into a fresh, stylish look.

What Makes the Cricut Easypress Mini Different?
First, what makes the Cricut Easypress Mini so different from the others?
Anyone who has played with vinyl knows that unusually shaped objects and tinier projects can be a challenge to craft when you are trying to use the larger surface of the original Easypresses. But with the Cricut EasyPress Mini, you are able to achieve professional heat-transfer results, even for your most shapely objects and projects.
Get these adorable files inside the Freebie Vault! Find them under the SVG section!

Here are a few types of iron-on surfaces that the new Cricut Easypress Mini makes it possible to use!
- Baby shoes
- Hats
- Stuffed animals
- Shoes
- Handbags
- Eyeglass cases
- Certain shaped pillows
- Intricate detail on shirts
- Backpacks
- Socks
- Fabric headbands or bows
- Any fabric object that might have a curve to it!
The Easypress Mini has 3 heat settings, high, medium, and low, which is different from the larger Easypresses that allow you to set exact temperatures and countdown timers.
Even with less precise features, I found the Mini just as easy to work with as its larger counterpart.

Here are 3 keys steps to using the Easypress Mini:
- Always heat your surface BEFORE applying the vinyl. This preps the area to receive the vinyl so much easier, and when you are working with curved or intricate surfaces, this is extremely key.
- Check your heat settings. Because the heat settings are more simplistic, high, medium, and low, it can be tempting to just randomly choose what makes sense to you based on past experience with the large Easypress. However, Cricut still has an Easpress Mini guide here with exact instructions to help you get it right!
- Create a firm surface for yourself. Working with the Mini likely means you often will not have a firm surface to press onto like you do on a table with the Easypress mat beneath your project. But that doesn’t mean you can’t create a surface. For example, with my shoe project, I stuffed the shoes with wrapping paper I had on hand. If you don’t have any paper, then use some socks to stuff into the top of the shoe for a better surface for pressing!
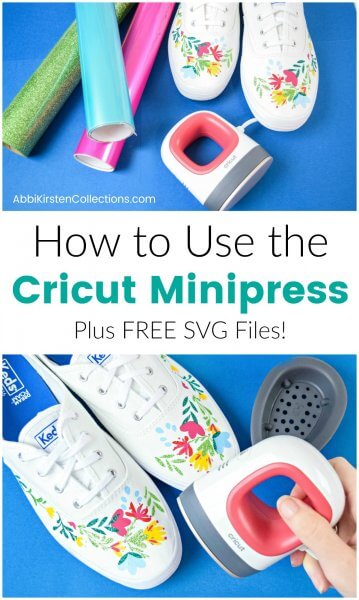
How to Make Customized Shoes Using the Cricut Easypress Mini

Supplies for Customizing Your Shoes
- HTV – I used everyday iron-on and glitter vinyl. It is important to note not to put everyday iron-on over the top of glitter vinyl, but you can put glitter vinyl layered on top of everyday iron-on.
- Cricut Easypress Mini
- Cricut machine to cut the vinyl (Explore or Maker will work)
- Weeding tools
- Brightpad (optional)
- Paper or socks to stuff the shoes
- A flexible measuring tape
- Painter’s tape or masking tape
- Lint roller
- Shoes (more on this below)
Which Shoes Will Work with the Easypress Mini?
You might be wondering what types of shoes will work for iron-on vinyl. I personally tested a Ked’s cloth canvas shoe here and it worked great. They have sneakers and slip-on styles. I would say any shoe that is cloth will more than likely work.
A second option is leather shoes, which I am excited to try soon!
The only option I’m not sure would work is a mesh sneaker.

How To Make Custom Shoes with the Easypress Mini and Heat Transfer Vinyl: Video Tutorial
Below is a video to show you how to add the iron-on vinyl to canvas shoes or keep reading for a written tutorial!
Step 1: Prep
Start with stuffing your shoes with your wads of paper or socks to create that solid surface for adding pressure. You also will want to roll the cloth surface with a lint roller to pick up tiny debris or dust that may not allow the vinyl to make good contact with the shoe (DON’T SKIP THIS STEP!).
You also need to measure your shoe’s surface for proper sizing and placement of your chosen design.

Recommended Easypress Mini Heat Settings
The heat setting I ended up using for this project was medium on the Mini Easypress and I held it on for 25 seconds or until the plastic liner separated.
If you are using leather, Cricut suggests low heat and 30 seconds of holding. See heat guide here.
Step 2: Cut and Prep Vinyl
Next, you need to cut your vinyl out on your machine and weed the vinyl. You also will want to have some pieces of painter’s tape nearby, ready to be used.
If you want to have the floral SVG I used here, you can download it for free inside the Freebie Vault. Download these free templates by signing up via the form below. If you are already a member, log in right here and find it by searching ‘shoes’ or Design #96. Need help entering the vault? Read this helpful post here.
Step 3: Warm the Easypress Mini
Once your vinyl is weeded then start by warming the surface of your shoe with the Easypress Mini. I suggest at least 30 seconds of warming on the medium heat setting.
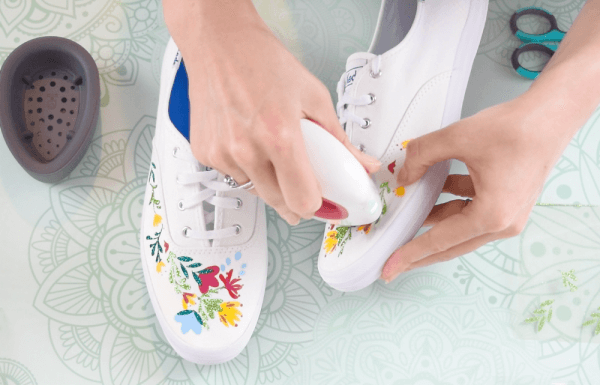
Step 4: Place Your Design
Finally, it’s time to place your design! After you have measured an accurate placement, lay your vinyl down on the shoe and hold it still with your painter’s tape. Press the vinyl to the surface of the shoe until the plastic liner comes off effortlessly.
Repeat until you have placed all the pieces!
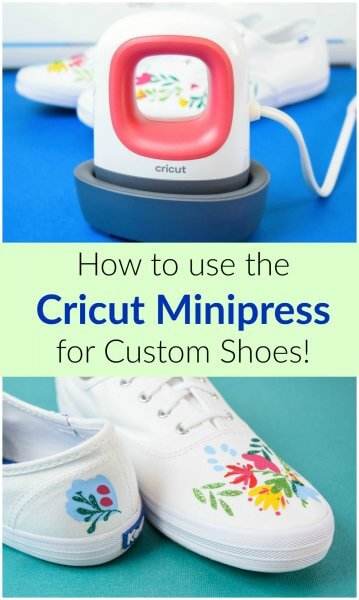
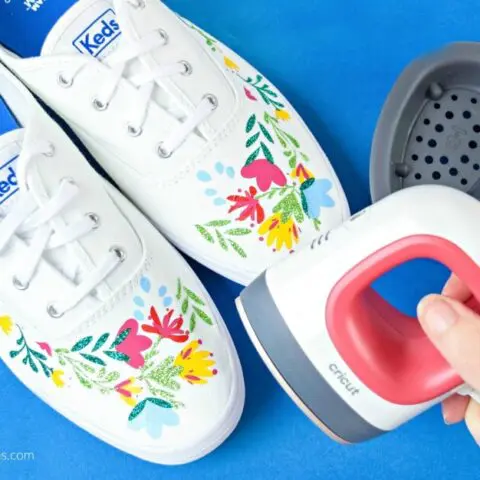
Custom Shoes with the Cricut Easypress Mini
Learn how to make some adorable custom shoes using the Cricut Easypress Mini and heat transfer vinyl! This is an easy craft using the new, smaller Cricut Easypress, perfect for detail-oriented vinyl crafts.
Materials
- Heat transfer vinyl
- Cricut Easypress Mini
- Cricut machine to cut the vinyl (Explore or Maker will work)
- Weeding tools
- Brightpad (optional)
- Paper or socks to stuff the shoes
- A flexible measuring tape
- Painter’s tape or masking tape
- Lint roller
- Shoes
Instructions
Step 1: Prep Supplies
- Start with stuffing your shoes with your wads of paper or socks to create that solid surface for adding pressure.
- You also will want to roll the cloth surface with a lint roller to pick up tiny debris or dust that may not allow the vinyl to make good contact with the shoe (DON’T SKIP THIS STEP!).
- You also need to measure your shoe’s surface for proper sizing and placement of your chosen design.
Step 2: Cut and Prep Vinyl
- Next, you need to cut your vinyl out on your machine and weed the vinyl.
- You also will want to have some pieces of painter’s tape nearby, ready to be used.
Step 3: Warm the Easypress Mini
- Once your vinyl is weeded, then start by warming the surface of your shoe with the Easypress Mini.
Step 4: Place Your Design
- After you have measured an accurate placement, lay your vinyl down on the shoe and hold it still with your painter’s tape.
- Press the vinyl to the surface of the shoe until the plastic liner comes off effortlessly.
- Repeat until you have placed all the pieces!
I think the new Cricut Easpress Mini is so fun to use and definitely opens up a new world of possibilities. I’d love to hear your thoughts below!
Looking for more Cricut help? Click here to view my Cricut tutorial section on the blog!
More Crafty Goodness to Love!
Wanna be a Cricut Master and learn to create your own craft design files like me?
Do you own a Cricut machine or want to own a Cricut but maybe you are overwhelmed when you look at the Design Space software and feel lost with all the functions?
Maybe you wish you could create your own design files rather than being forced to spend money on every design for each project you make?
Let me share with you the three biggest mistakes. Cricut crafters make and my proven steps to not only master your Cricut but also transform yourself into a craft designer!
If that sounds like it’s for you, be sure to join me here in my FREE masterclass!

About Abbi Kirsten
My mission is to inspire you to nurture the creative magic inside your soul – bringing you fun, easy-to-learn DIY projects and quality template designs. I share a variety of projects, such as printables, SVG cut files, and craft tutorials, but I specifically love paper crafting and paper flowers. Interested in paper flowers?! I’ve created dozens of signature designs for you to enjoy – starting with my bestseller, The Art of Giant Paper Flowers, the Giant Flower Library, and my shop of endless paper designs and flower templates.
Want to join my Facebook community to share your crafts and learn from the best? Click here to request access to my group, Elite Crafters and Cricut Lovers.