How to Make a Dahlia Paper Flower
This post may contain affiliate links that won’t change your price but will share some commission.
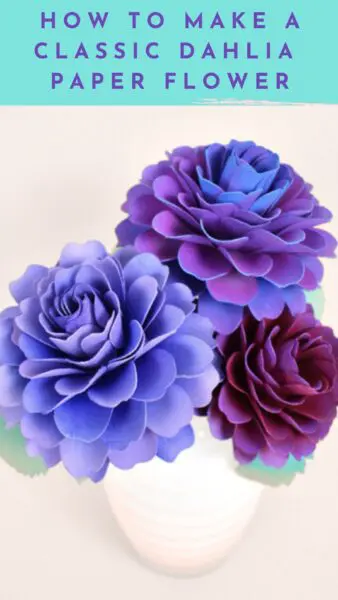
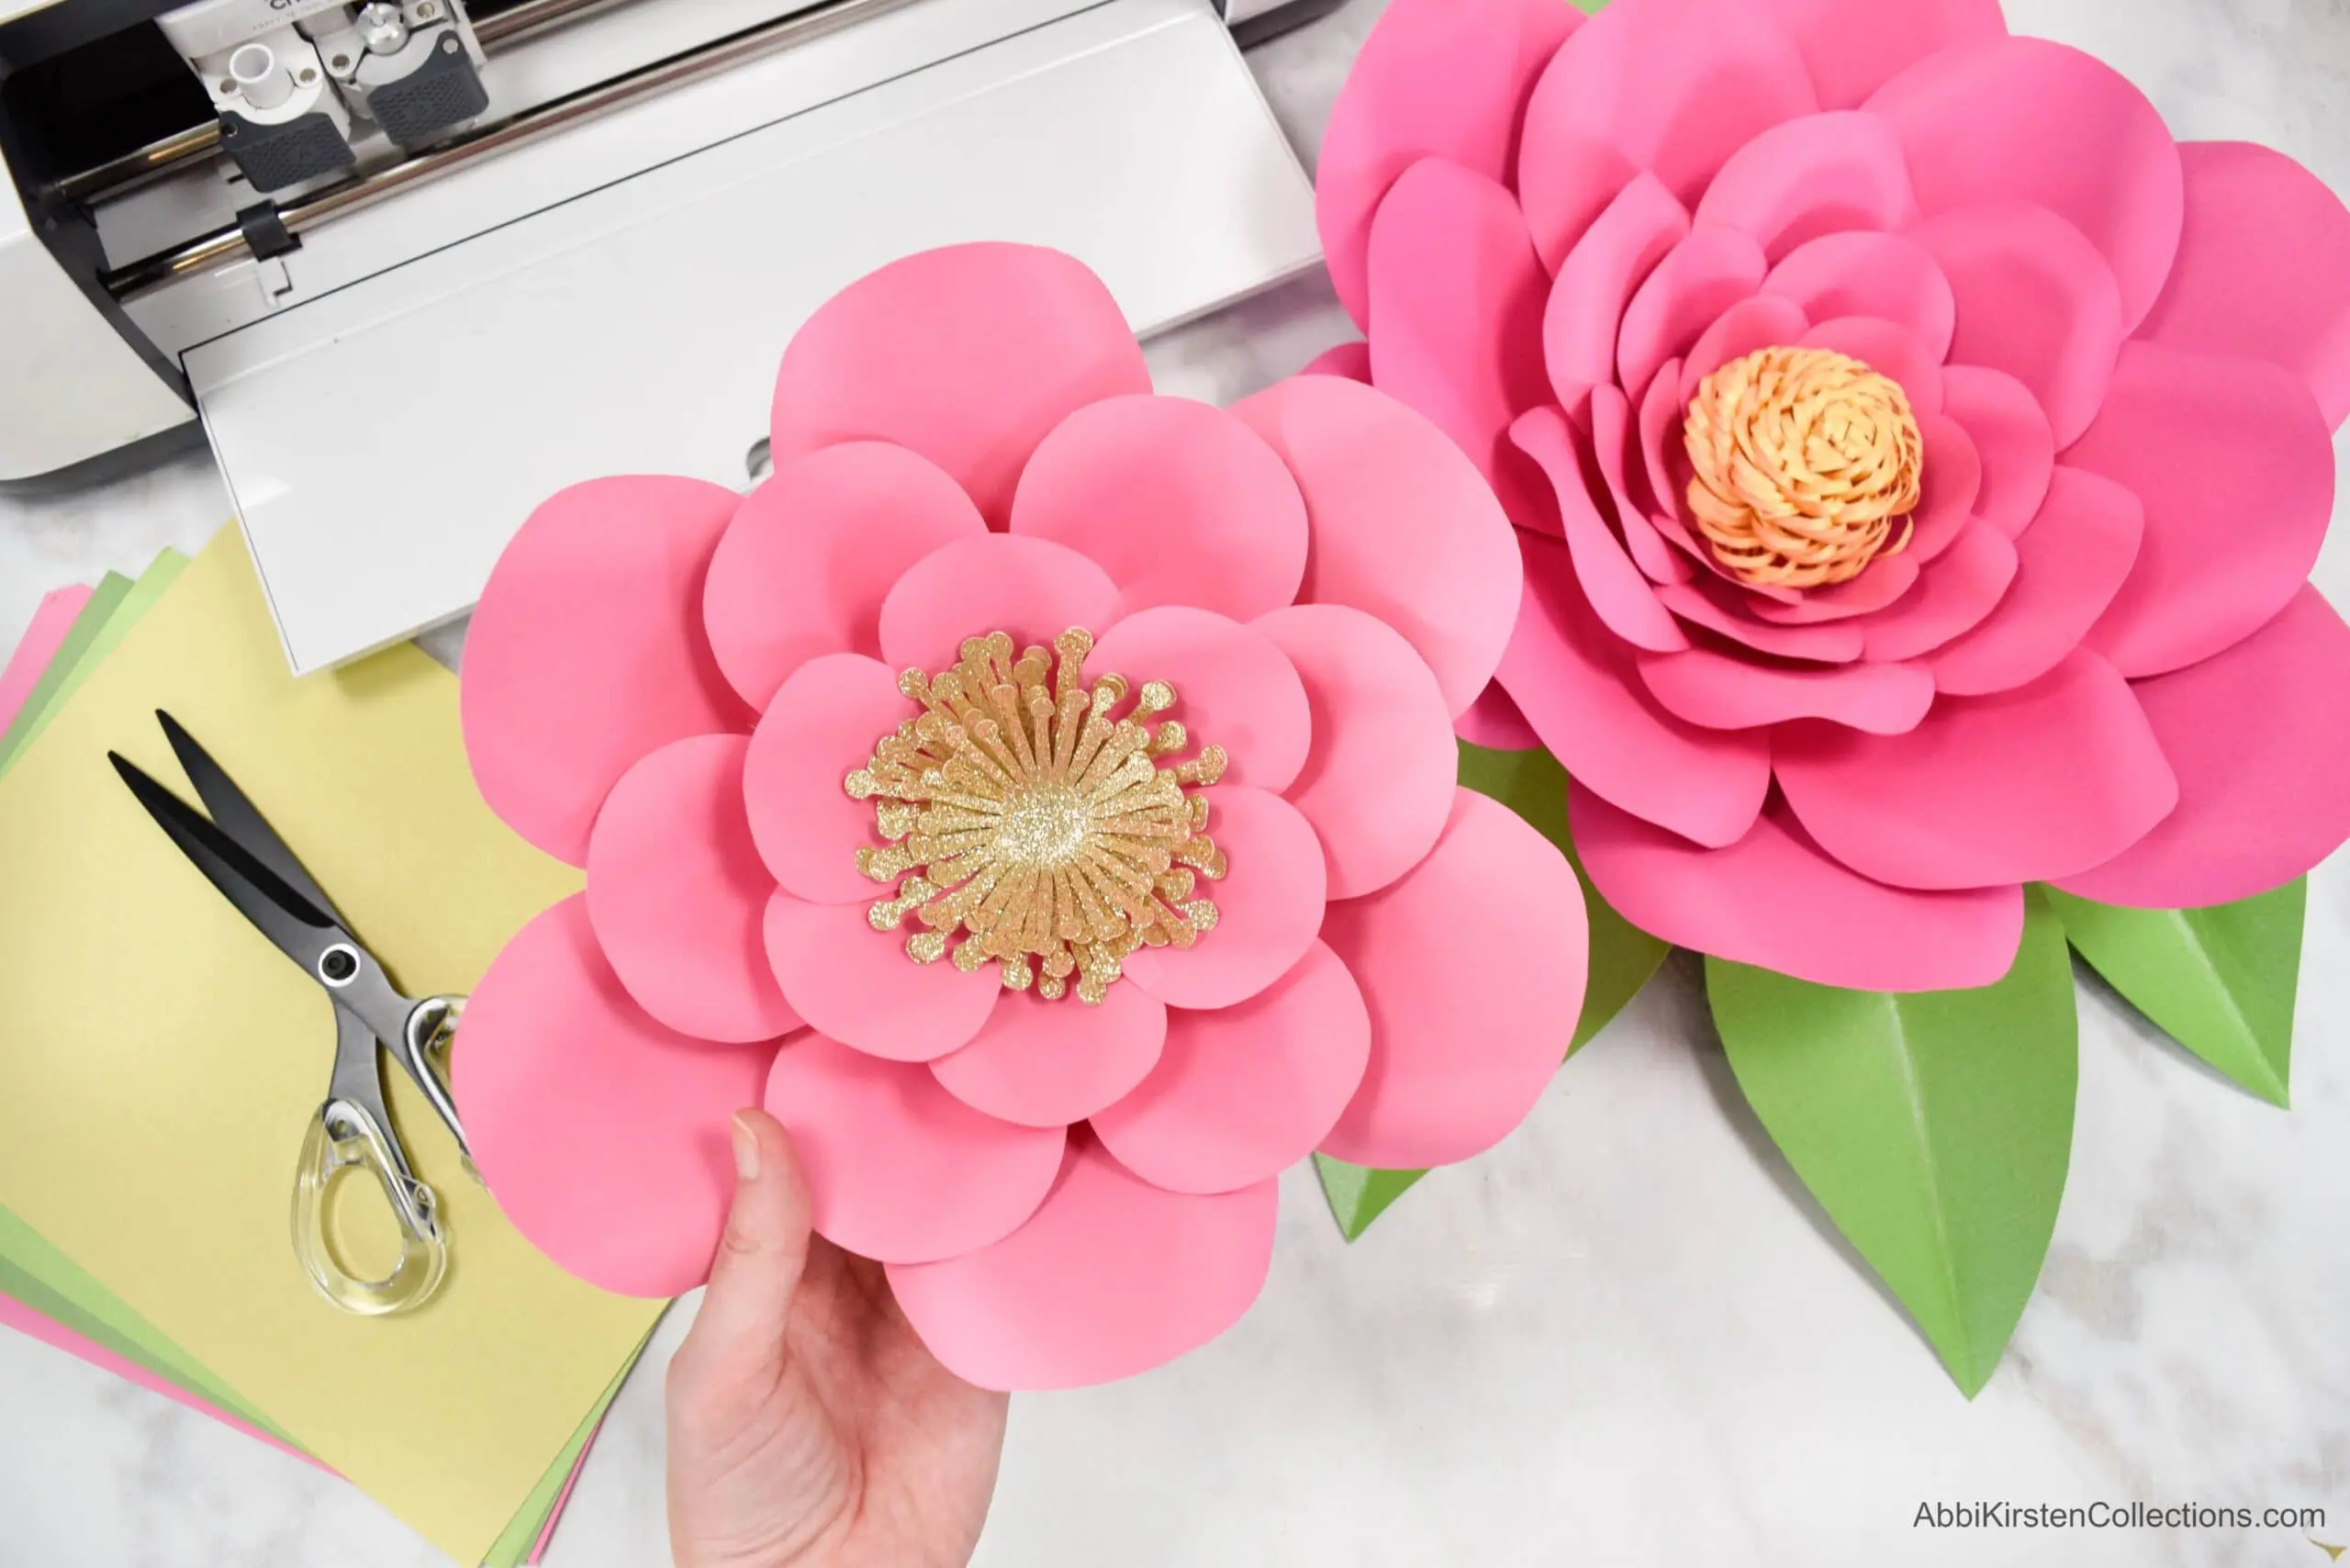
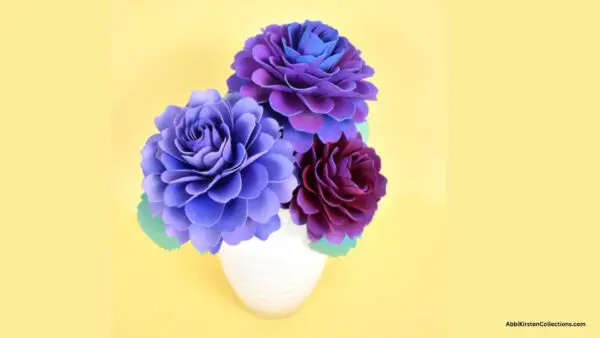
In this tutorial, you’ll learn how to make beautiful dahlia paper flowers, an elegant addition to any wedding, shower, or party. In nature, the dahlia is quite the drama queen with such a variety of vibrant colors! These gorgeous blooms look like they’d be complicated to make, but I promise—they’re super beginner-friendly.
By the time we’re done, you’ll be so excited to create more of these paper dahlias along with my other Wildly in Bloom Collection of paper flowers, so let’s jump in with the supplies and get crafting!
Supplies for Making The Dahlia Paper Flower
If you’re new to making paper flowers, the dahlia paper flower is perfect for beginners! Here are the basic tools and supplies you’ll want to have on hand as you begin creating your DIY dahlia flower.
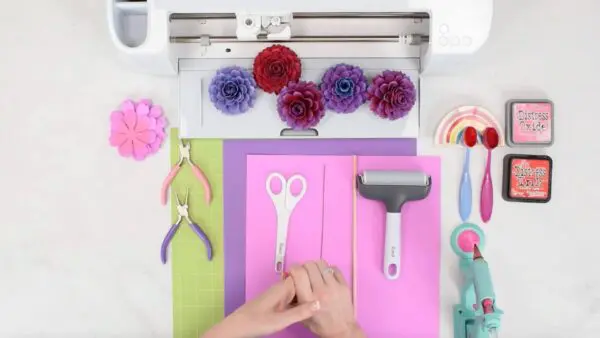
- Cricut, Cricut Joy or cutting machine compatible with SVG cut files (or scissors if cutting by hand) Note: If you’re cutting by hand, we do include PDF printables.
- 65 lb cardstock (medium weight)
- 1/4 in wood dowel
- Cricut mat or Paper Blooms Shaping Mat
- Brayer tool (optional but helpful)
- 18-24 gauge wire
- Wire clippers
- Needle-nose pliers
- Scissors
- Cricut scraper
- Glue or hot glue gun (high-temp)
- Distress ink or distress oxide (optional for coloring and shading petals)
- Ink blending brush (optional)
- Dahlia Paper Flower Templates
For my personal recommendations in flower-making supplies, check out this comprehensive guide for the best essential paper flower supplies and resources. I’ve included a handy free printable supply list guide for you to download.
Need Help Uploading SVG Files to Cricut Design Space?
Uploading SVG files to Cricut Design Space does NOT have to be difficult! Check out this easy process for uploading SVGs to Cricut Design Space and get 200 pages of
Design Space Help at your fingertips with my Cricut Confidence Ebook.
Download The Dahlia Paper Flower Templates
Download the Dahlia Paper Flower Templates here.
To get other templates that pair beautifully with this Dahlia template, check out the entire Wildly in Bloom Collection. And my posts for the Wild Rose tutorial and the Mini Daisies tutorial are a part of this lovely garden collection.
Existing Members: Log in and download the Wildly in Bloom Collection in the Craft Vault.
Get This And Hundreds More Craft Templates By
Becoming an A-Star Crafter!
How to Make a Dahlia Paper Flower: Video Tutorial
Check out the video below as we walk through all the steps for making the dahlia paper flower.
Let’s begin!
Steps for Making the Dahlia Paper Flower
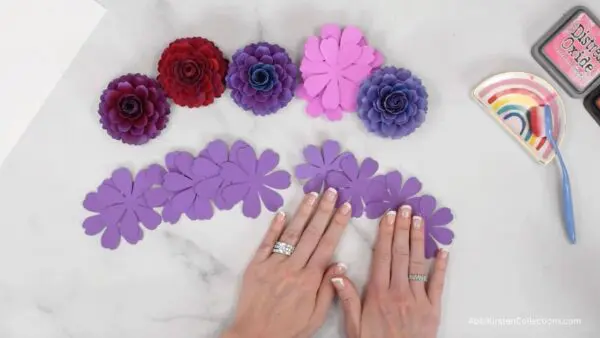
Although you can always vary the petal count (just as nature does), typically, to make one dahlia flower, you would cut:
- 6 larger flower petals (for the outermost layers of the flower)
- 4 smaller petals (for the innermost layers)
Duplicate for however many flowers you wish to create.
Step 1: Cut out the Dahlia Paper flower Petals.
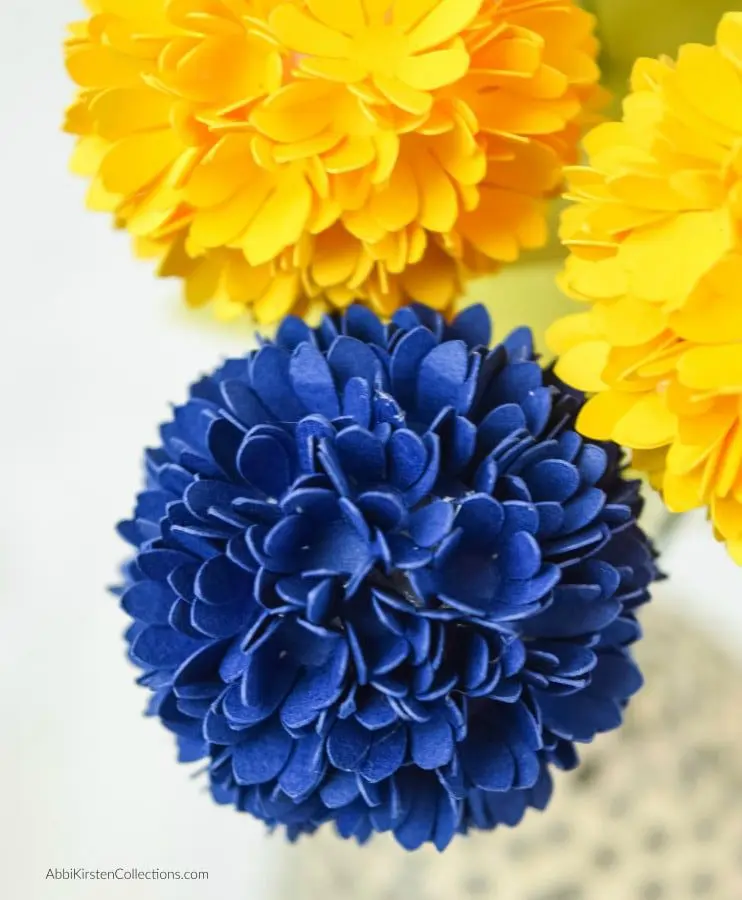
Start by choosing your cardstock colors. I went with purples and reds for a rich, dramatic palette, but dahlias come in so many shades – so get creative!
- Load your paper onto your Cricut mat; be sure your blade is sharp.
- Use the medium cardstock setting in Cricut Design Space if you’re using 65 lb weight.
- If you’re using 12×12 cardstock, cut 12 petals at a time to maximize your paper.
- Peel the mat away from the cardstock to avoid curling.
- Duplicate this cutout process times the number of desired flowers.
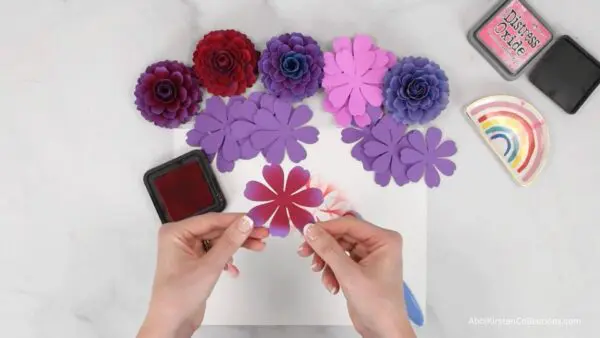
Step 2: Add Distress ink to the petals.
With the dahlia flower petals cut out, you have the option to add distress ink or oxide to the petals. Applying distress ink adds that authentic, multi-toned look that mimics real dahlias and is a lot of fun to work with.
- Place your petal on a scrap piece of paper.
- Start in the center of the petal and work outward, using a circular motion.
- Light pressure is key— you’re letting the color build gradually.
- You can use distress ink (which is translucent, meaning the paper shows through more) or distress oxide (more opaque), depending on the look you want. For this dahlia tutorial, I’m using distress ink to get the effect of the colors fading into each other, as they do in nature.
PRO TIP To apply distress ink, think circular motion, light touch, let the color build.
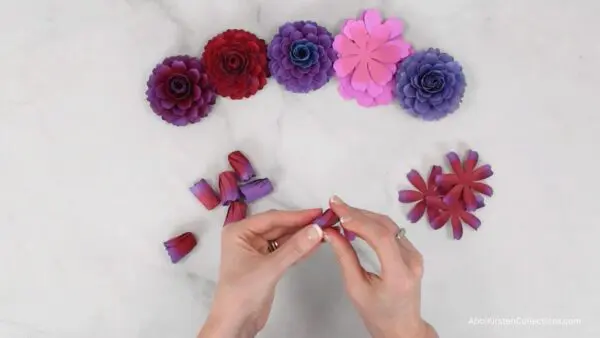
Step 3: Shape the Paper Dahlia Petals.
Now we’re going to shape the dahlia petals.
- Curl each petal point around the wood dowel. Repeat this for all 10 petals.
PRO TIP No wood dowel? A glue stick or pencil works just as well!
- Once you’ve curled each petal point, tuck each petal in front of the other (going in the same direction). Your petal will look like a little rosebud.
- Now gently pinch and twist the petal at the base. This helps the paper hold an upright shape so you control how open you want each layer to be as you build the flower.
- Repeat for all the petal layers.
PRO TIP The process of tightening the petals “trains” the flower for easier shaping as you build your bloom.
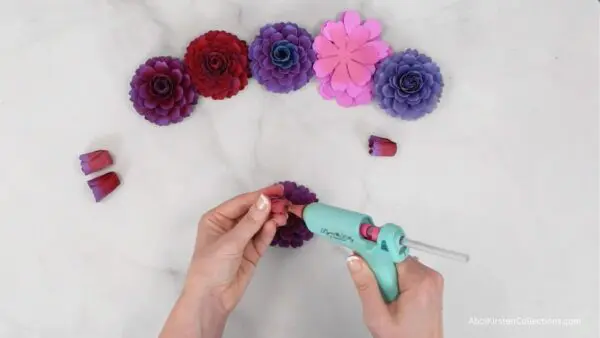
Step 4: Assemble your Dahlia Paper Flower.
Here’s where your flowers really begin to blossom! We’re ready to work with the tightly formed petals, begin reshaping each layer, and assemble the flowers.
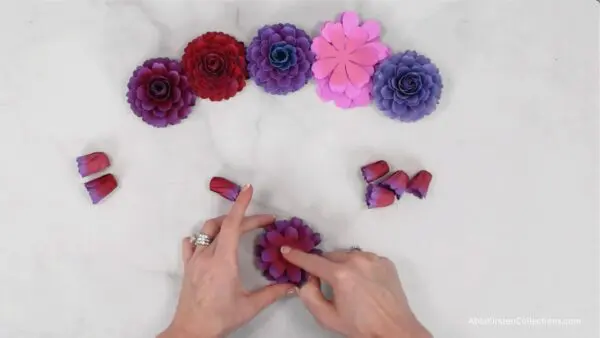
Starting with 4 large petals (and setting the 2 other large ones aside for now)…
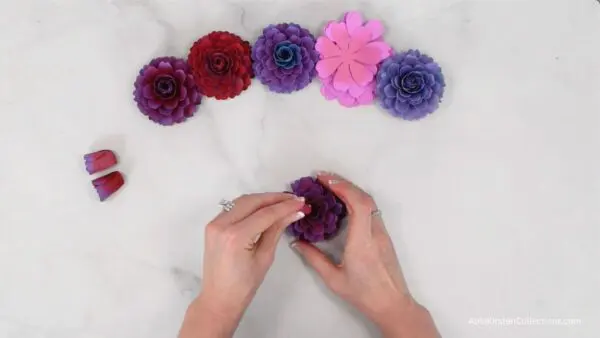
- Open one large petal and glue the next into it, alternating petal points as you build the flower.
- Add each layer, opening each one a little less each time as you glue and build toward the center. It will have the effect that the flower is slightly closing with each layer you add.
Now layer and glue each of the 4 smaller petals…
- These go toward the center for that tight, bud-like look.
- You don’t need to be as concerned with alternating the petal points for the smaller petals—just keep it layered and natural.
- Before gluing the last smaller bud, give it an extra twist and tighten as it will be the center bud of the flower.
Then finish with the last 2 large petals (that you had set aside)...
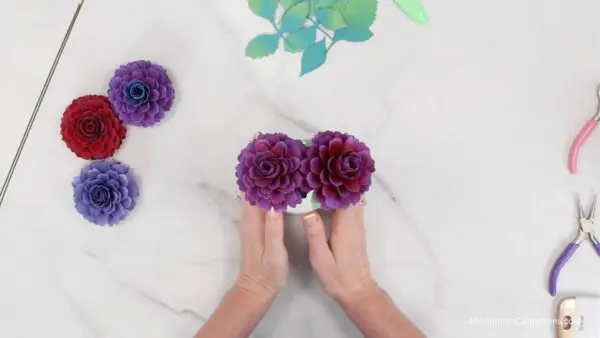
- For the 2 remaining petals, open them out wide, bending slightly outward, and glue them to the bottom of the flower, upside down. Be sure to alternate the petal points as you glue. This gives your flower that dome-shaped look that real dahlias have and provides structure to keep it from going flat.

- If you applied distress ink, you should see those pretty hues of purple and pink coming through the flower.
Steps for Stemming and Adding Leaves to Your Dahlia Paper Flower
When you stem and add leaves to your dahlia paper flower, you’re putting the final touches to your realistic paper flower creation. It’s an easy process that you can complete in just a few steps!
If you don’t want to add a leaf base to your flower, you can always add another flower layer instead.
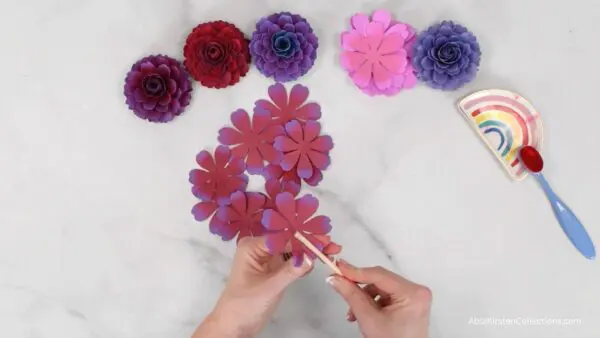
Step 1: Add Distress Ink to the Leaves (Optional).
- As an optional step in the stemming process, I’m adding distress ink to the leaves to produce varying natural tones just as we did for the dahlia flower petals.
Step 2: Prepare the Stem And Leaves.
We’re going to create the stem and leaf base for the dahlia flower using an 18-inch gauge wire to make the stem.
PRO TIP Trimming the wire in half before you begin makes a shorter stem much easier to work with.
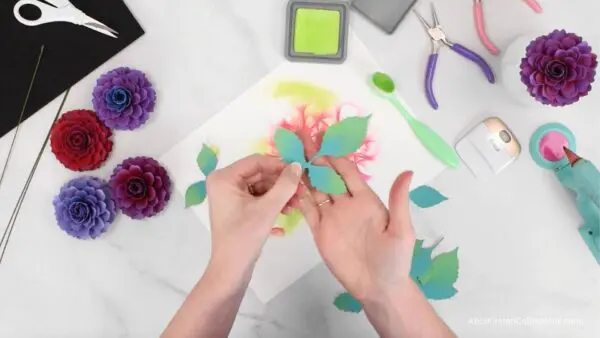
- Pierce the center of your leaf with the tip of a small pair of scissors. (If you place the leaf on your mat and carefully punch the hole, this tends to minimize tearing the leaf.)
- Using the needle-nose pliers, curl the top of the wire down into a little circle, then bend it at a 90° angle. This curled end is your base.
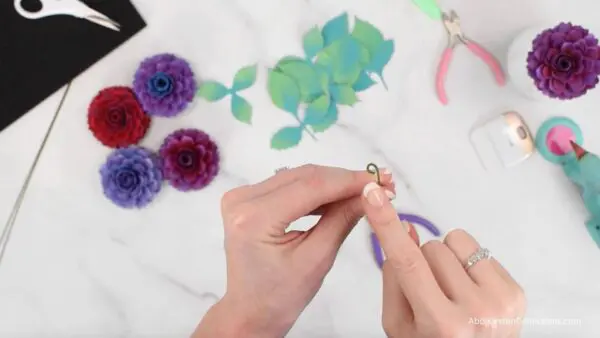
- Thread the uncurled end of the wire through the hole of the leaf all the way up to the curled end. You now have a nice little base to attach your flower petal to.
Step 3: Glue the Flower to the Base.
- Add some glue to the top of this base and place your dahlia flower on top of the base. Hold the flower to the base for several seconds to help the glue adhere firmly.
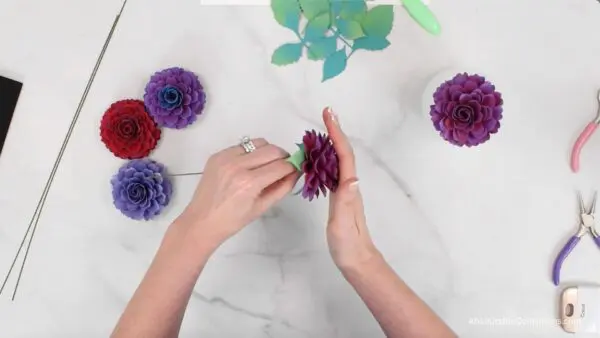
Now your bloom has a sturdy, stylish stem ready for display!
Looking for More Dahlia Paper Flowers?
Wanting to make more dahlia paper flower beauties? Or maybe you’re just getting started with paper flowers? Check out a few favorites, including my curated resource for the best paper flower supplies.
- Small ruffle dahlia paper flowers
- Giant paper dahlias
- The Delilah dahlia
- 21 easy paper flowers for beginners
- Paper flower supplies
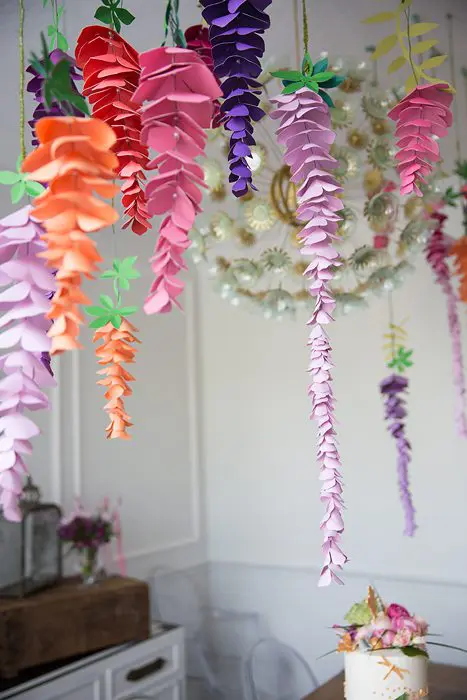
Ways to Use Your DIY Dahlia Paper Flowers
These elegant dahlia blooms make impressive additions to wreaths, wall art, shadow boxes, or as handmade wedding bouquets. In fact, there are so many ways to incorporate the beauty and customization (and major cost-savings!) that paper flowers add to those once-in-a-lifetime events. Here are some great ideas for including personalized paper flower designs throughout a wedding celebration: 15 Chic Ways to Use Paper Flowers at Your Wedding.