How to Make A Mini Daisy Paper Flower
This post may contain affiliate links that won’t change your price but will share some commission.
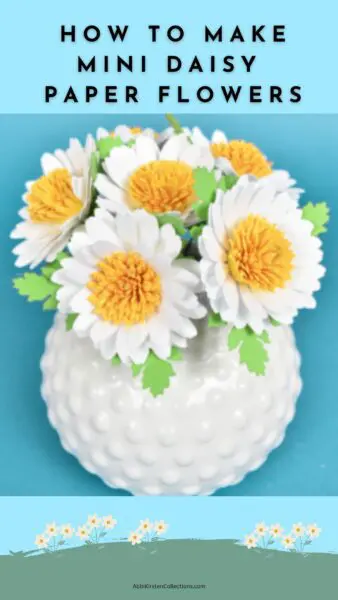
In this tutorial, you’ll learn how to make a simple paper daisy. These mini paper daisies are so dainty and sweet and super beginner-friendly. Called the “happiest” flower, they’re perfect in bouquets or as table centerpieces, able to brighten anyone’s day or celebration! By the time we’re done, you’ll be so excited to create more of these paper daisies along with my other Wildly in Bloom Collection of paper flowers.
Whether you’re using your Cricut machine or cutting by hand, this step-by-step tutorial will walk you through how to craft these delicate daisies with fluffy centers and optional stems. They look great as a filler flower for bouquets, wreaths, or just a sweet standalone arrangement. Let’s review the supplies you’ll need first.
Supplies for Making The Mini Daisy Paper Flower
If you’re new to making paper flowers, the mini paper daisy is perfect for beginners. Here are the basic tools and supplies you’ll want to have on hand as you begin creating your DIY daisy flower.
- Cricut, Cricut Joy, or cutting machine compatible with SVG cut files (or scissors if cutting by hand). If you’re cutting by hand, we do include PDF printables.
- Cricut mat and brayer tool
- White and yellow 65 lb cardstock (medium weight)
- Paper Blooms Shaping Mat and Tool Set (My absolute favorite way to shape petals, punch those tiny holes for stemming petals, and overall, take your flowers to the next level.)
- Cricut scraper tool or a wood dowel (for shaping petals and leaves)
- Glue or hot glue gun (high-temp) 18-24 gauge wire (I used 24 gauge wire to stem the daisies but any gauge will work.)
- Needle-nose pliers and wire clippers (if adding stems)
- Mini Daisy Paper Flowers Templates
Need Help Uploading SVG Files to Cricut Design Space?
Uploading SVG files to Cricut Design Space does NOT have to be difficult! Check out this easy process for uploading SVGs to Cricut Design Space and get 200 pages of
Design Space Help at your fingertips with my Cricut Confidence Ebook.
Download The Mini Daisy Paper Flower Templates
Download the Mini Daisy Paper Flower Templates here.
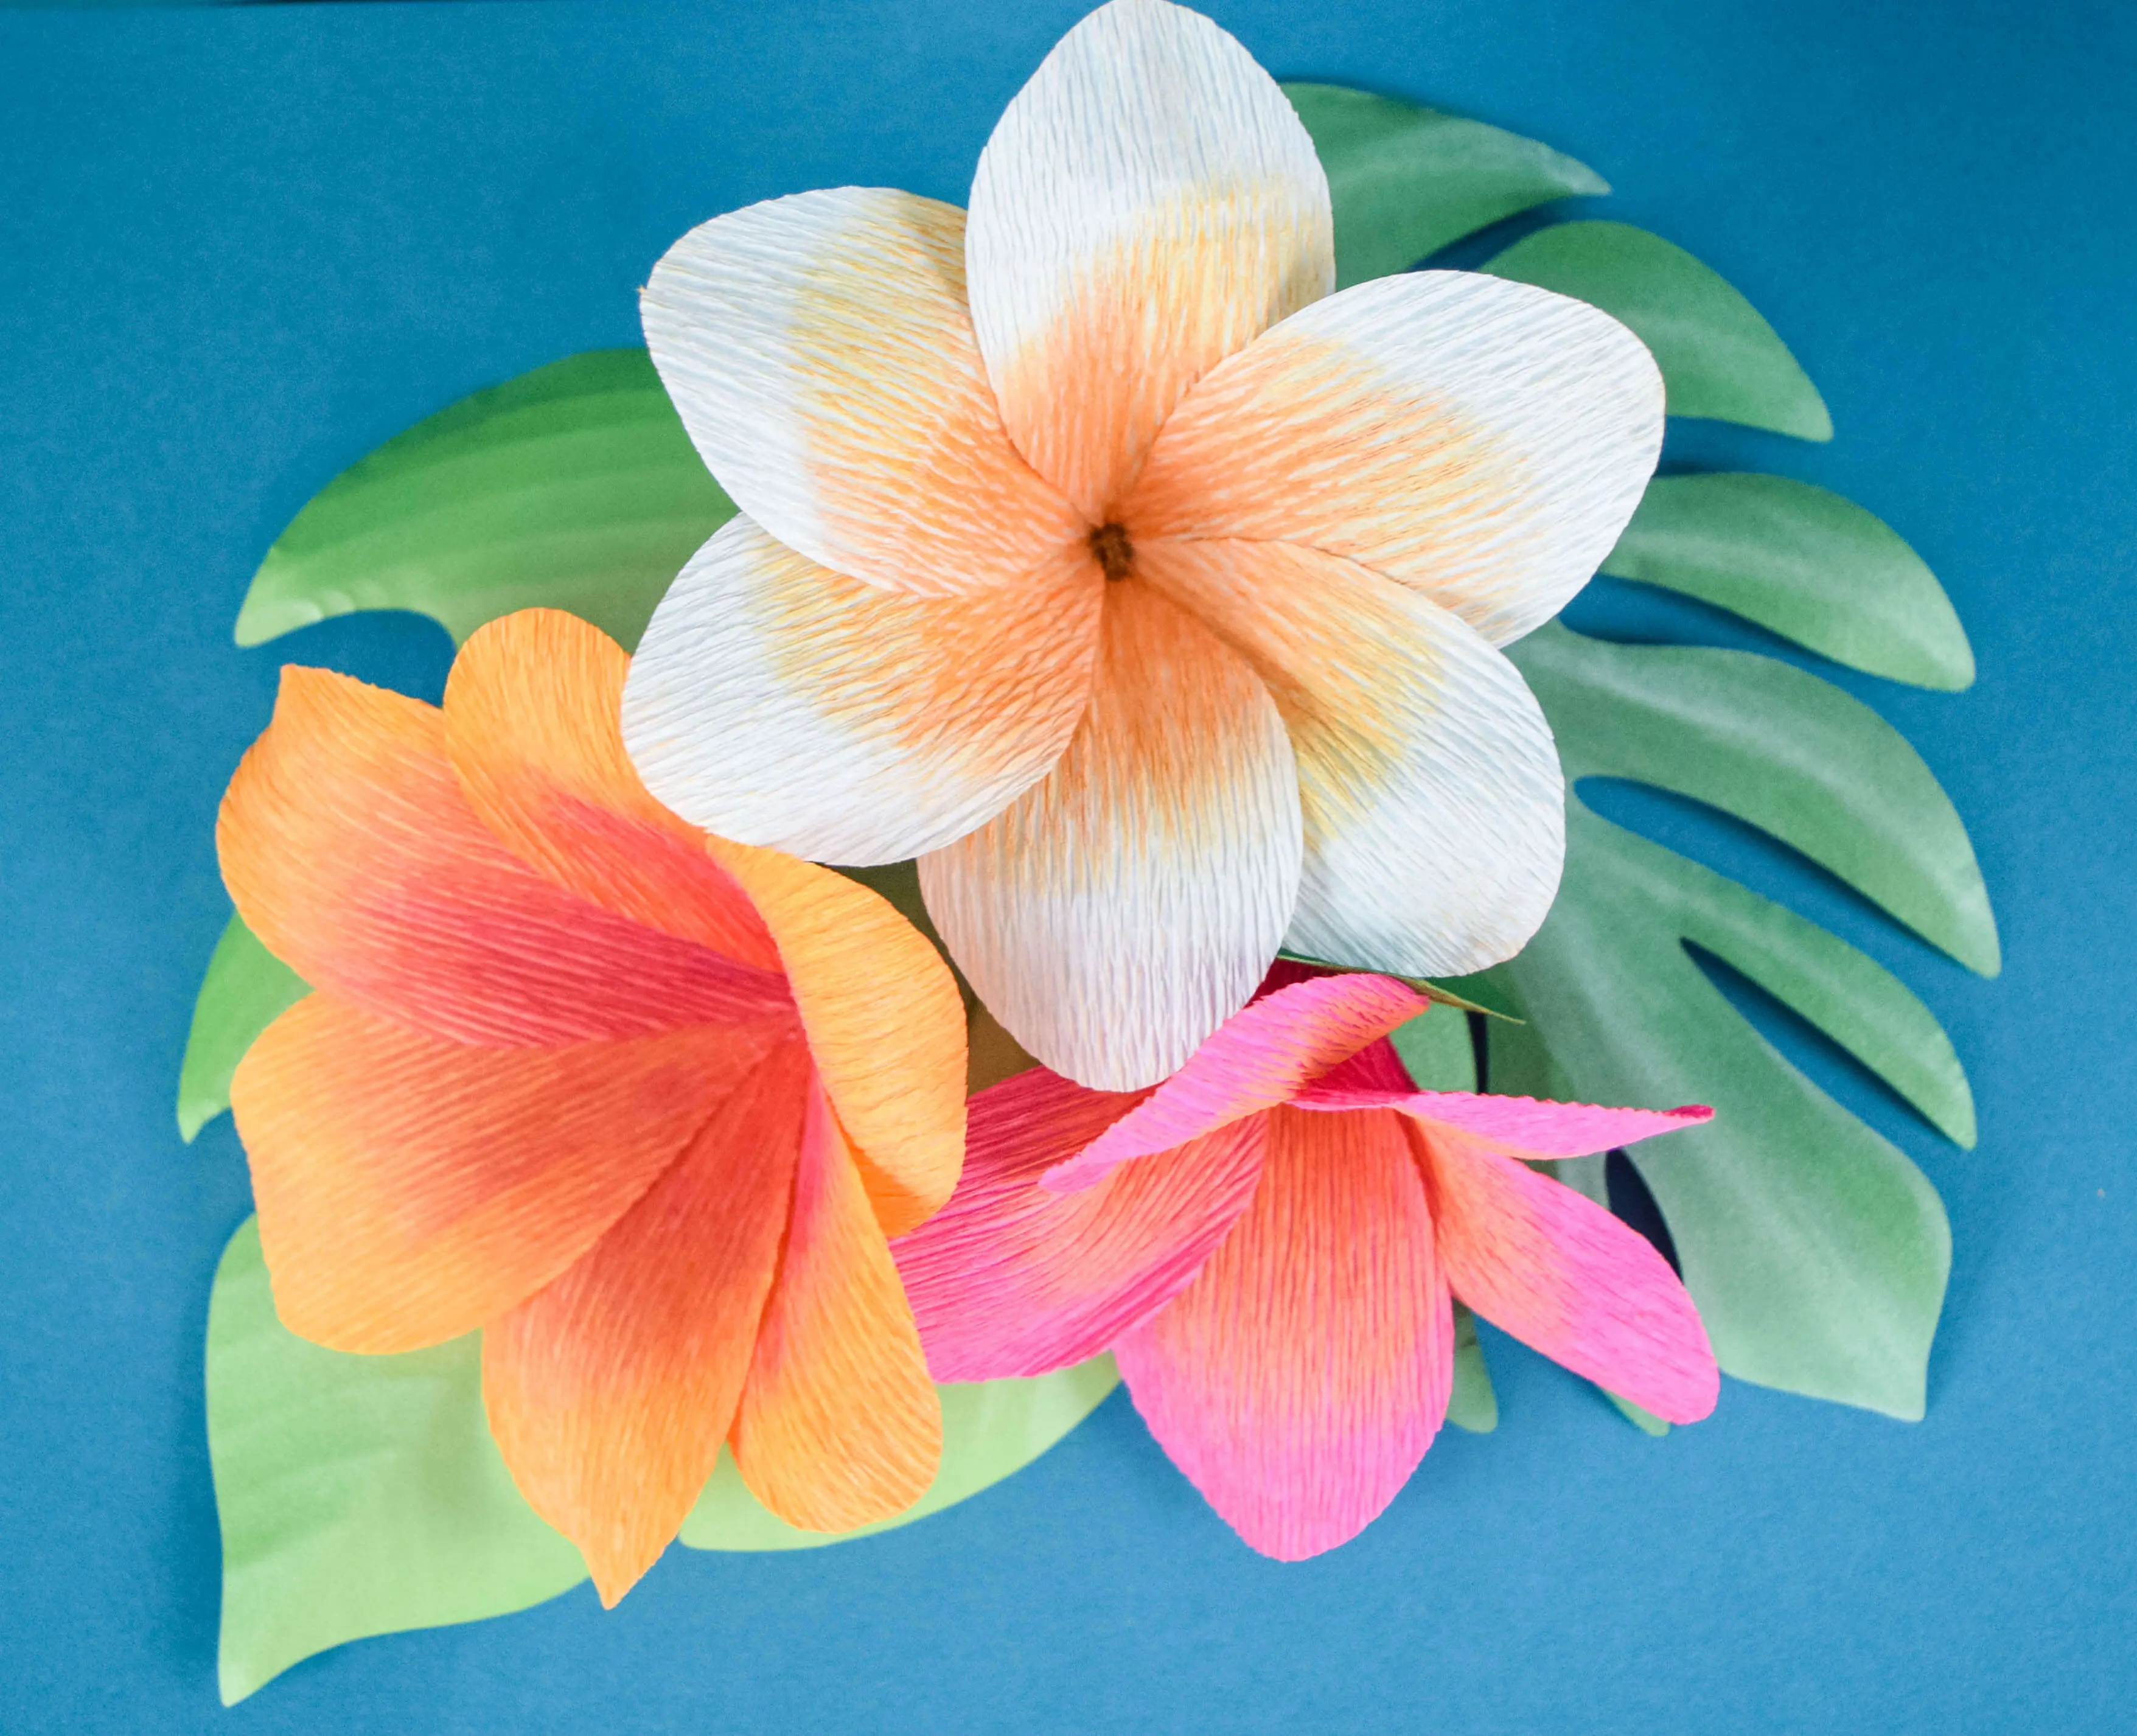
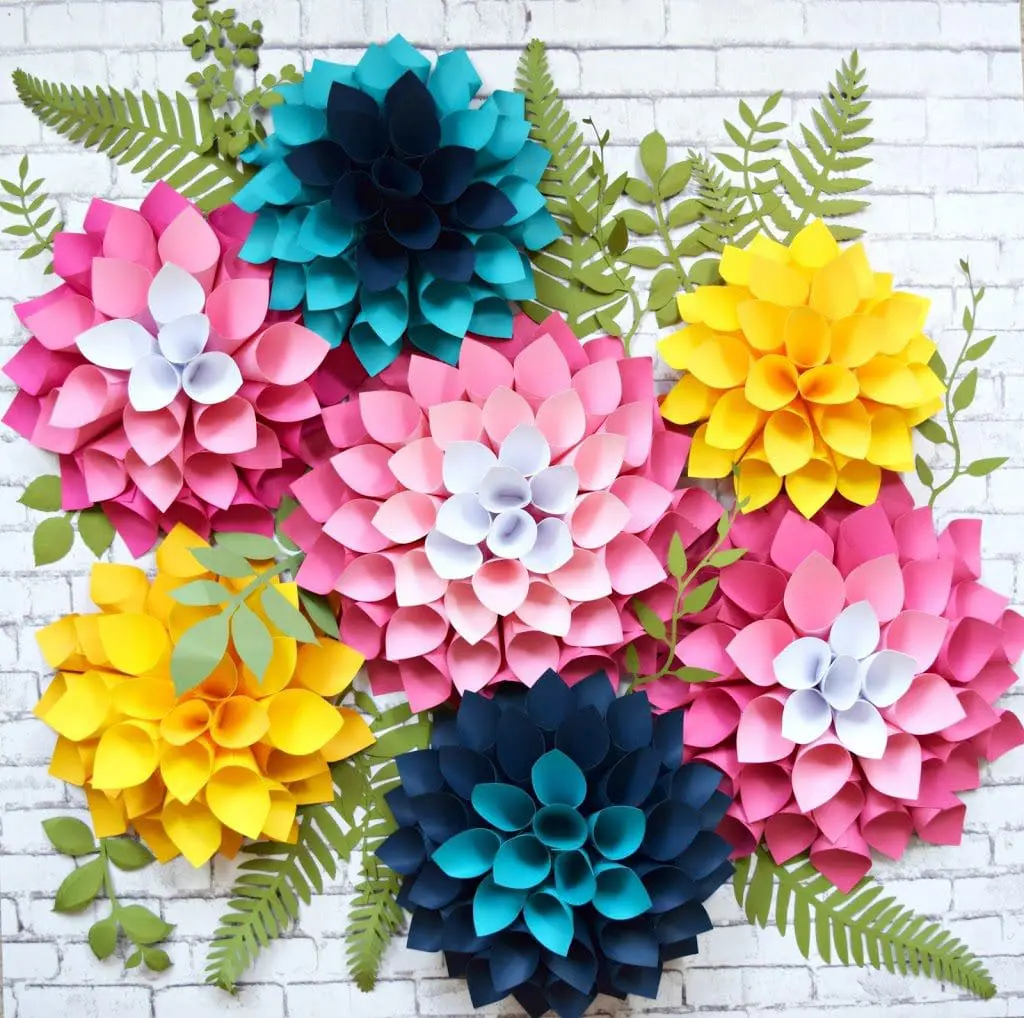
To get other templates that pair beautifully with this Mini Daisy template, check out the entire Wildly in Bloom Collection. And my posts for the Wild Rose tutorial and the Classic Dahlia tutorial are a part of this lovely garden collection.
Existing Members: Log in and download the Wildly in Bloom Collection in the Craft Vault.
Get This And Hundreds More Craft Templates By
Becoming an A-Star Crafter!
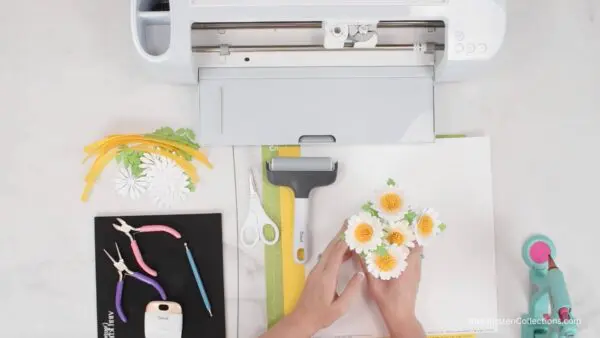
How to Make a Mini Daisy Paper Flower: Video Tutorial
Check out the video below as I show you how to make these adorable mini paper daisies.
Download the Templates
Before starting, be sure to grab your Mini Daisy SVGs and PDFs in the Crafters Vault!
Steps for Making the Mini Daisy Paper Flower
To make one daisy flower, you would cut:
- 3 white daisy petals
- 3 yellow centers
- 1 greenery base or extra daisy base for the underside (if stemming)
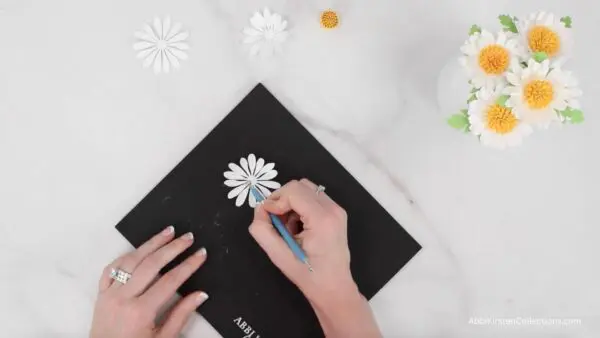
Step 1: Cut out the Daisy Petals and Centers.
For our cheerful paper daisies, we’re choosing white and yellow cardstock colors.
- Load your paper onto your Cricut mat; be sure your blade is sharp.
- Use the medium cardstock setting in Cricut Design Space for 65 lb weight. (If you’re using 12×12 cardstock, cutting 12 petals at a time lets you maximize your paper.)
- Peel the mat away from the cardstock to avoid curling.
Duplicate this cutout process times the number of desired flowers.
Step 2: Cut The Mini Daisy Centers By Hand.
If you aren’t using your Cricut to cut the yellow daisy centers, follow this helpful flower-making tip where I show you how to cut the mini daisy centers by hand.
- Using your scissors or a straight cutter, cut about a 1/2-inch-wide strip from the yellow cardstock.

- Now, make little cuts all the way down the center of the cardstock strip. Once the centers are fully assembled, the difference between cutting them on your Cricut or by hand is minimal.
PRO TIP If you’re crafting a flower by hand (without a cutting machine), there’s almost always a Cricut-free alternative to get similar results!
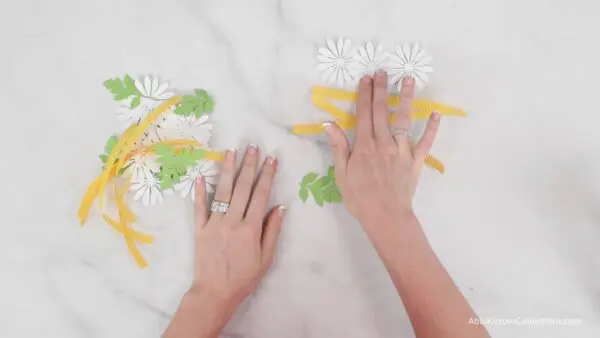
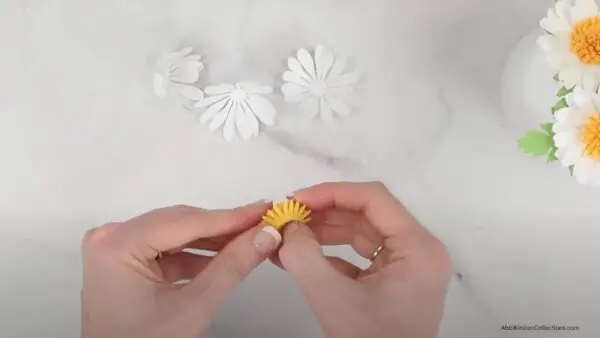
Step 3: Roll and Assemble the Mini Daisy Center.
With the petals and centers all cut, let’s begin assembling our lovely mini daisies!
- Begin to tightly roll up one of the strips.
- Once you’ve rolled up the entire strip, apply glue to hold it together.
- Now, take the next strip, glue it at its starting point to the first rolled strip, and repeat the process, rolling it tightly around the first rolled strip. Secure with glue. At this point, you’re building the layers of the soon-to-be fluffy center!
- Lastly, take the third strip and repeat, rolling it firmly around the second strip.
- Fan out the fringed ends.
- Next, turn the center upside down and gently push in the center until the topside takes on a dome-shaped look.
- Once you have the rounded look you want, fill the underside with hot glue to hold the shape. Set the center aside to dry.
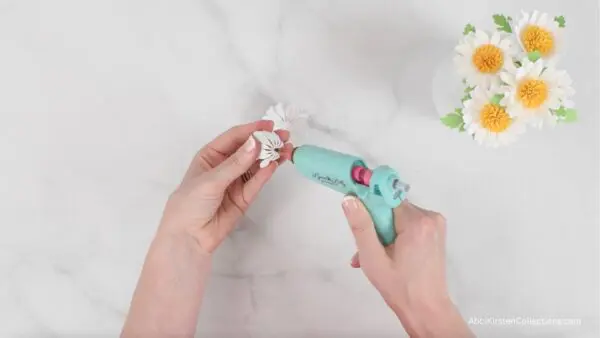
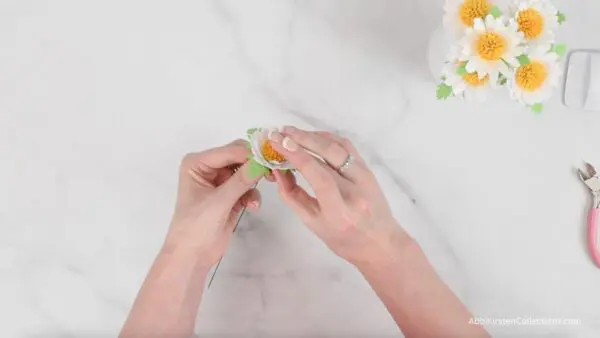
Step 4: Shape And Layer the Daisy Petals.
Now that our daisy center is done, let’s give those petals some life as we shape and layer!
- Option 1: Simply bend the petals upward with your fingers for a soft curve.
- Option 2: Use the smallest ball tool from the Paper Blooms Shaping Mat and Tool Set to add thin curves by rolling back and forth on each petal. Add extra shape by flipping the flower and pressing the center with a thicker ball tool to give it dimension.
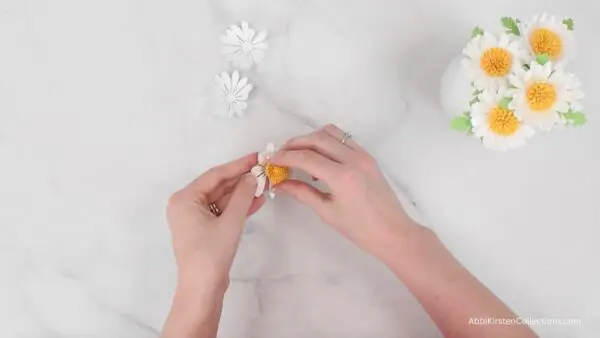
Once your petals are shaped, assemble the layers:
- Stack the three white layers together, rotating slightly to stagger the petal tips as best you can.
- Glue each layer as you go.
- Attach your finished yellow center in the middle with hot glue.
- Press the petals up around the center and hold for about 30 seconds while it sets.
How pretty and dainty are these mini daisy paper flowers!
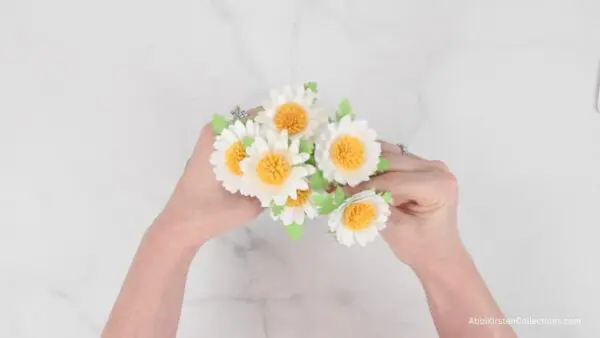
“Daisies are proof that small things can make the world brighter.” – M. Dhliwayo
Steps for Stemming and Adding Leaves to Your Mini Daisy Paper Flower (Optional)
If you want to stem and add leaves to your daisy, follow this really easy process. If you don’t want to add a leaf base to your flower, you can always add another daisy flower layer instead, just to give it that finished look. For this mini daisy, I’m using 24-inch gauge wire as noted in our supplies.
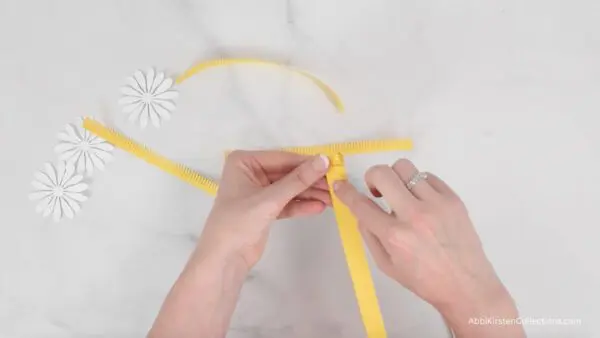
Step 1: Prepare the Stem And Leaves.
PRO TIP Trimming the wire in half before you begin makes a shorter stem much easier to work with.
- Pierce the center of your leaf with the tip of a small pair of scissors. (If you place the leaf on your mat and carefully punch the hole, this tends to minimize tearing the leaf.)
- Using the needle-nose pliers, curl the top of the wire down into a little circle, then bend it at a 90° angle. This curled end is your base.
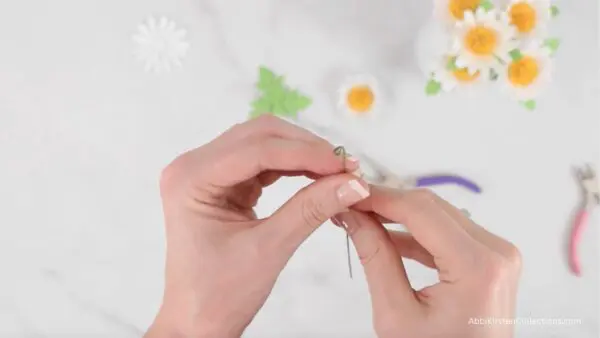
- Thread the uncurled end of the wire through the hole of the leaf all the way up to the curled end. You now have a nice little base to attach your daisy petal to.
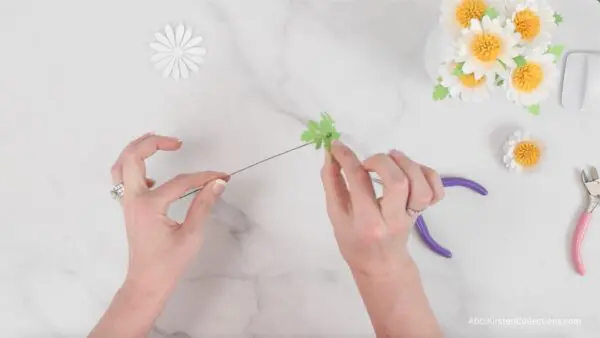
Step 2: Glue the Flower to the Base.
- Add some glue to the top of this base and place your daisy flower on top of the base. Hold the flower to the base for several seconds to help the glue adhere firmly.
Now your bloom has a sturdy, stylish stem ready for display!
Enjoy Your Daisy Flower Creation
And that’s it—your adorable mini paper daisies are done! Whether you make a handful for a quick craft or a full bouquet for a special event or gift, these cute little blooms come together in no time. With just a few materials and simple steps, even beginners can feel confident crafting with or without a cutting machine. Go ahead and bloom with creativity—your daisy garden awaits!
Looking for More Paper Flowers?
Wanting to create more paper flowers? Check out my many paper flower tutorials here, like how to make a lush blue hydrangea or this tutorial for making a petite buttercup flower, both perfect for a beginner to the art of paper floristry!
About Abbi Kirsten
Welcome to my colorful corner of the internet, where we play with vibrant crafts and unlock your creative magic! Hang out with me and get lost in a fun array of projects, tutorials, and products, from stunning papercraft ideas to flower templates, Cricut help for beginners, and endless crafter’s hacks.
Join A-Star Crafters and participate in monthly Craft-Alongs in our community Facebook group!