DIY Giant Paper Roses: Alora Garden Rose Tutorial
This post may contain affiliate links that won’t change your price but will share some commission.
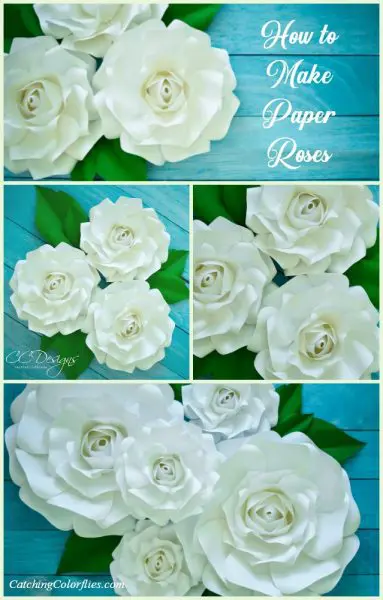
There is something so incredibly timeless and elegant about a rose. A symbol of romance, sophistication, and a way to represent our deepest emotions – it’s no wonder we are drawn to these flowers. Feeling these emotions myself, I wanted to devise a beautiful rose paper craft that would be the perfect addition to my giant paper flower collection. Putting together this DIY Giant Paper Alora Garden Rose Tutorial is my way of sharing this creative magic with you. Follow these step-by-step instructions to create your own paper Alora garden roses, and enjoy!
More Paper Rose Tutorials:
Alora Garden Paper Rose Supply List
Supplies for the Alora garden giant paper rose tutorial are similar to my other paper flower crafting tutorials. Be sure to gather all your supplies before starting this craft.
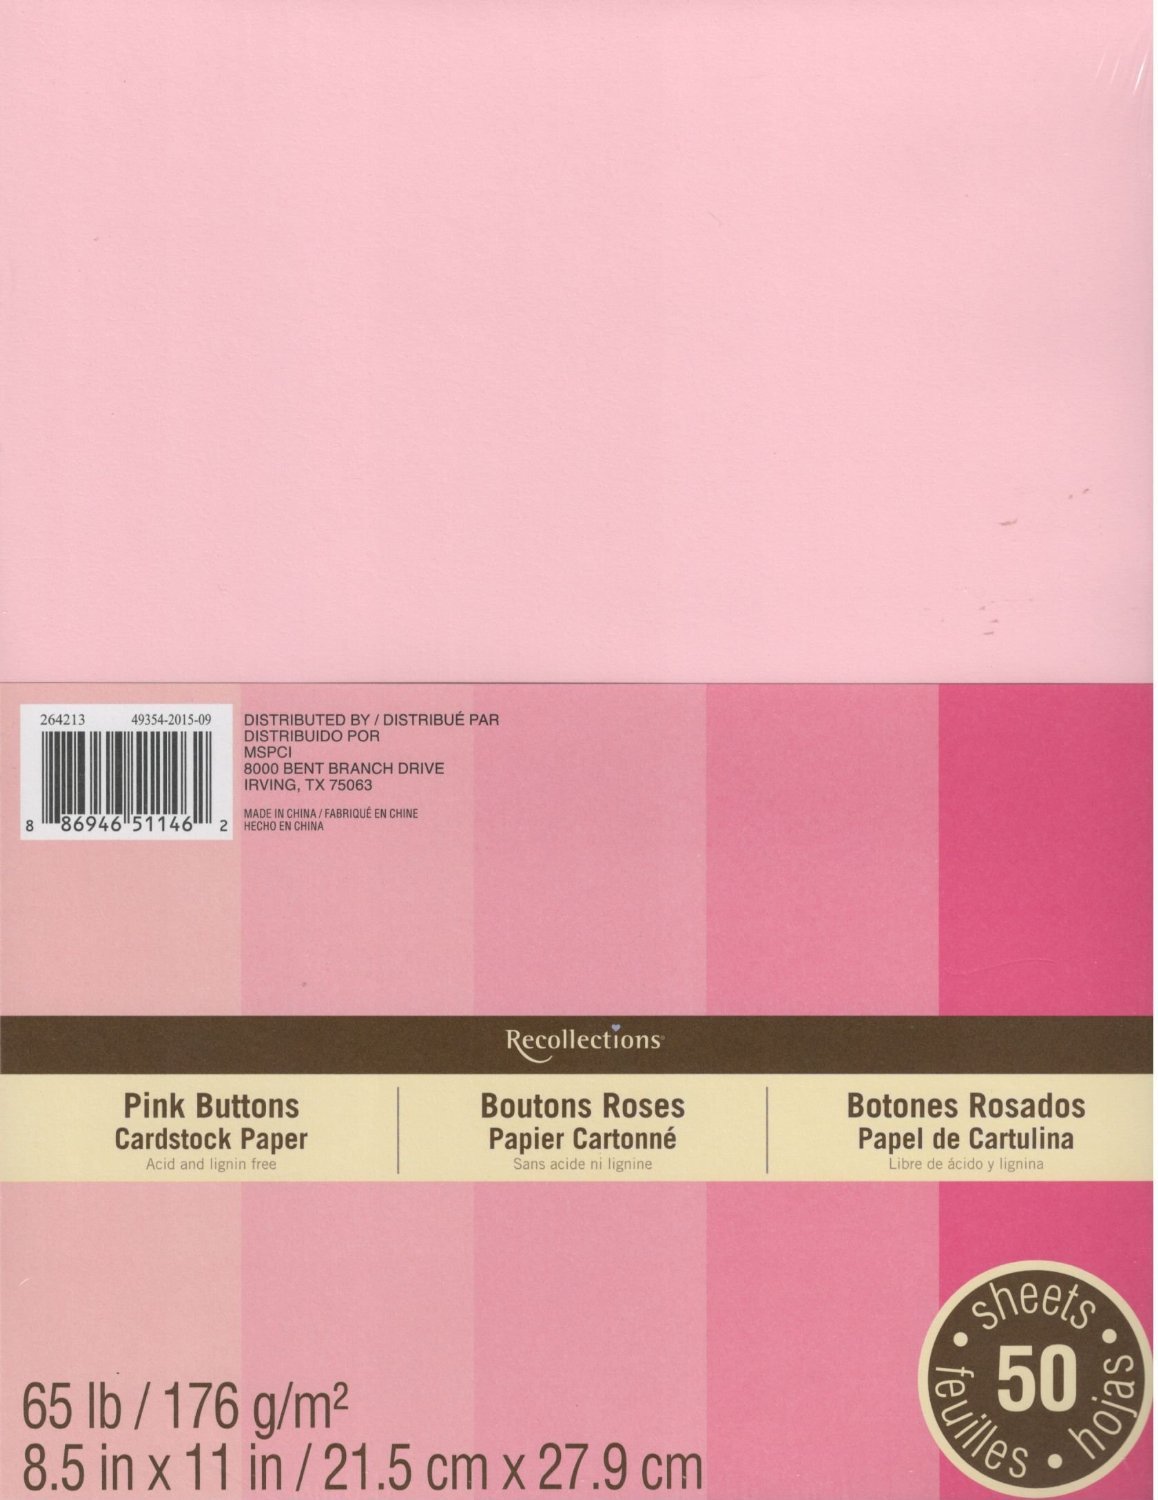
- 65-pound cardstock (I used Recollections Cardstock Paper, Pink Buttons)
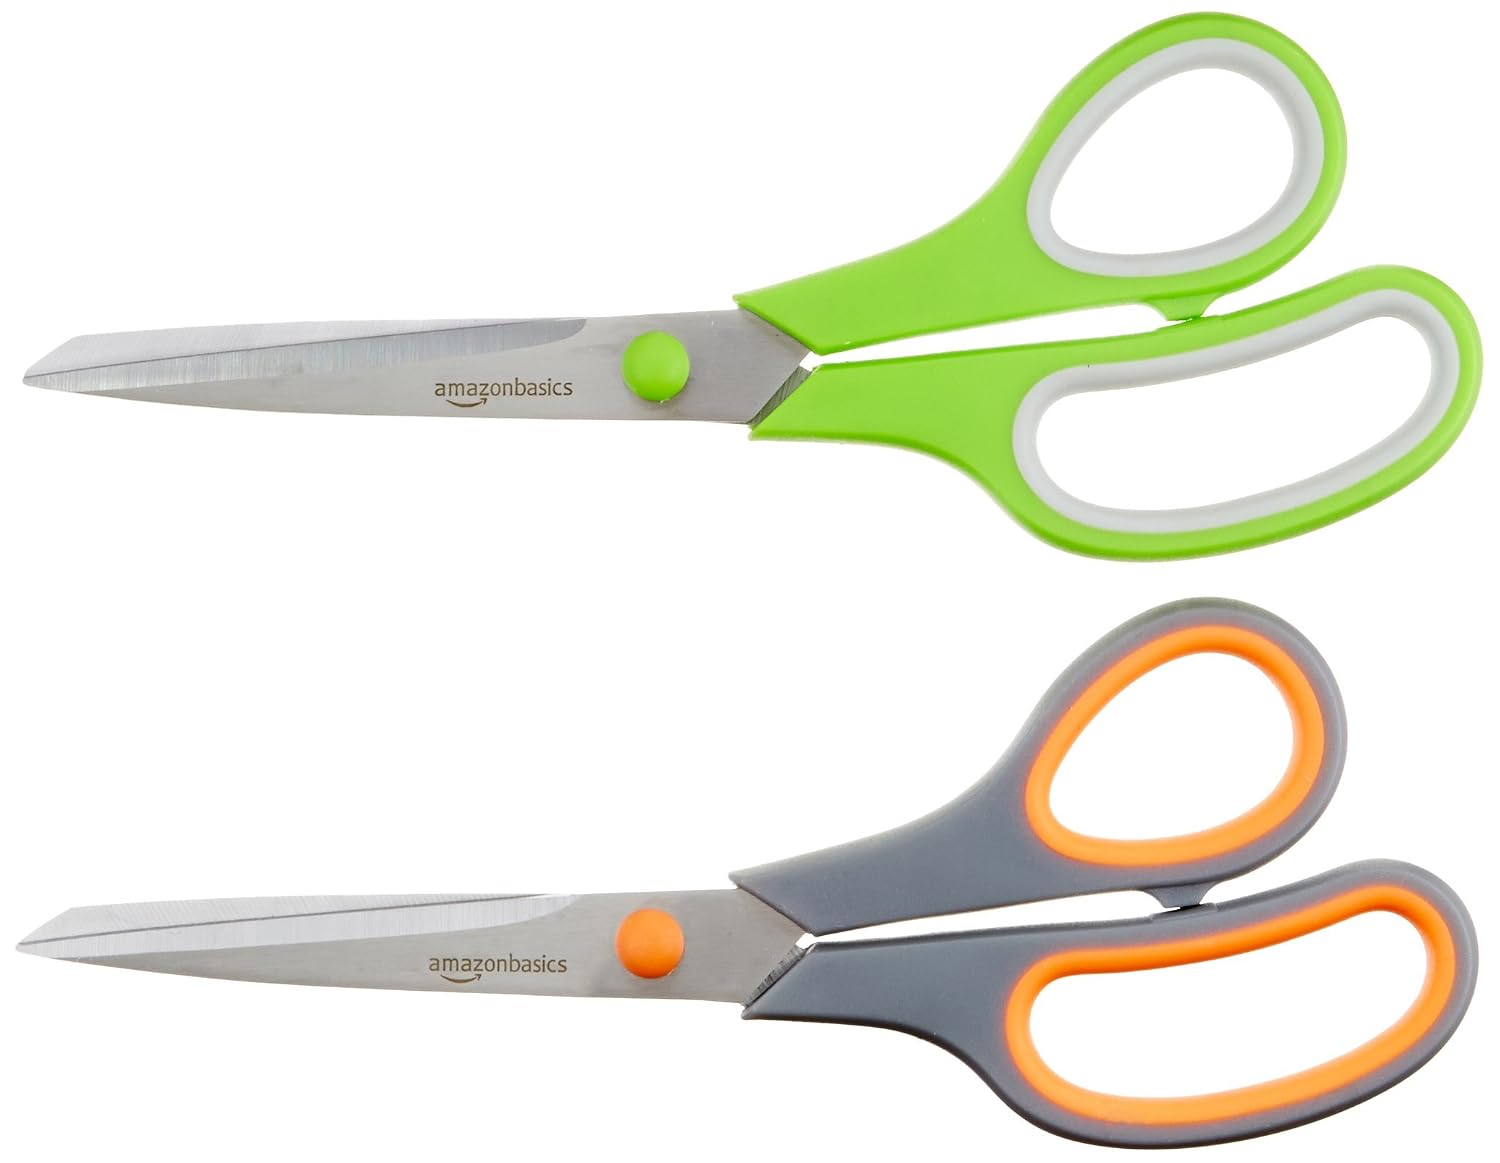
- Scissors (I used Fiskars Softgrip Scissors)
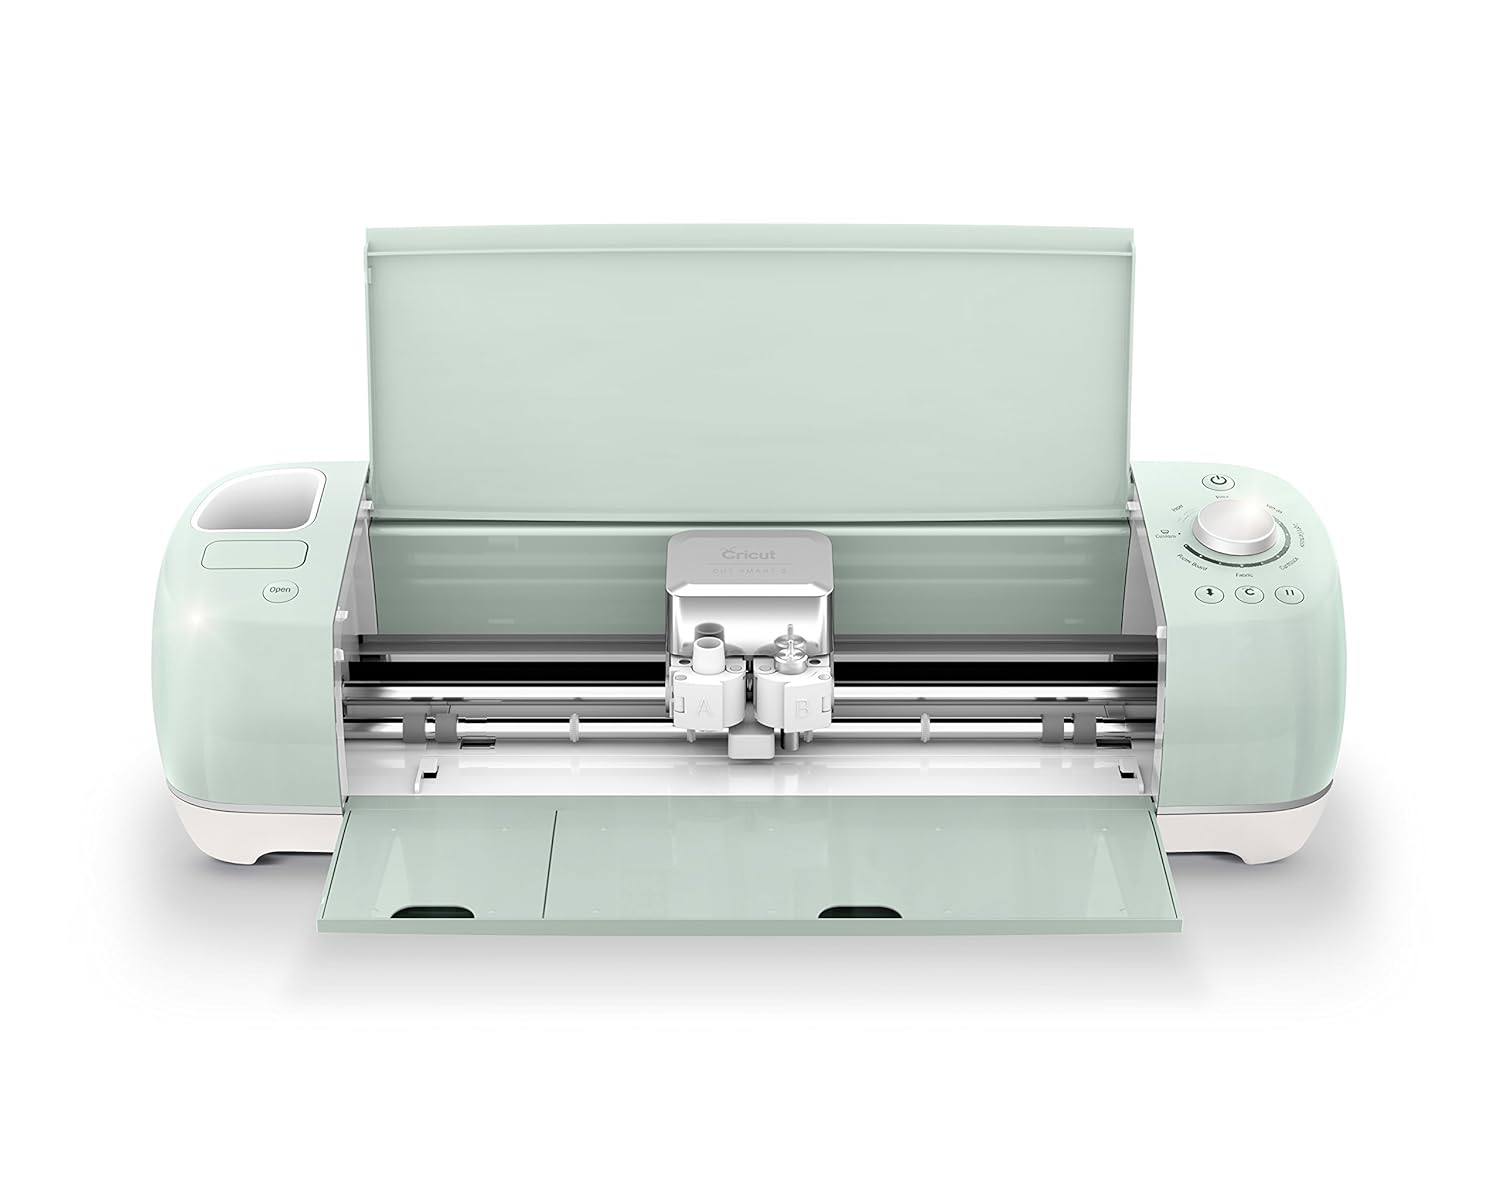
- Cutting machine (I use Cricut cutting machines)
- Glue gun
- Thin wood dowel, or pencil/marker
- Giant Alora Garden Rose Template: PDF printables, SVG cut files & PNG images included
Pro-Tip: Get a full all-inclusive paper flowers supply list for beginners here.
Alora Garden Paper Rose Tutorial
This tutorial is available as both step-by-step picture instructions and as a Youtube video tutorial. The written instructions are separated into five sections to make creating these beautiful paper roses even easier: Prepping Your Petals, The Rose Center, The Rose Base, Finishing Your Flower, and Alora Paper Roses: Addendum.
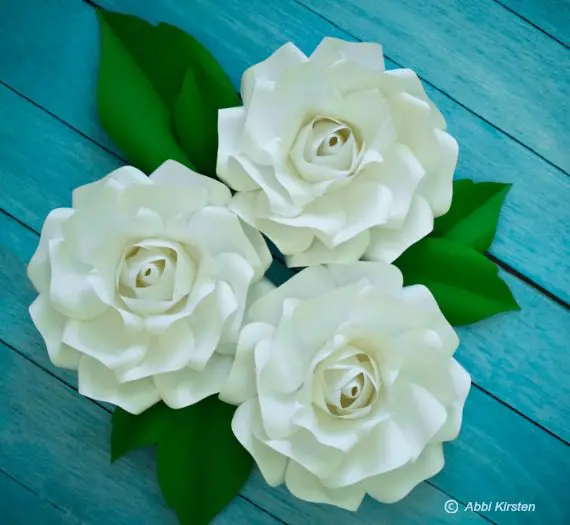
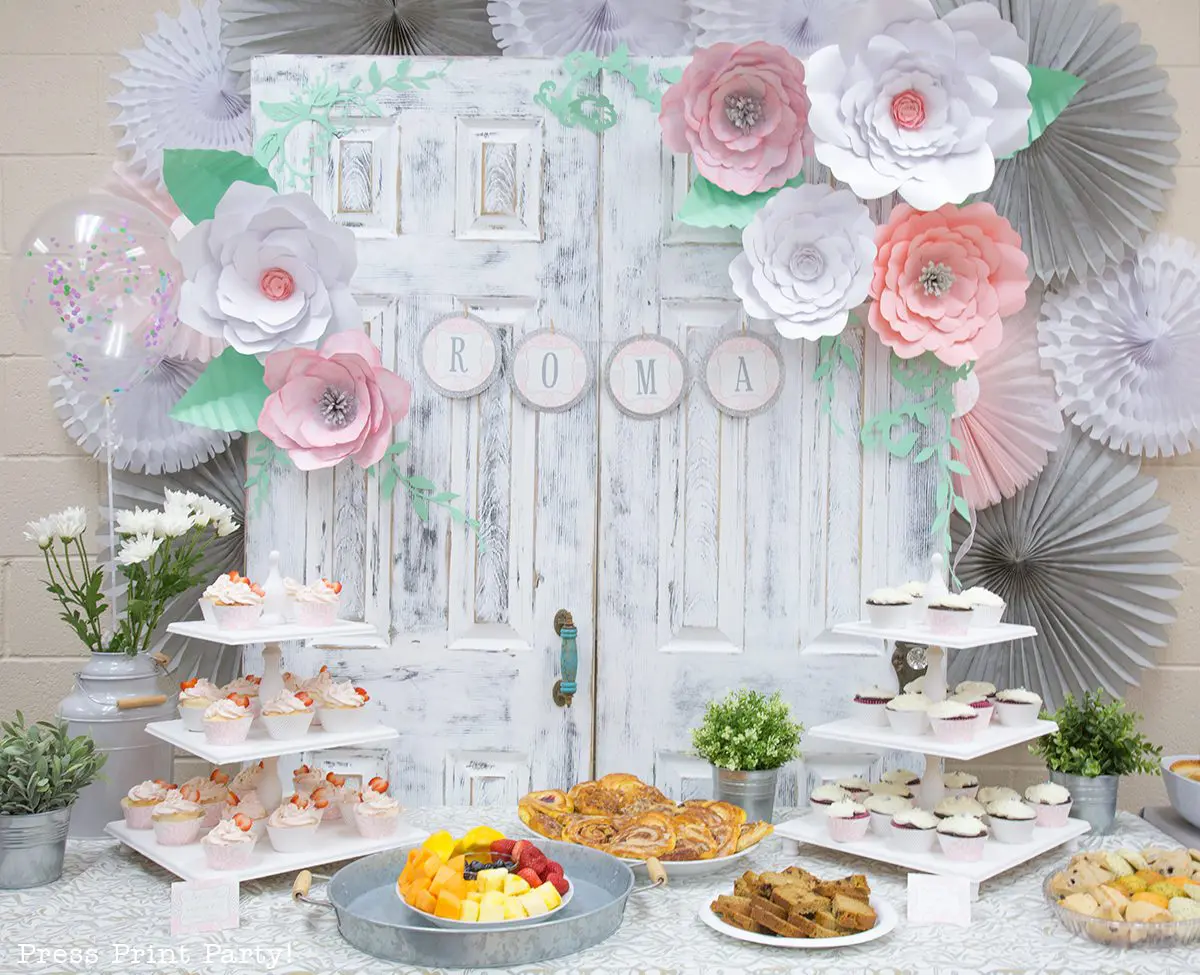
These paper flowers make great gift box flair and decorations for baby showers, wedding showers, bouquets, and centerpieces. They look great in vases or on tables. You can create stems for your Alora garden paper roses using my free tutorial “How to Make Giant Paper Flower Stems.”
Remember, making our favorite flowers out of paper takes patience and practice. This tutorial may be a bit difficult for beginners. I recommend newcomers to paper crafting read my book The Art Of Giant Paper Flowers. I created a 220-page full-color hardback art book with complete step-by-step instructions on how to craft gorgeous giant paper flowers plus a full separate template workbook.
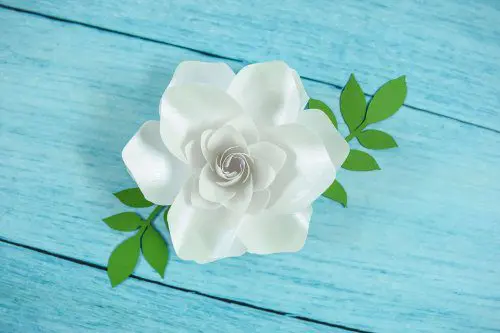
When finished, this Alora garden rose will measure up to 18.5 inches. Now let’s get started!
How to make Alora garden paper roses
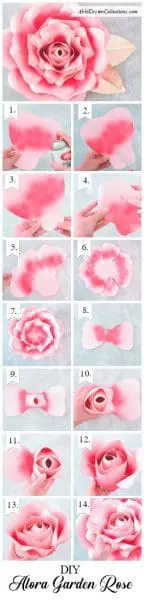
Part 1: Prepping Your Petals
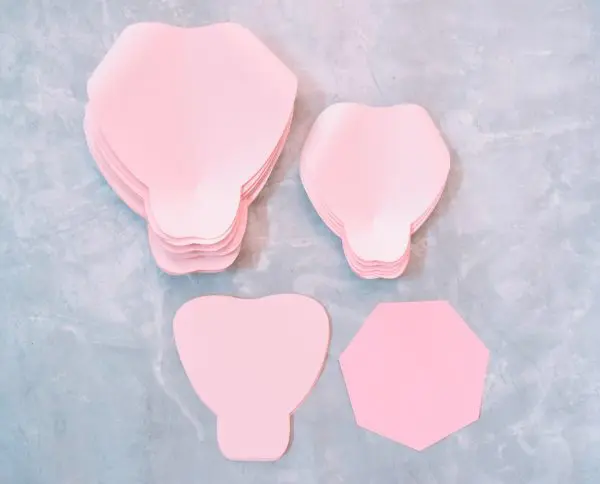
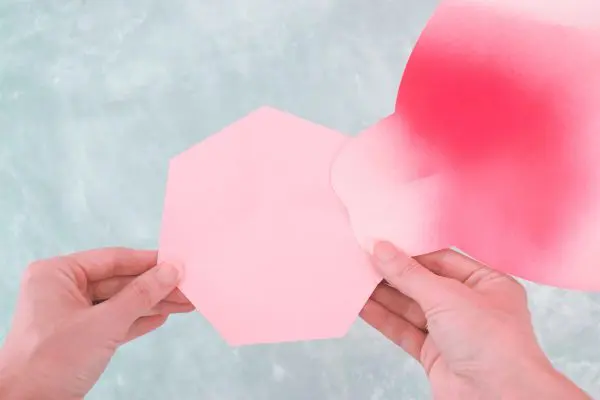
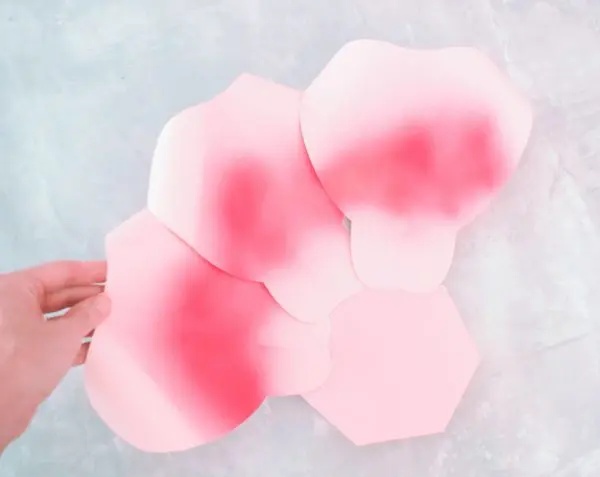
You will only be using two petal sizes with this rose, with multiple layers of each size. Cutting machine measurements are listed below. You can also use the pre-sized PDF printables and cut the rose petals by hand.
Cutting machine measurements for giant (XL) Alora garden paper roses:
- Giant (XL) petal: 7.8 inches wide by 8.3 inches high
- Large petal: 5.9 inches wide by 6.2 inches high
- I scale my base size for the XL to be 5 x 5 inches and the large to be 4.5 x 4.5 inches.
Cut the following number of petals:
- 14 Extra-Large Petals
- 19 Large Petals (Trace/Cut 2 per page for the large petals)
Part 2: The Rose Center
We’re going to make the rose center first. You will use 12 of the 19 large petals for the bud. Set the remaining 7 aside.
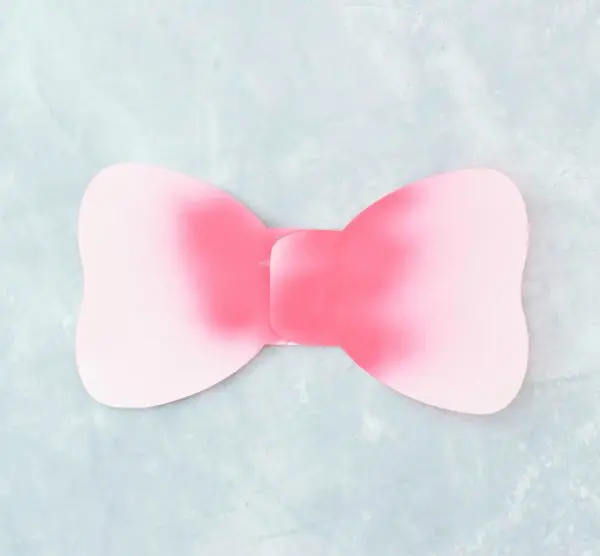
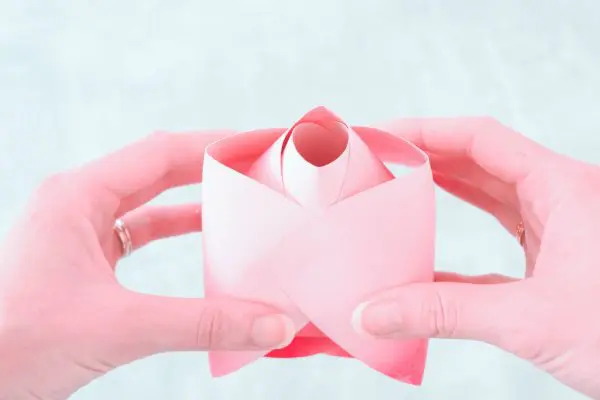
Step 1: Lay two (2) of the petals across from each other. Add dots of glue to the overlap. If done correctly, it will look like a bow tie.
Step 2: Fold one petal around itself & secure it with glue. Then wrap the remaining petal, opposite to it, around the other one.
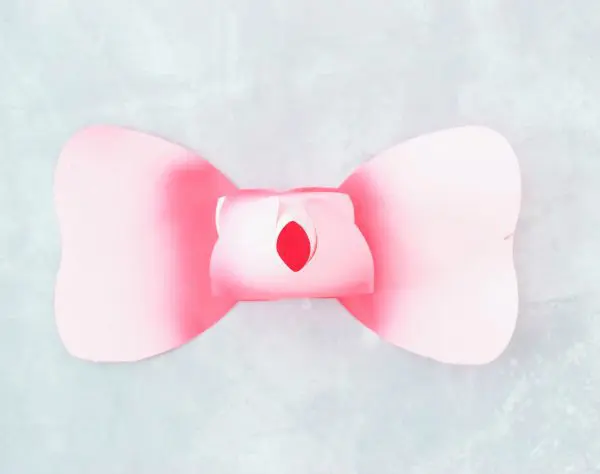
Step 3: Add dots of glue to the inner corners of the wrapped petals to secure them.
Step 4: Repeat the same steps for the paper roses a couple more times. Glue 2 more petals together, then glue the first center bud we just made on top.
Step 5: Add dots of glue to the outer edge of the petals, then fold up and wrap around to secure.
Step 6: Repeat the same steps again.
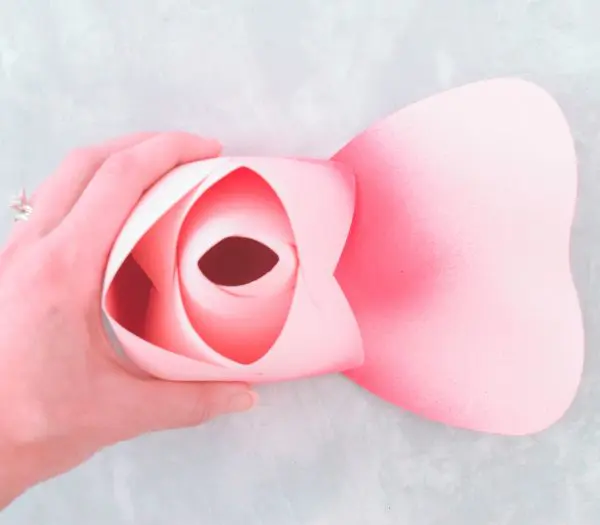
Step 7: Glue two more petals together. This time we are going to curl the edges of the petals back before folding them up. Shape the petals using the wooden dowel, pen or marker.
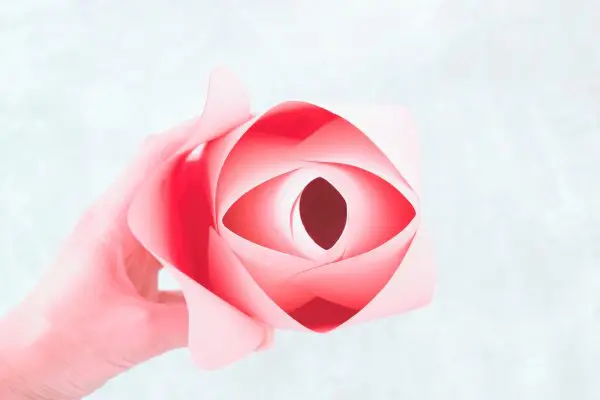
Step 8: This time add the glue closer to the base of the bud before folding up and pressing firmly to secure.
Step 9: We are going to do this two more times exactly the same way. You can give the petals a deeper curl once they are secure if you wish.

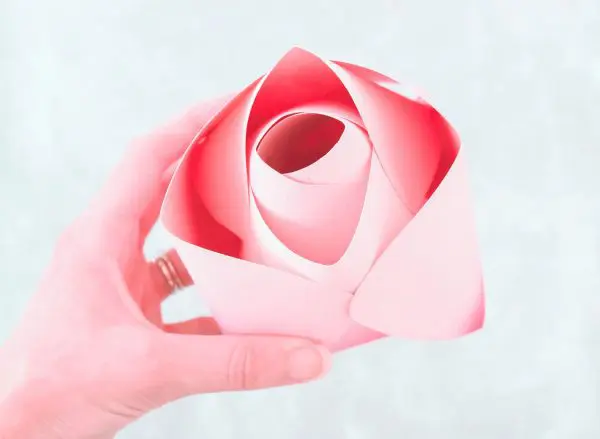
Step 10: This is the last round of petals for the rose center. Repeat the same steps.
Pro-Tip: If you feel it is easier, you can curl the petals before attaching them. I prefer to do it after attaching to be sure I’m hitting the proper angle.
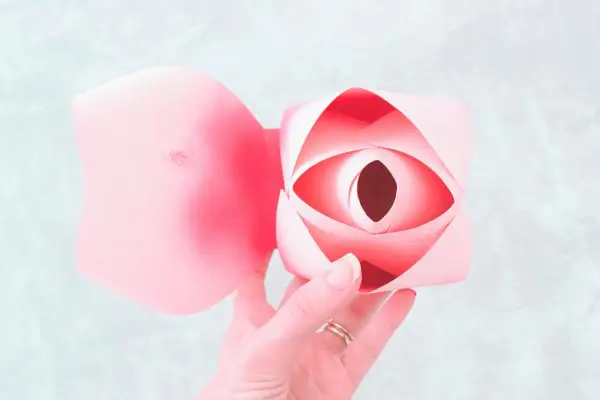
Your DIY Paper Flower Alora Garden Rose flower center is now finished. Set it aside because now it’s time to make the rose base.
Part 3: The Rose Base
Now that your petal placement is complete, it is time to make the perfect base for the Alora garden paper roses center.
Step 1: I have cut roughly 2-inch slits at the bottom of all my remaining petals: 14 extra-large and 7 large. A good guide is to cut up to the indentation of the petal.
Step 2: Add glue to the very bottom and overlap slightly.
Step 3: Use a marker, pen, wooden dowel, etc., to curl the edges back.
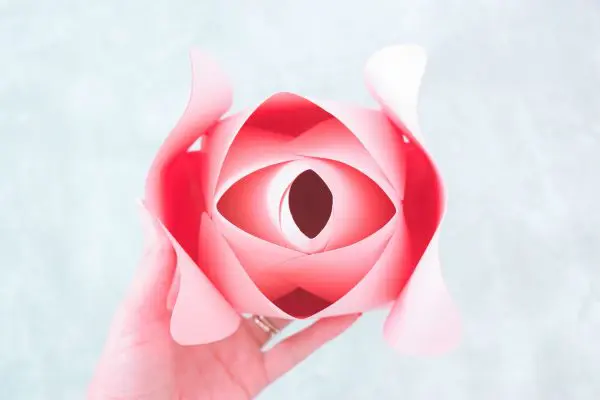
Step 4: I’m using my 7-sided Petal Perfect heptagon base. It measures about 6 inches. Each side is where each petal will sit. Add glue to the base of one of your extra-large petals and attach it to the base as pictured below.
Step 5: Repeat 6 more times for this first layer. Lightly overlap each rose petal.
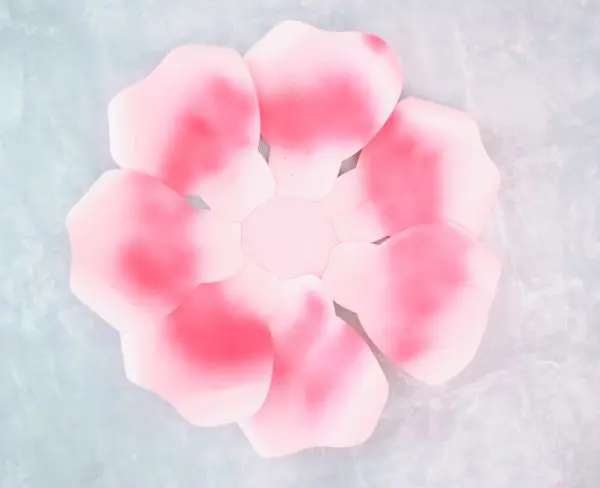
Step 6: Each petal should be lining up roughly to each side of the heptagon-shaped base.
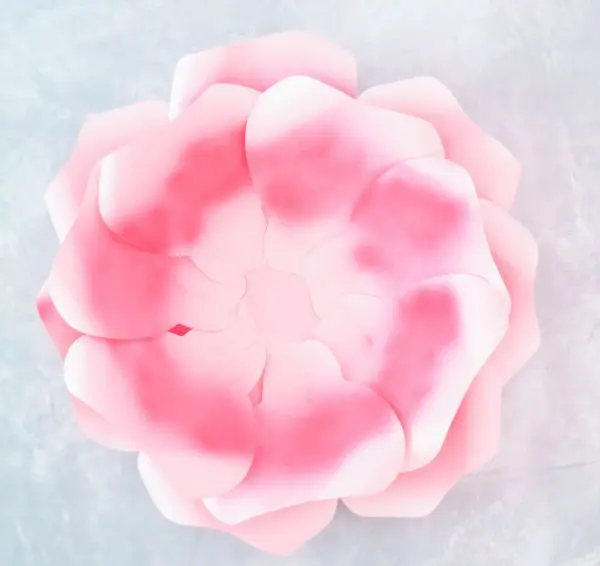
Step 7: The first layer of the paper rose base is complete. Repeat again with the remaining 7 extra-large petals. Glue each of these 7 extra-large petals in between the first layer of petals so that they are not directly in line.
Step 8: Now add in the 7 remaining large petals the same way we just did the last layer.
Part 4: Finishing Your Giant Alora Rose Paper Flower
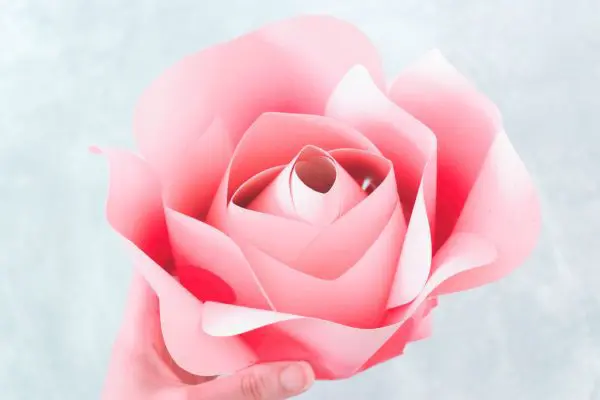
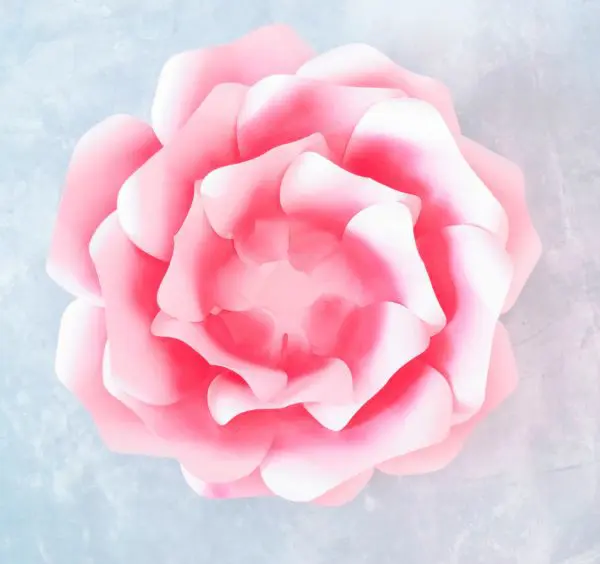
To finish, add glue to the base of the bud. Glue your rose center in the middle of the flower base.

Voila, there you have it! A beautiful DIY Giant Paper Flower Alora Garden Rose. Isn’t it lovely? I’d say so! As an addition, I’ve added a full video tutorial on my Youtube channel as well as additional instructions for an extra full rose.
[bigpres skus=”00172,00168,00161,00130,0075,0070,0060,00167″ overlay=”no” animation=”fade” direction=”top” show_img=”yes” show_name=”yes” show_price=”yes” show_arrow=”no” hide_button=”no” link_to=”product” per_row=”4″ size=”medium” type=”card” show_content=”no” drop_shadow=”no” /]

Alora Paper Roses: Addendum
This addendum step is completely optional.
If you like, you can create fuller paper roses by adding an additional round of 6 large petals on top of your last layer of petals placed on the rose base. Doing this extra round of petals will require an extra 3 sheets of cardstock.
Finish off the Alora rose the same way described in ‘Finishing Your Flower’ – by adding the center rosebud to the rose base. Whether you add an extra petal layer or not, your rose will be gorgeous!
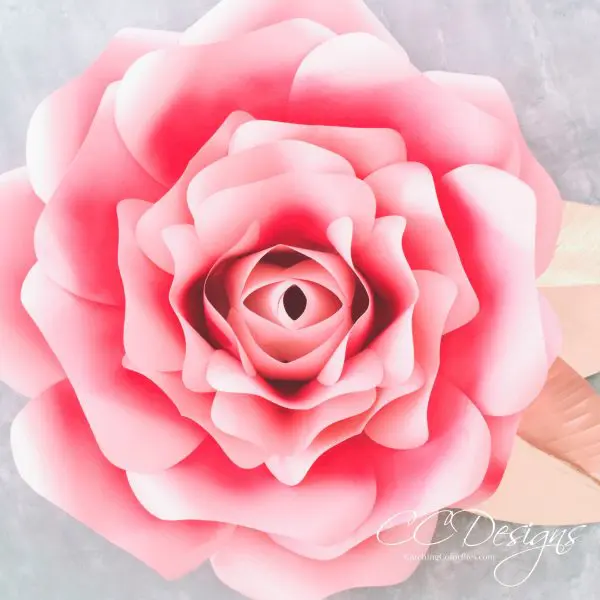
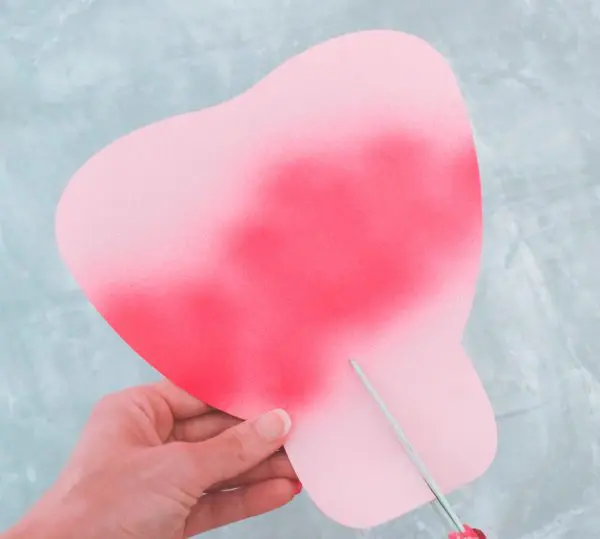
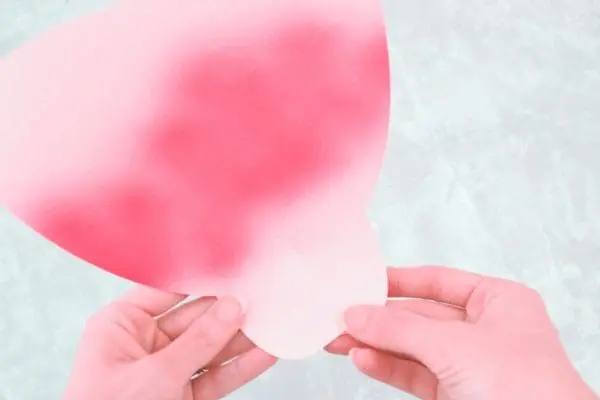
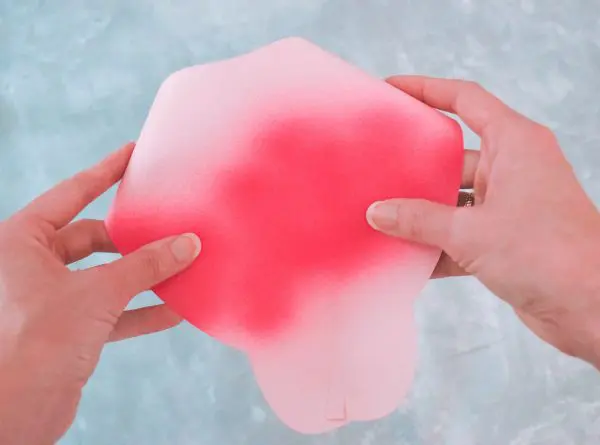
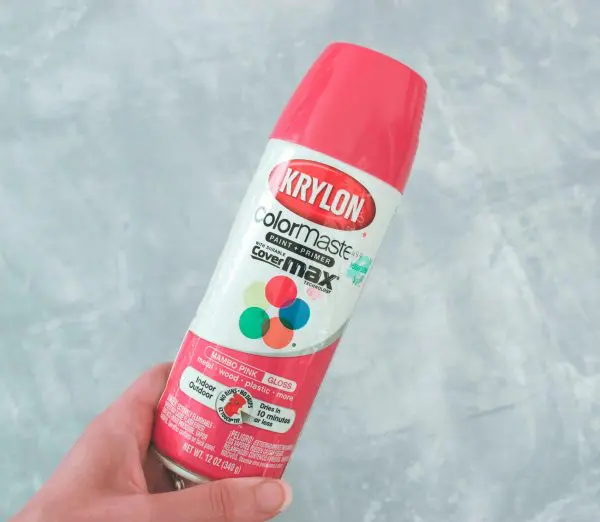
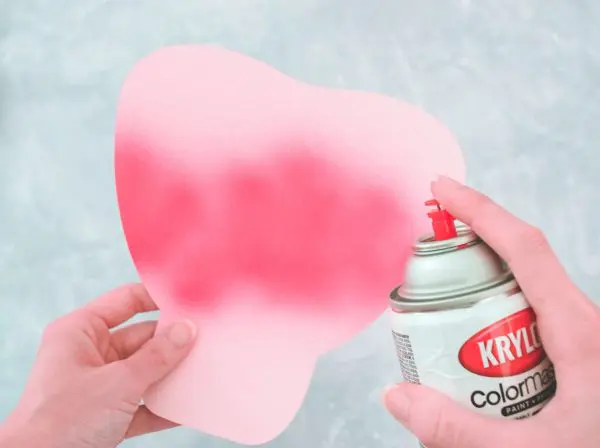
Pro-Tip: The images for this tutorial show an optional spray paint option. Spray the paint onto the mid-center of the petal.
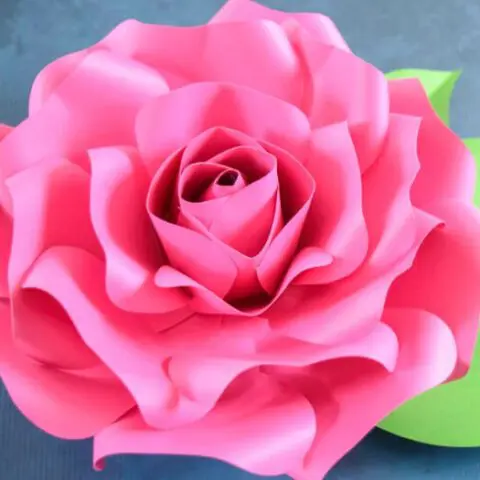
Alora Garden Rose Tutorial
Learn how to make this romantic giant Alora Garden paper rose with this detailed tutorial, supply list, and step-by-step video.
Materials
Tools
Instructions
Part 1: Prepping Your Petals
Cut the following number of petals:
- 14 Extra-Large Petals
- 19 Large Petals (Trace/Cut 2 per page for the large petals)
Part 2: The Rose Center
- Lay two (2) of the petals across from each other. Add dots of glue to the overlap. If done correctly, it will look like a bow tie.
- Fold one petal around itself & secure it with glue. Then wrap the remaining petal, opposite to it, around the other one.
- Add dots of glue to the inner corners of the wrapped petals to secure them.
- Repeat the same steps for the paper roses a couple more times. Glue 2 more petals together, then glue the first center bud we just made on top.
- Add dots of glue to the outer edge of the petals, then fold up and wrap around to secure.
- Repeat the same steps again.
- Glue two more petals together. This time we are going to curl the edges of the petals back before folding them up. Shape the petals using the wooden dowel, pen or marker.
- This time add the glue closer to the base of the bud before folding up and pressing firmly to secure.
- We are going to do this two more times exactly the same way. You can give the petals a deeper curl once they are secure if you wish.
- This is the last round of petals for the rose center. Repeat the same steps.
Your DIY Paper Flower Alora Garden Rose flower center is now finished. Set it aside because now it’s time to make the rose base.
Part 3: The Rose Base
- Cut roughly 2-inch slits at the bottom of all remaining petals: 14 extra-large and 7 large. A good guide is to cut up to the indentation of the petal.
- Add glue to the very bottom and overlap slightly.
- Use a marker, pen, wooden dowel, etc., to curl the edges back.
- Using the 7-sided Petal Perfect heptagon base. It measures about 6 inches. Each side is where each petal will sit. Add glue to the base of one of your extra-large petals and attach it to the base as pictured below.
- Repeat 6 more times for this first layer. Lightly overlap each rose petal.
- Each petal should be lining up roughly to each side of the heptagon-shaped base.
- The first layer of the paper rose base is complete. Repeat again with the remaining 7 extra-large petals. Glue each of these 7 extra-large petals in between the first layer of petals so that they are not directly in line.
- Now add in the 7 remaining large petals the same way we just did the last layer.
Part 4: Finishing Your Giant Alora Rose Paper Flower
To finish, add glue to the base of the bud. Glue your rose center in the middle of the flower base.
Grab the small Alora recently released here!
My Amazon Picks for this Project
Discover More
Share what you’ve been up to by using #DIYwithAbbi. I would love to see your creativity in the works so flaunt your flower power magic! You are a huge source of my inspiration!
My mission is the inspire you to nurture the creative magic inside your soul by bringing you fun, easy to learn DIY projects and quality template designs. Interested in more magical flower tutorials?! We offer dozens of signature designs. Starting with my best seller, The Art of Giant Paper Flowers, my Giant Flower Library and my shop of endless designs.
Thanks for letting me pop into your day!


Hi. How can i purchase a temple? I’m very interested in doing paper flower.
Hi, you can find the XL Alora template here: https://catchingcolorflies.com/alora-garden-paper-rose-template-tutorial/ or the XL and small Alora set here: https://catchingcolorflies.com/extra-large-small-alora-rose-template-set-of-2/
I absolutely love these flowers, but do not have a cricut or similar machine. What do I do? Can I still make them? PLEASEEEEE, help me
Thank You,
Laurie
Hi Laurie!
There are PDF printables included that can be hand-cut with scissors if you do not own a machine. 🙂