Printable Mermaid Tail Cake Topper Tutorial
This post may contain affiliate links that won’t change your price but will share some commission.
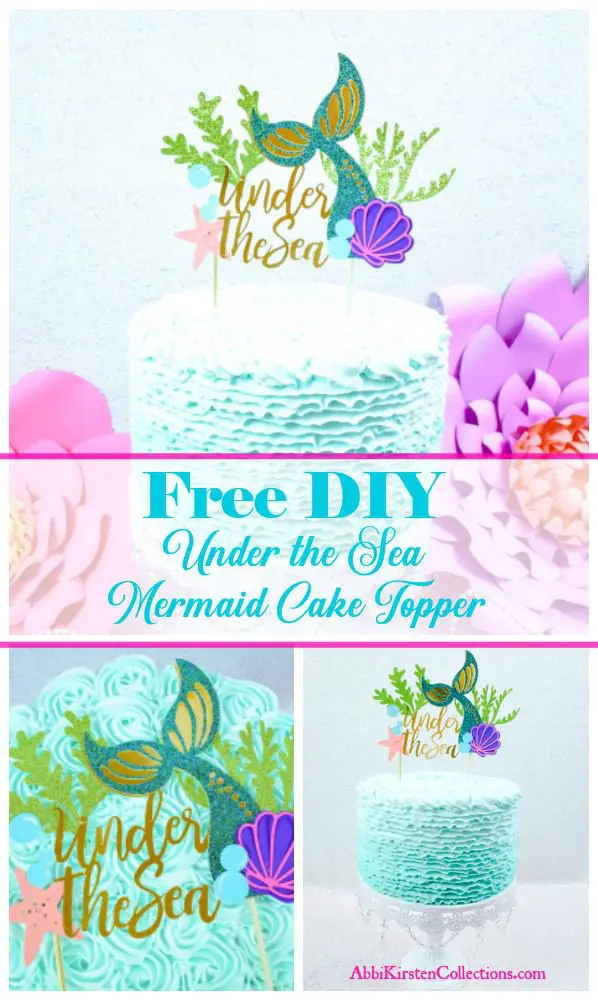
DIY Mermaid Tail Cake Topper
When my daughter Ella turned three, she was all about mermaids. So, I decided to get busy planning Ella’s mermaid birthday party and photoshoot, and I went all out for it! I’m a closet graphic design doodler when I am not busy with paper flowers, so I came up with some fun ideas and new tutorials for a deep dive into all things mermaid. One of those ideas became this ‘Under the Sea’ Printable Mermaid Tail Cake Topper instant download digital file that you can have for FREE!
You can do so much to create a magical mermaid birthday party. Start with the free “Under the Sea” cake topper, and then grab my other mermaid party ideas. You can make mermaid cupcake toppers with printable sea items, birthday party hats, a photo booth wall with photo props and my sea-inspired flower templates, mermaid t-shirts, or “Little Mermaid Squad” water bottle labels to use as party favors in a DIY Mermaid Party Gift Bag. Use the mermaid scales flower templates to make a mermaid banner and mermaid birthday signs. I even made a paper mermaid dress!
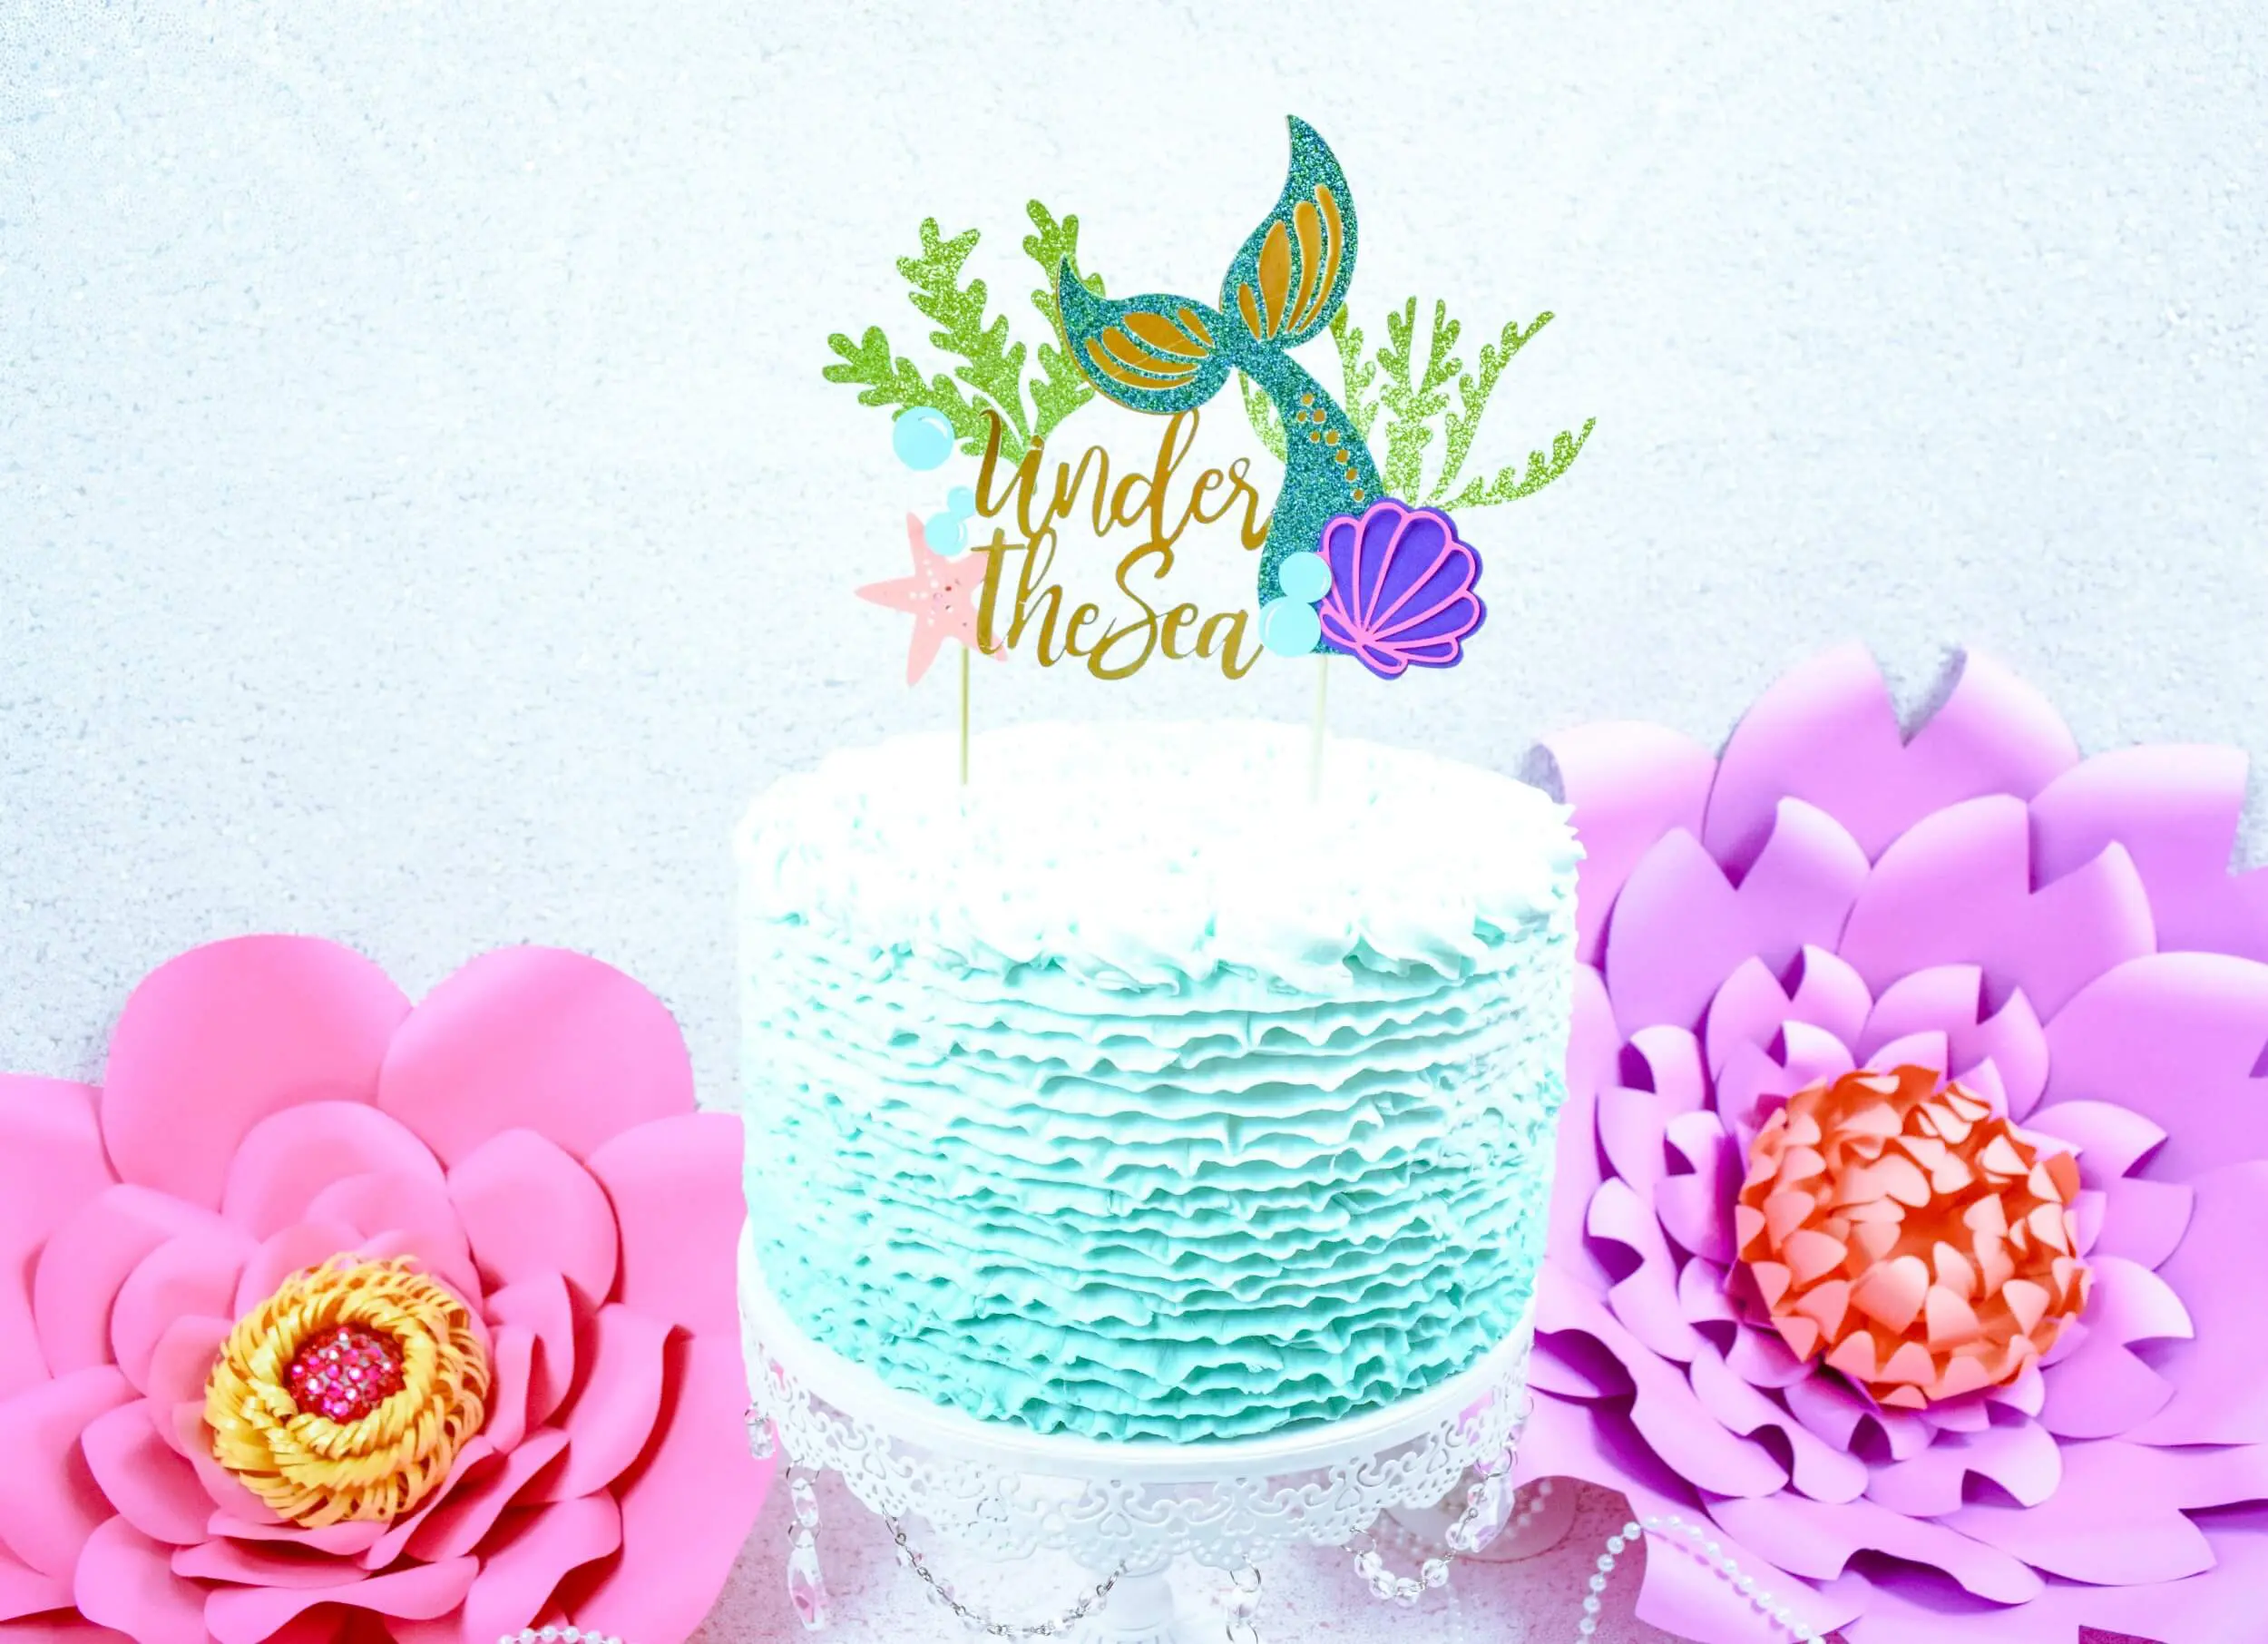
Your little mermaid is sure to make a big splash at your mermaid party!
Related Craft Projects for the Next Party
DIY Unicorn & Dinosaur Valentine Box
I’m excited to show you just how easy it is to create DIY mermaid cake toppers, and most of all, I can’t wait to show you the whole mermaid-inspired photo shoot when it’s finished! I am teaming up with my new friend from Press, Print, Party and using her awesome mermaid printables!

Supplies for the Printable Mermaid Tail Cake Topper
- 65-pound cardstock in your choice of colors. I used glitter cardstock for the seaweed and the mermaid’s tail.
- Glue Gun
- A cutting machine (like the Cricut Explore Air 2 Machine)
- Scissors
- Gold poster board
- Two bamboo skewers
- Wire clippers
- Mermaid cake topper templates
If you don’t have a cutting machine for the SVG files, a printable PDF file is included. Use scissors to cut around the design silhouette.
A note about our privacy policy and commercial use for the Printable Mermaid Tail Cake Topper: this is intended for personal use. If you would like to sell the topper made from the cut file, you may do so as long proper credit is given. Link our website or tag us on Instagram with your creations.
How to Assemble the Mermaid Tail Cake Topper
Assembling the Printable Mermaid Tail Cake Topper is a snap. You can also watch the full tutorial below to see how I created mine!
Step 1: Print and Cut the Cake Topper Pieces
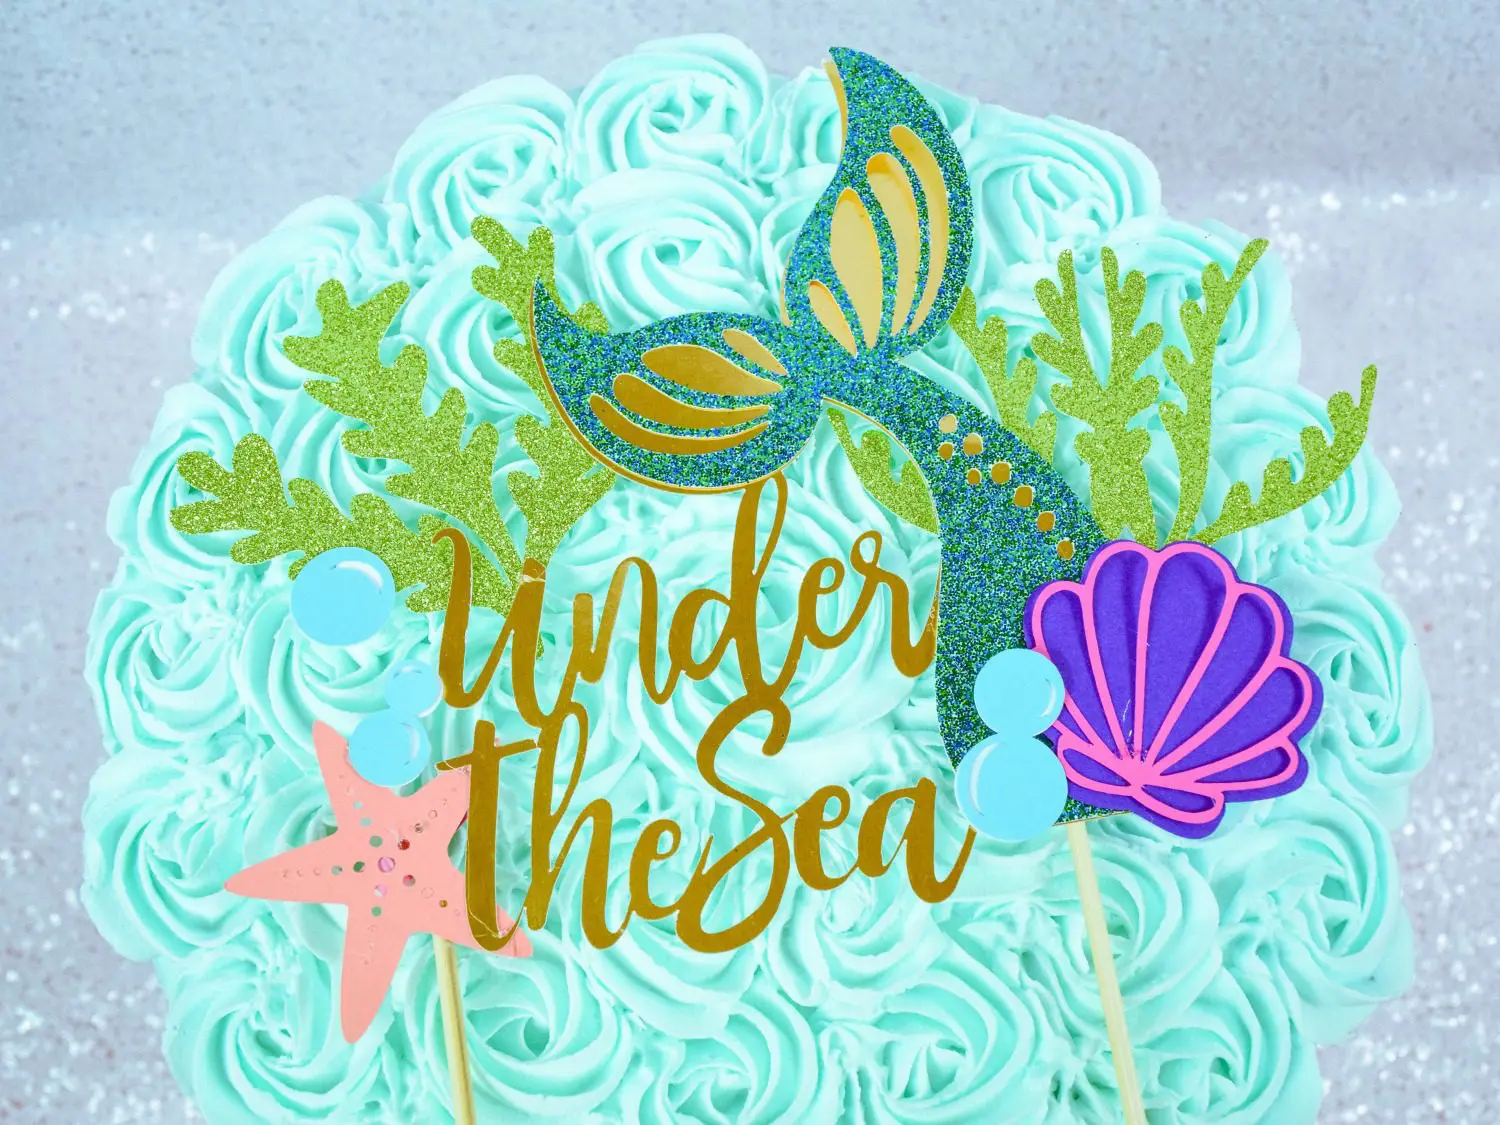
Print and cut all the cake topper elements and gather all your supplies before you begin. The base and first layer of the topper is the large piece with the words “Under the Sea” connected to a mermaid’s tail. If you follow my design, this piece is made from gold poster board.
Step 2: Glue the Cake Topper Pieces Together
Using your hot glue gun, attach the cut-out mermaid tail to the mermaid tail on the base of the topper (in gold.) Next, glue the shell cut-out onto the shell base. Finally, glue the bubble cut-outs to the bubble bases.
Step 3: Attach the Cake Topper to the Base
Next, we will adhere our sea elements to the topper’s base. If you follow my layout, these are your next steps:
- Glue the shell to the front of the tail’s base.
- Glue the seaweed to the right and left sides of the base.
- Glue the starfish behind the letter “T”.
- Glue the bubbles in various positions on the front of the topper.
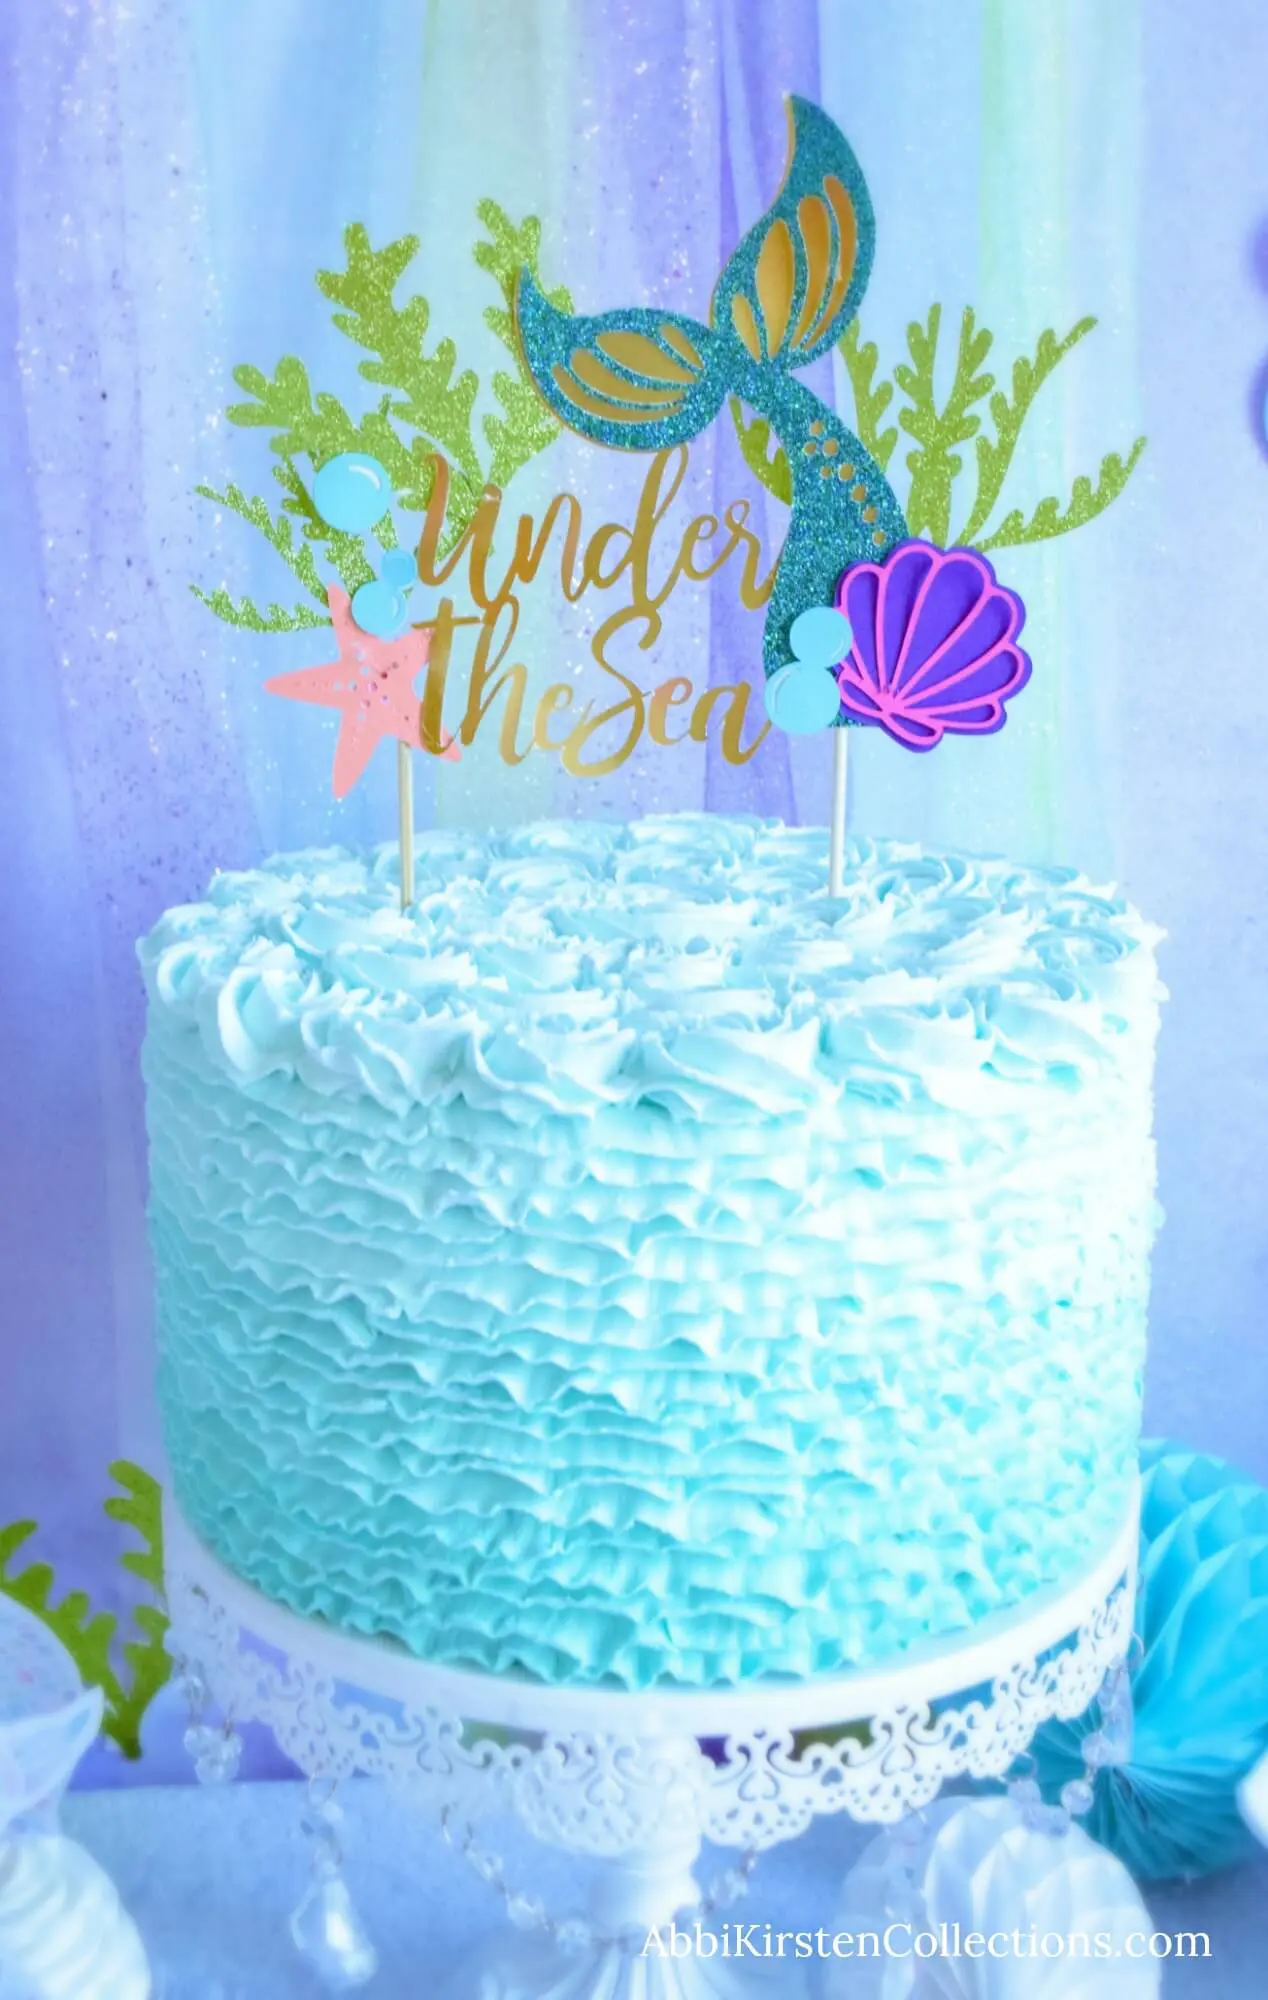
Step 4: Cut and Attach the Wooden Skewers
The skewers are what hold this mermaid tail cake topper in place on your birthday cake. You’ll want to score the skewers and cut them down to size before attaching the cake topper. Follow these steps:
- Score your skewers with the wire cutters about three inches from the pointy end to ensure they stay even. Then, cut each of the two skewers at the score line, one at a time, using the wire cutters.
- Next, flip over your cake topper and glue each skewer to the back of the topper base. Be sure to choose areas that won’t show the skewers through the cut elements, and keep the skewer length even.
- Glue a small strip of card stock over part of the skewer to reinforce the skewer hold. Press the strip of paper firmly around the skewer edge.
- Remove any hot glue threads carefully, and let your topper glue dry before moving on to the next step. Once the glue has dried, gently push the skewers into the top of the cake and enjoy!
How to Make a DIY Mermaid Tail Cake Topper: Video Tutorial
Watch the full tutorial below to see step-by-step how I make this printable mermaid tail cake topper!
Remember, there isn’t a party like a mermaid-themed birthday party because this mermaid sea adventure party comes with free printables!
[bigpres skus=”504,512,025,0081″ overlay=”no” animation=”fade” direction=”top” show_img=”yes” show_name=”yes” show_price=”yes” show_arrow=”no” hide_button=”no” link_to=”product” per_row=”4″ size=”medium” type=”card” show_content=”no” drop_shadow=”no” /]
[bigpres skus=”0073,052,0038,0076″ overlay=”no” animation=”fade” direction=”top” show_img=”yes” show_name=”yes” show_price=”yes” show_arrow=”no” hide_button=”no” link_to=”product” per_row=”4″ size=”medium” type=”card” show_content=”no” drop_shadow=”no” /]

Printable Mermaid Tail Cake Topper
This easy-to-make and assemble mermaid tail cake topper is the perfect accessory for a mermaid or Under The Sea-themed birthday party!
Materials
Instructions
Step 1: Print And Cut The Cake Topper Pieces
Print and cut all the cake topper elements and gather all your supplies before you begin. The base and first layer of the topper is the large piece with the words “Under the Sea” connected to a mermaid’s tail. If you follow my design, this piece is made from gold poster board.
Step 2: Glue The Cake Topper Pieces Together
Using your hot glue gun, attach the cut-out mermaid tail to the mermaid tail on the base of the topper (in gold.) Next, glue the shell cut-out onto the shell base. Finally, glue the bubble cut-outs to the bubble bases.
Step 3: Attach The Cake Topper To The Base
Next, we will adhere our sea elements to the topper’s base. If you follow my layout, these are your next steps:
- Glue the shell to the front of the tail’s base.
- Glue the seaweed to the right and left sides of the base.
- Glue the starfish behind the letter “T”.
- Glue the bubbles in various positions on the front of the topper.
Step 4: Cut And Attach The Wooden Skewers
The skewers are what hold this mermaid tail cake topper in place on your birthday cake. You’ll want to score the skewers and cut them down to size before attaching the cake topper. Follow these steps:
- Score your skewers with the wire cutters about three inches from the pointy end to ensure they stay even. Then, cut each of the two skewers at the score line, one at a time, using the wire cutters.
- Next, flip over your cake topper and glue each skewer to the back of the topper base. Be sure to choose areas that won’t show the skewers through the cut elements, and keep the skewer length even.
- Glue a small strip of card stock over part of the skewer to reinforce the skewer hold. Press the strip of paper firmly around the skewer edge.
- Remove any hot glue threads carefully, and let your topper glue dry before moving on to the next step. Once the glue has dried, gently push the skewers into the top of the cake and enjoy!
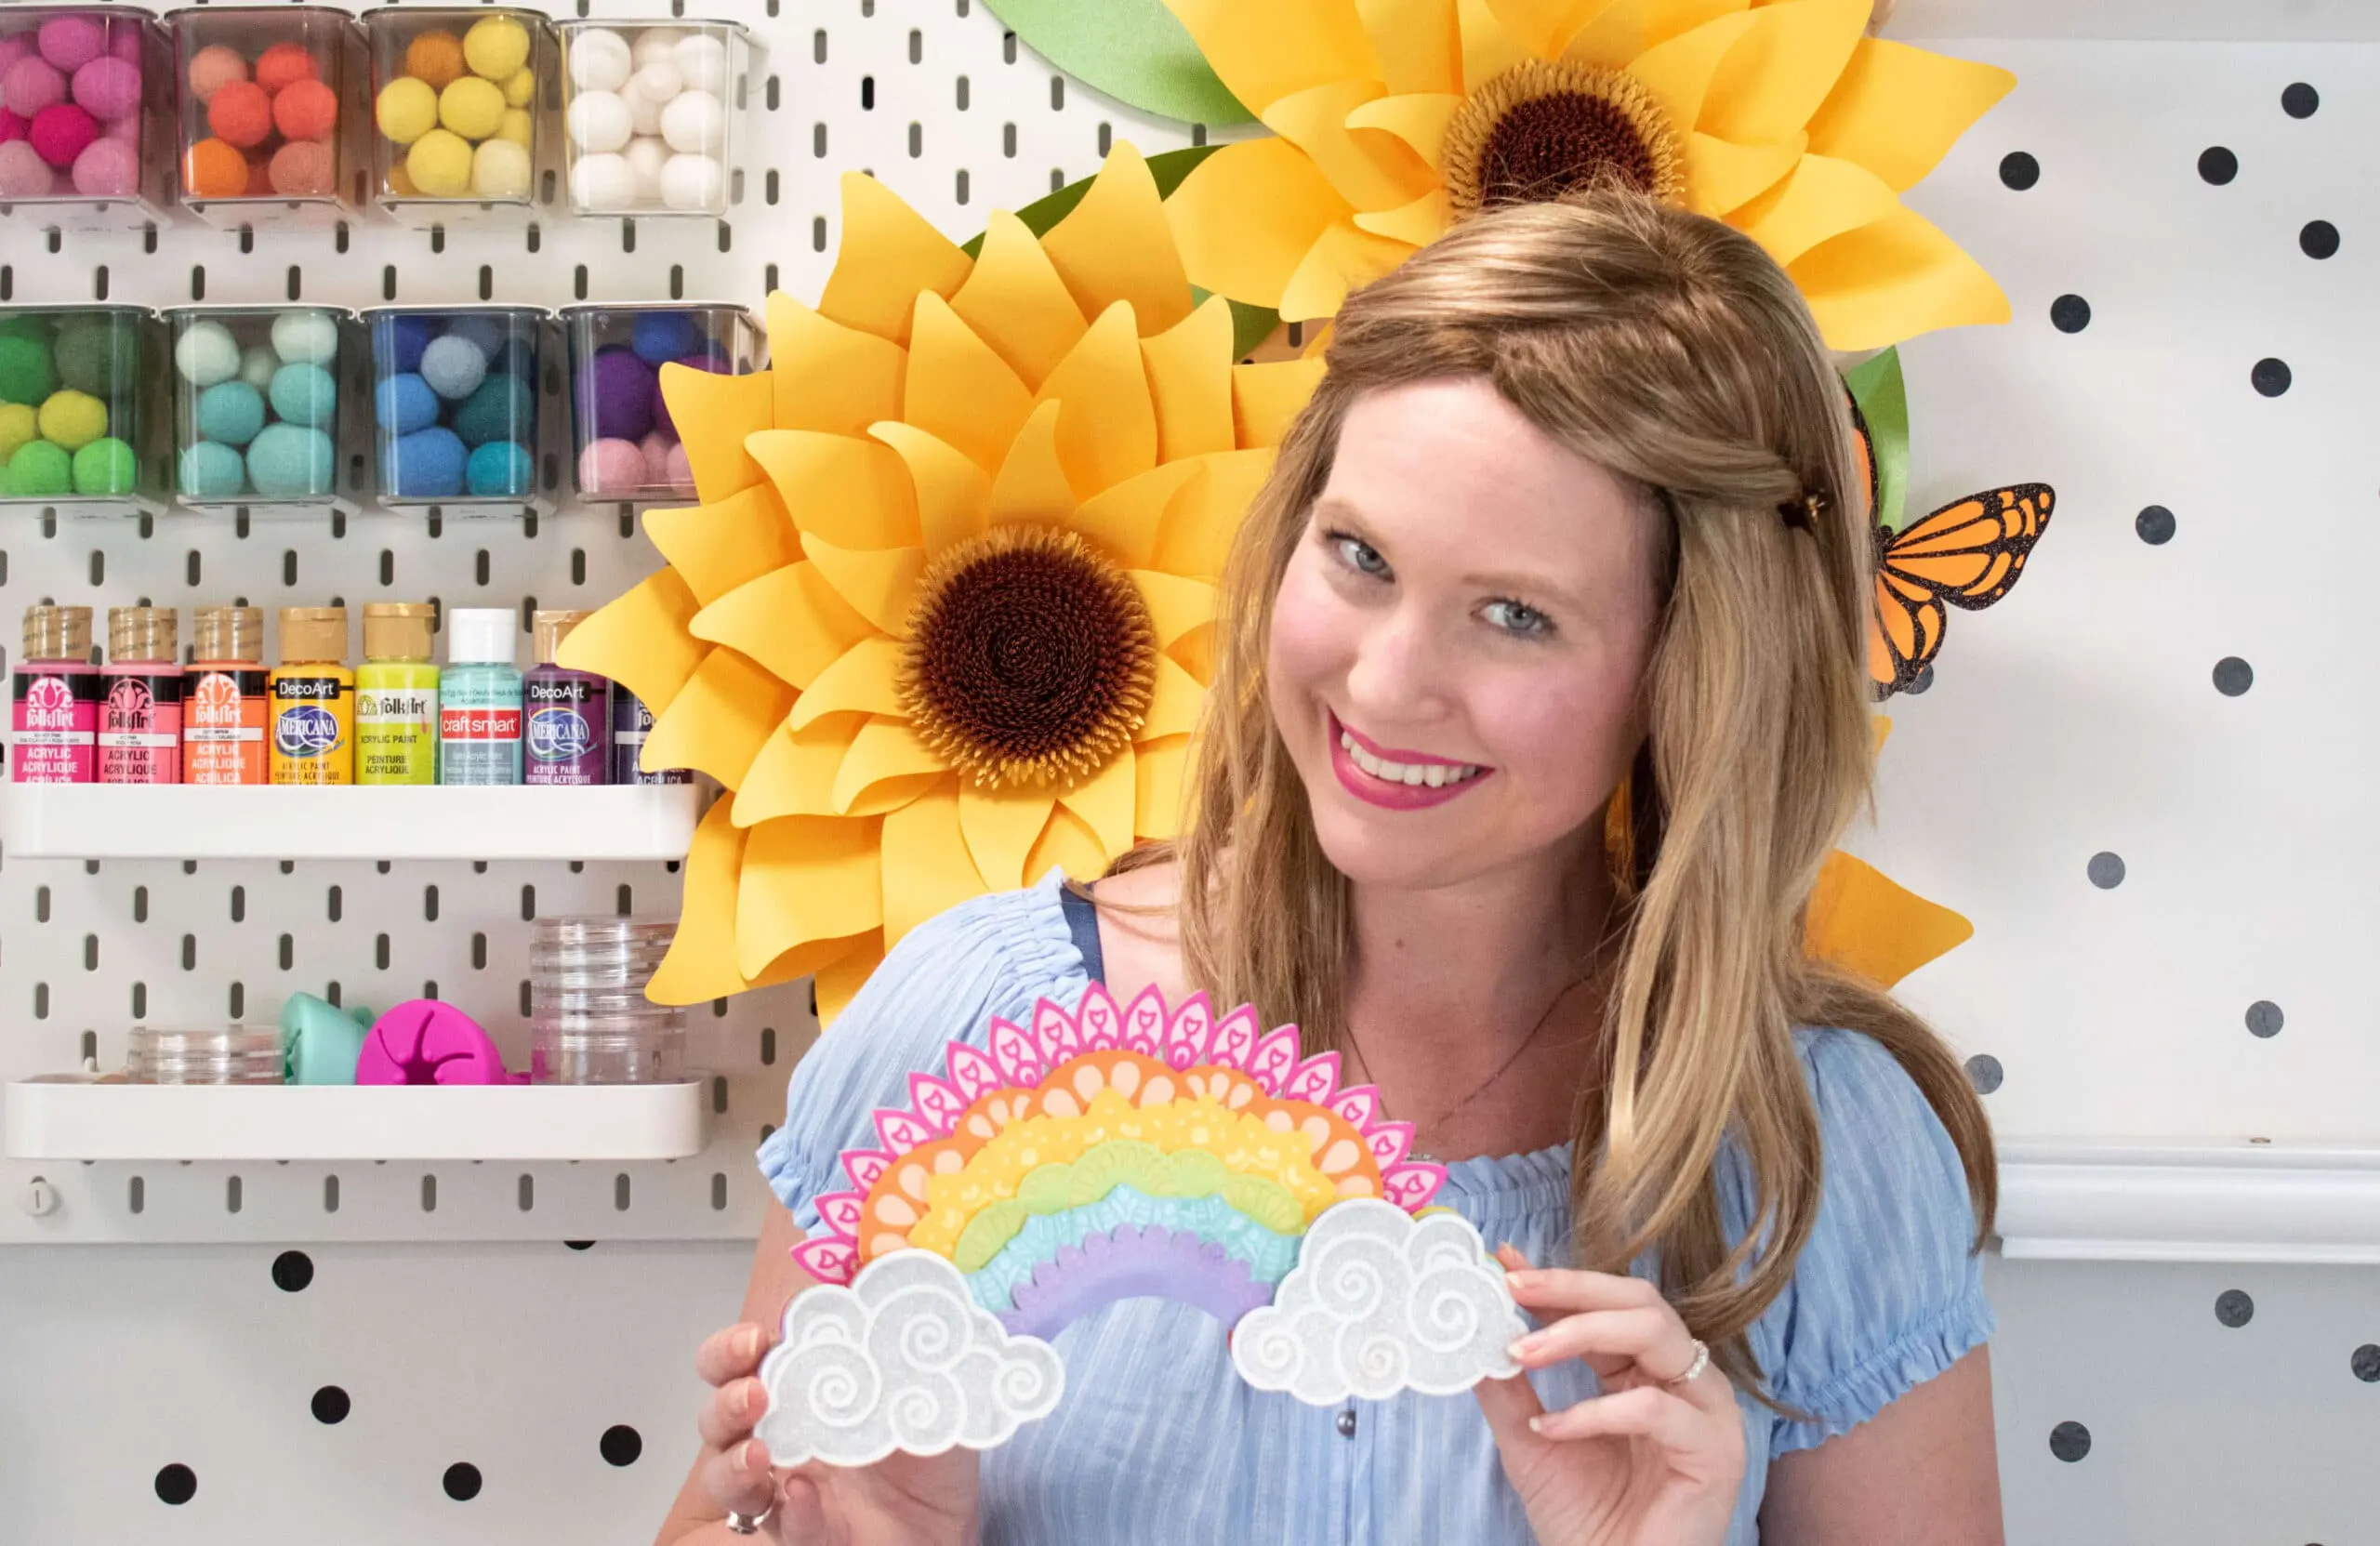
About Abbi Kirsten
Welcome to my colorful corner of the internet, where we play with vibrant crafts and unlock your creative magic! Hang out with me and get lost in a fun array of projects, tutorials, and products, from stunning papercraft ideas to flower templates, Cricut help for beginners, and endless crafter’s hacks.
Join A-Star Crafters and participate in monthly Craft-Alongs in our community Facebook group!


Thanks for the files! They are perfect!