DIY Coffee Ornaments With Cricut: Easy Gift For Coffee Lover
This post may contain affiliate links that won’t change your price but will share some commission.

DIY Coffee Ornament With Cricut
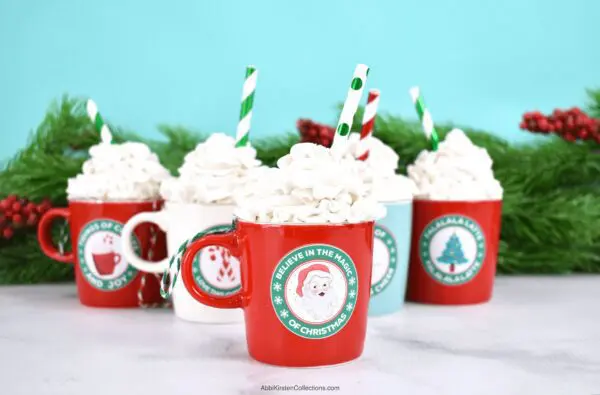
DIY Christmas ornaments make a cute addition to any Christmas tree — especially when they’re coffee ornaments! Whether you’ve been searching for a perfect Christmas gift for your favorite coffee lover or would like to make a coffee ornament for your tree, this simple step-by-step guide will help you create an adorable coffee ornament with your Cricut machine. Find more DIY ornament tutorials like our glitter ornaments here!

This may be my favorite craft this Christmas – Handmade Coffee Ornaments! These ornaments are perfect for coffee lovers and are much easier to make than you might think. Perhaps my favorite part of this coffee lovers craft is the faux whipped cream which I will show you how to make!

Supplies To Make These DIY Coffee Ornaments
- Lightweight spackle
- Espresso cup
- Paper straw
- Gorilla glue
- Piping bag, and tip
- Baker’s twine
- Cardstock
- Scissors
- Printable vinyl
- Printer
- Cricut machine
- Sticker coffee labels (download below)
For the coffee label stickers, you can download them for free below. Additionally, try using your own image for more customization options!
Download The Free Christmas Coffee Sticker Printables
Download the five Christmas coffee stickers in the Abbi Kirsten Craft Vault for FREE! You can use the Print Then Cut image files in Cricut Design Space. If you are not yet a member, sign up via the form below, and I’ll send you an email to set up your free account. If you are already a member, log in and search the keywords “coffee stickers” or design #663.
DIY Coffee Ornament Video Tutorial
Click play on the video below to watch the full tutorial, or keep reading for a picture tutorial. For more help on using Print Then Cut with your Cricut, find a full Print Then Cut tutorial here.
You may also love my Print Then Cut arabesque tile ornaments!
How To Make The Faux Whipped Cream
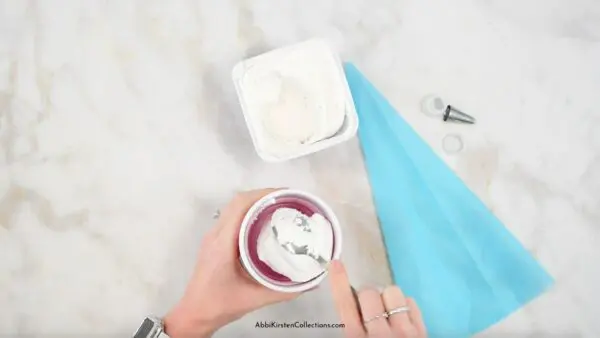
Take a few scoops of lightweight spackling out of the container and place them into a disposable plastic cup. Add approximately one tablespoon of water and stir — we’re changing the consistency to feel like buttercream frosting! Make sure you have that consistency before moving on to the next step.
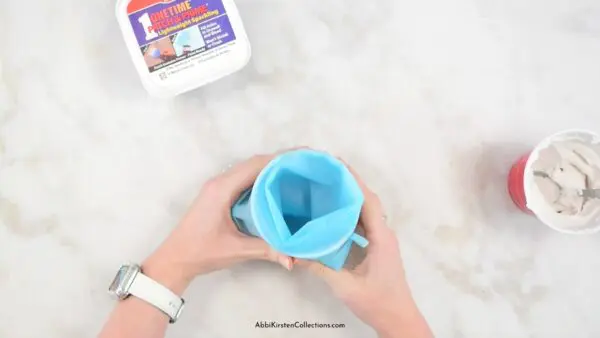
Grab a piping bag, place the coupler at the base of the bag, and twist the tip on the coupler until it’s tight. Get another plastic cup to fold the piping bag over — this step makes getting the lightweight spackling into the piping bag much easier!
Take a spoon and scoop the spackling into the cup. If you’d like, you can use a heavier-weight cup so it doesn’t move around on you as you transfer the spackling.
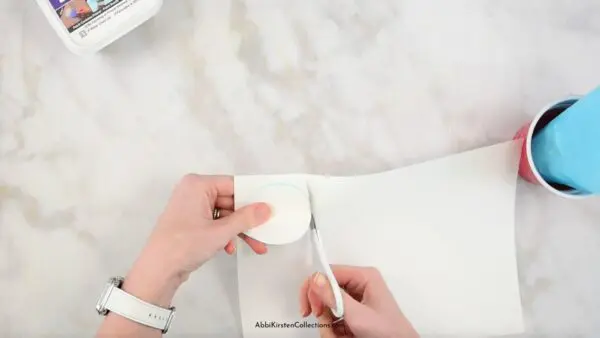
Take your mini espresso cup and trace the top’s circumference on a piece of medium-weight cardstock. I use an invisible marker, so the markings fade away! Cut out the circle with a pair of scissors. Now the fun part piping the faux whipped cream for your coffee ornaments.
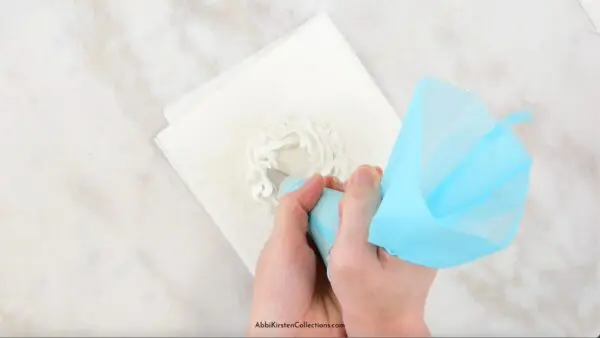
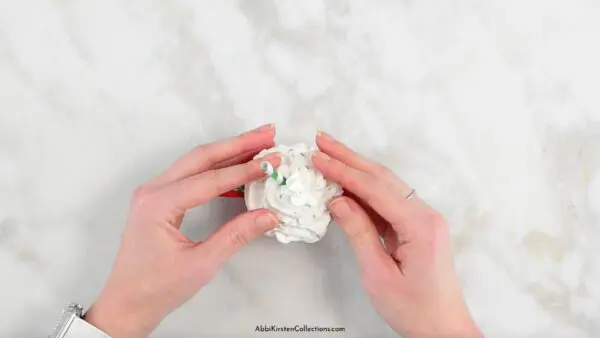
Grab the piping bag filled with lightweight spackling and begin to place the spackling on the circle. I start on the outer rim of the circle, work my way around, and eventually get to the center. It’s basically like the process of frosting a cupcake!
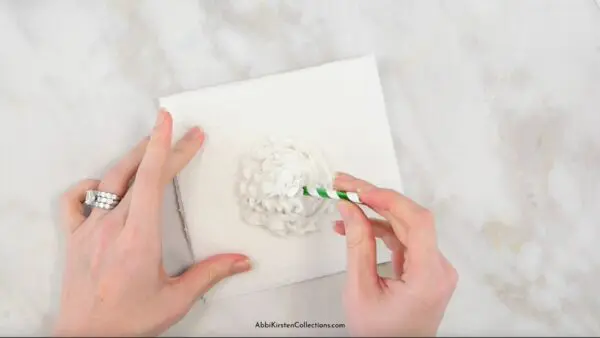
Grab a paper straw, snip it down to ⅓ of the length of the straw, and place it into the top of the spackling. It should look like a straw coming out of the coffee’s whipped cream topping! I use a fun Christmas straw to really drive the Christmas theme home. Let this dry for 10-12 hours.
Adding On The Hook For The DIY Coffee Ornaments
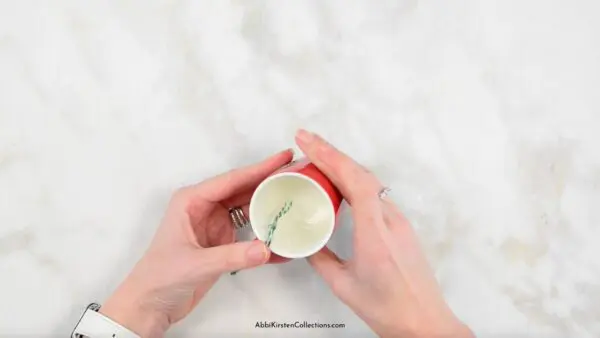
To create the hook for the ornament’s loop: cut a piece of Baker’s twine off and tie the bottom two ends together. The knot should be at the bottom and form a loop. I used Gorilla Glue to attach the loop to the inside edge of the cup. You could use an alternative adhesive like hot glue, but Gorilla Glue works better because it specifically has a stronger hold on ceramics. Let this part of the project dry for approximately 4-5 hours!
Print Then Cut Coffee Stickers
While the hook is drying, you could print off your Christmas stickers on printable vinyl using Cricut Design Space. If you need help understanding, Print Then Cut with your Cricut, and there’s a separate post linked here. I scale these stickers to about 1.75 inches for the size of my espresso cup — please keep in mind these measurements could be specific to the size of your espresso cup!
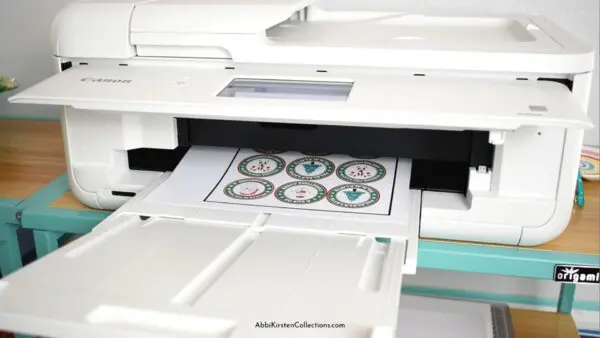
Once the stickers are on Cricut Design Space, place the vinyl on your mat. Select the printable vinyl setting! If you’re not using a printable vinyl, please do a test cut or consult the material settings to see your options. I definitely recommend printable vinyl for this project!
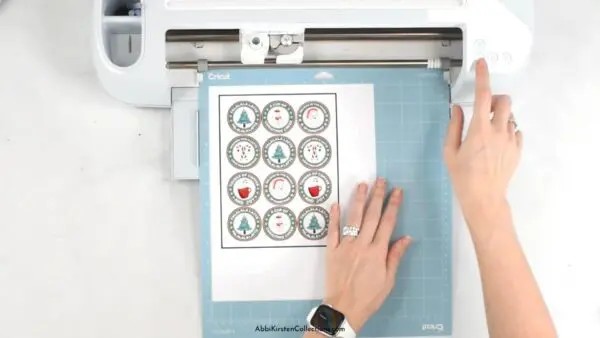
Once your Cricut cuts out all the stickers, you’ll need to choose which one(s) you will place on your espresso cup. I created five cute Christmas-themed designs for you to choose between! I opted to put a sticker on each side of the cup; you could decide to place one sticker on the cup.
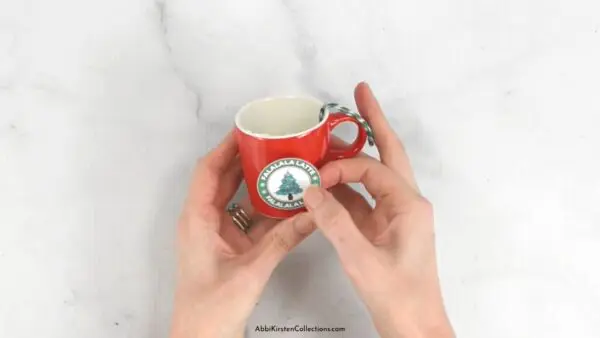
(Pro tip: make sure your espresso cup is dust-free, so the sticker attaches better, and place the stickers in the center!)
Finishing The Coffee Ornament
To finish this DIY coffee ornament strong (pun intended), use Gorilla Glue to attach the cream on top of the espresso cup. Please keep in mind that the spackling is fragile, so don’t push on it hard.
You should let it dry for about 6-12 hours before hanging it on your Christmas tree or wrapping it as a Christmas gift for a coffee lover in your life.
And don’t forget you can get all five Christmas coffee sticker labels in the Vault above.
Would you make these DIY coffee ornaments for yourself or give them as a gift? Tell me below in the comments!
More Crafts You May Love
About Abbi Kirsten
Welcome to my colorful corner of the internet, where we play with vibrant crafts and unlock your creative magic! Hang out with me and get lost in a fun array of projects, tutorials, and products, from stunning papercraft ideas to flower templates, Cricut help for beginners, and endless crafter’s hacks.
Join A-Star Crafters and participate in monthly Craft-Alongs in our community Facebook group!