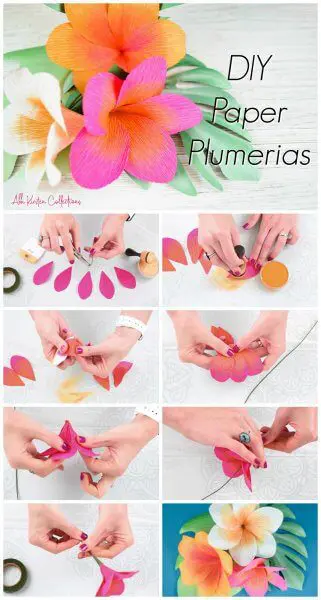
DIY Crepe Paper Plumeria Flowers
This post may contain affiliate links that won’t change your price but will share some commission.
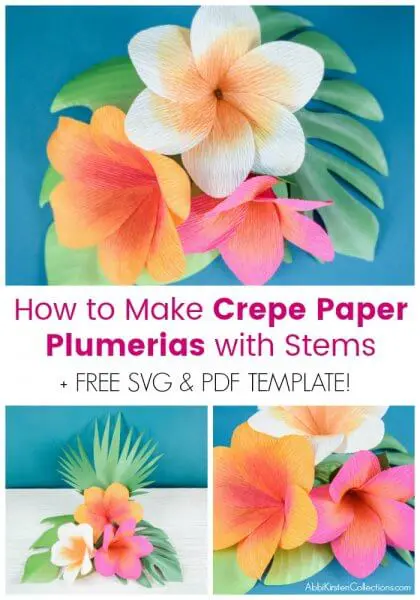
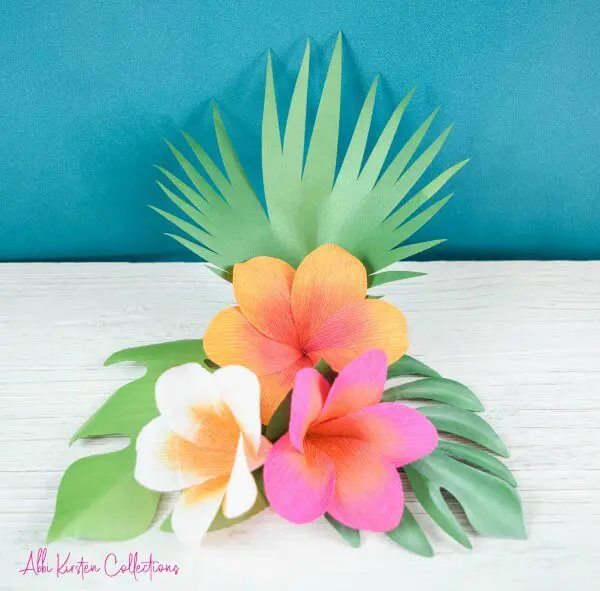
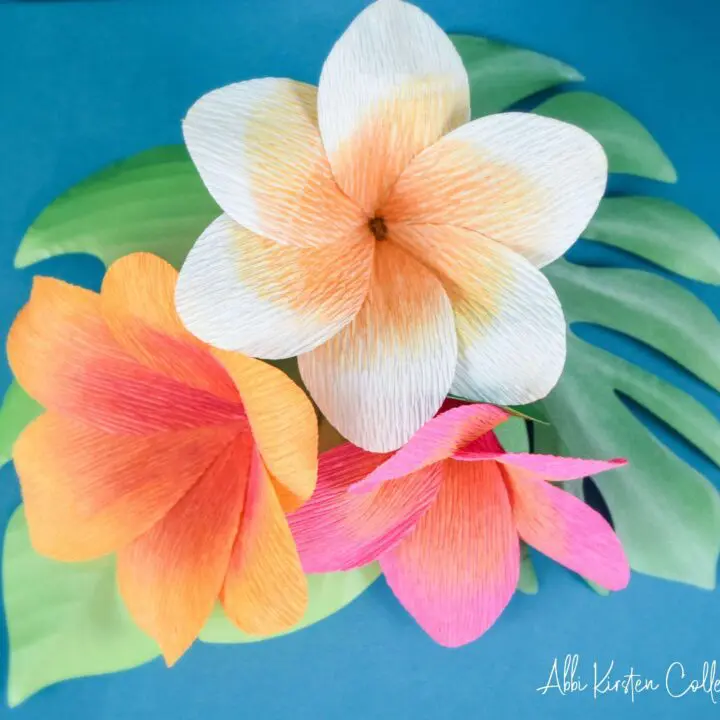
Summertime is in full swing and that means bright, cheerful, and tropical vibes coming your way! Today I am going to teach you how to make these beautiful crepe paper plumeria flowers. You can create these with or without stems and you will see how to do both in the video tutorial below. This plumeria tutorial is an easy small paper flower that any beginner can do!
Tropical blooms have graced the blog many times before now with my most recent hibiscus crepe flower tutorial and even several giant flower designs, like my giant hibiscus and Hawaiian bloom made with cardstock paper.
How to Make Paper Plumeria Flowers

Supplies Needed For Plumeria Flowers
- 90-180-gram crepe paper or this 50-65 pound cardstock from Recollections I love. I also love the Cards and Pockets text-weight paper, too!
- Scissors or cutting machine. Cricut makes this job much easier!
- Glue gun
- 18 gauge wire
- Plumeria-style paper flower templates are FREE in the Craft Vault.
- Panpastels and sponges
- Cricut scraper or Friskars tool
Download the plumeria flower templates via the freebie vault below!
Download these free templates by signing up via the form below. If you are already a member, log in and grab the plumeria flower templates in PDF printables and SVG cut files. You can also find it by searching Plumeria or design #18 at the top.
If you need help entering the vault, read our Freebie Vault how-to guide here.
New to paper flowers? Be sure to check out my full mega supply list here!
Cut out your plumeria petals
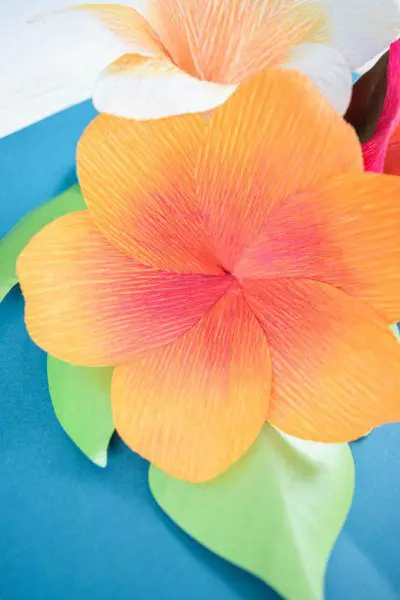
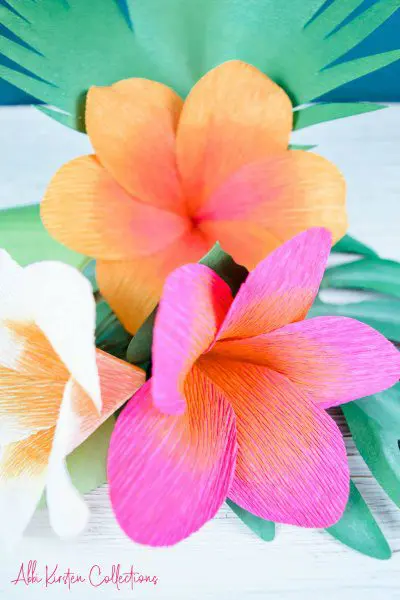
I cut out 5-6 petals for this flower. Plumerias typically have 5, but you can do some with 6 for variation. You can hand-cut with scissors using the printable PDF files or use the SVG cut files with a cutting machine like the Cricut Maker, which cuts crepe paper with a rotary blade!
These paper plumeria flowers are very easy to make and simplistic. Get playful with the colors and the panpastel pigments, which really make them come to life.
Once you get your petals cut out, scroll down and click play to watch the full video tutorial or keep reading for a picture tutorial of the plumeria flowers!

Paper Plumeria Flowers Video Tutorial
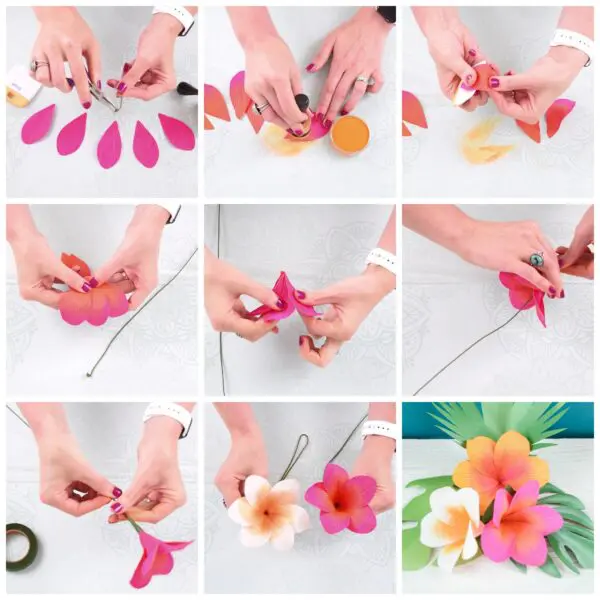
- Cut your crepe petals out on your Cricut machine or with a pair of scissors
- Distress the petals (optional) with distress ink or pan pastels and ink daubers
- Overlap all 6 plumeria petals at a 45-degree angle using hot glue.
- Close the circle of petals completely.
- Bend the tip of your 18 gauge wire into a tiny circle at the tip to act as a stopper.
- Slide the wire through the plumeria flower and secure it with a bit of glue at the base.
- Finish the base of the flower off with floral tape for a seamless transition from flower to stem.
Did you love making these paper flowers? Be sure to visit all the paper flower tutorials here!
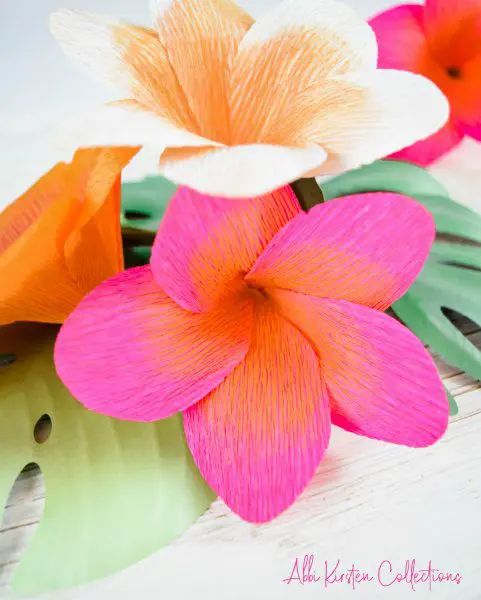
DIY Crepe Paper Plumeria Flowers
Learn to make these tropical beauties with our free template! Find complete instructions to craft small plumeria flowers made with crepe paper. You can use a Cricut or cut them out by hand.
Materials
- 90-180-gram crepe paper
- If you aren’t using crepe paper, try 50-65 pound cardstock from Recollections (optional)
- Scissors (optional)
- Cricut or other cutting machine if you aren’t cutting by hand
- Glue gun
- 18 gauge wire
- Plumeria paper flower templates
- Panpastels and sponges
- Cricut scraper
- or a Friskar scraper (optional)
Instructions
- Using your crepe paper, cut out the petals with scissors or your Cricut machine.
- (optional) Distress each petal with ink, paint, or panpastels and your sponge.
- Overlap all 6 plumeria petals at a 45-degree angle, and attach them together using hot glue to create a closed petal circle.
- Bend the tip of the 18-gauge wire to make a small circle to act as the flower base and stem.
- Slide the wire through the middle plumeria flower and secure it with a bit of glue at the base.
- Hide the wire with floral tape at the base of the flower for a smooth transition from flower to stem.
[bigpres skus=”0037,0083,0040,00128,00135,00120,00153,00140″ overlay=”no” animation=”fade” direction=”top” show_img=”yes” show_name=”yes” show_price=”yes” show_arrow=”no” hide_button=”no” link_to=”product” per_row=”4″ size=”medium” type=”card” show_content=”no” drop_shadow=”no” /]
Wanna be a Cricut Master and learn to create your own craft design files like me?
Do you own a Cricut machine or want to own a Cricut but are intimidated when it comes to learning the equipment or even opening the box?!
Are you are overwhelmed when you look at the Design Space software and feel lost with all the functions?
Maybe you wish you could create your own design files rather than being forced to spend money on every design for each project you make?
If that sounds like you be sure to join me here in my FREE masterclass!
About Abbi Kirsten
My mission is to inspire you to nurture the creative magic inside your soul – bringing you fun, easy-to-learn DIY projects, and quality template designs. I share a variety of projects, such as printables, SVG cut files, and craft tutorials, but specifically love paper crafting and paper flowers.
Interested in paper flowers?! I’ve created dozens of signature designs for you to enjoy – starting with my bestseller, The Art of Giant Paper Flowers, the Giant Flower Library, and Catching Colorflies, my shop of endless paper designs and flower templates.
Want to join my Facebook community to share your crafts and learn from the best? Click here to request access to my group, Crafters and Cricut Lovers.
More Crafty Posts!
- How to Make A Paper Cactus: Prickly Pear, Aloe Vera, and Ferocactus
- DIY Cali Poppy Paper Flowers
- Make Fruit Pop-Up Cards With Cricut
- Butterfly and Bug Shadow Boxes
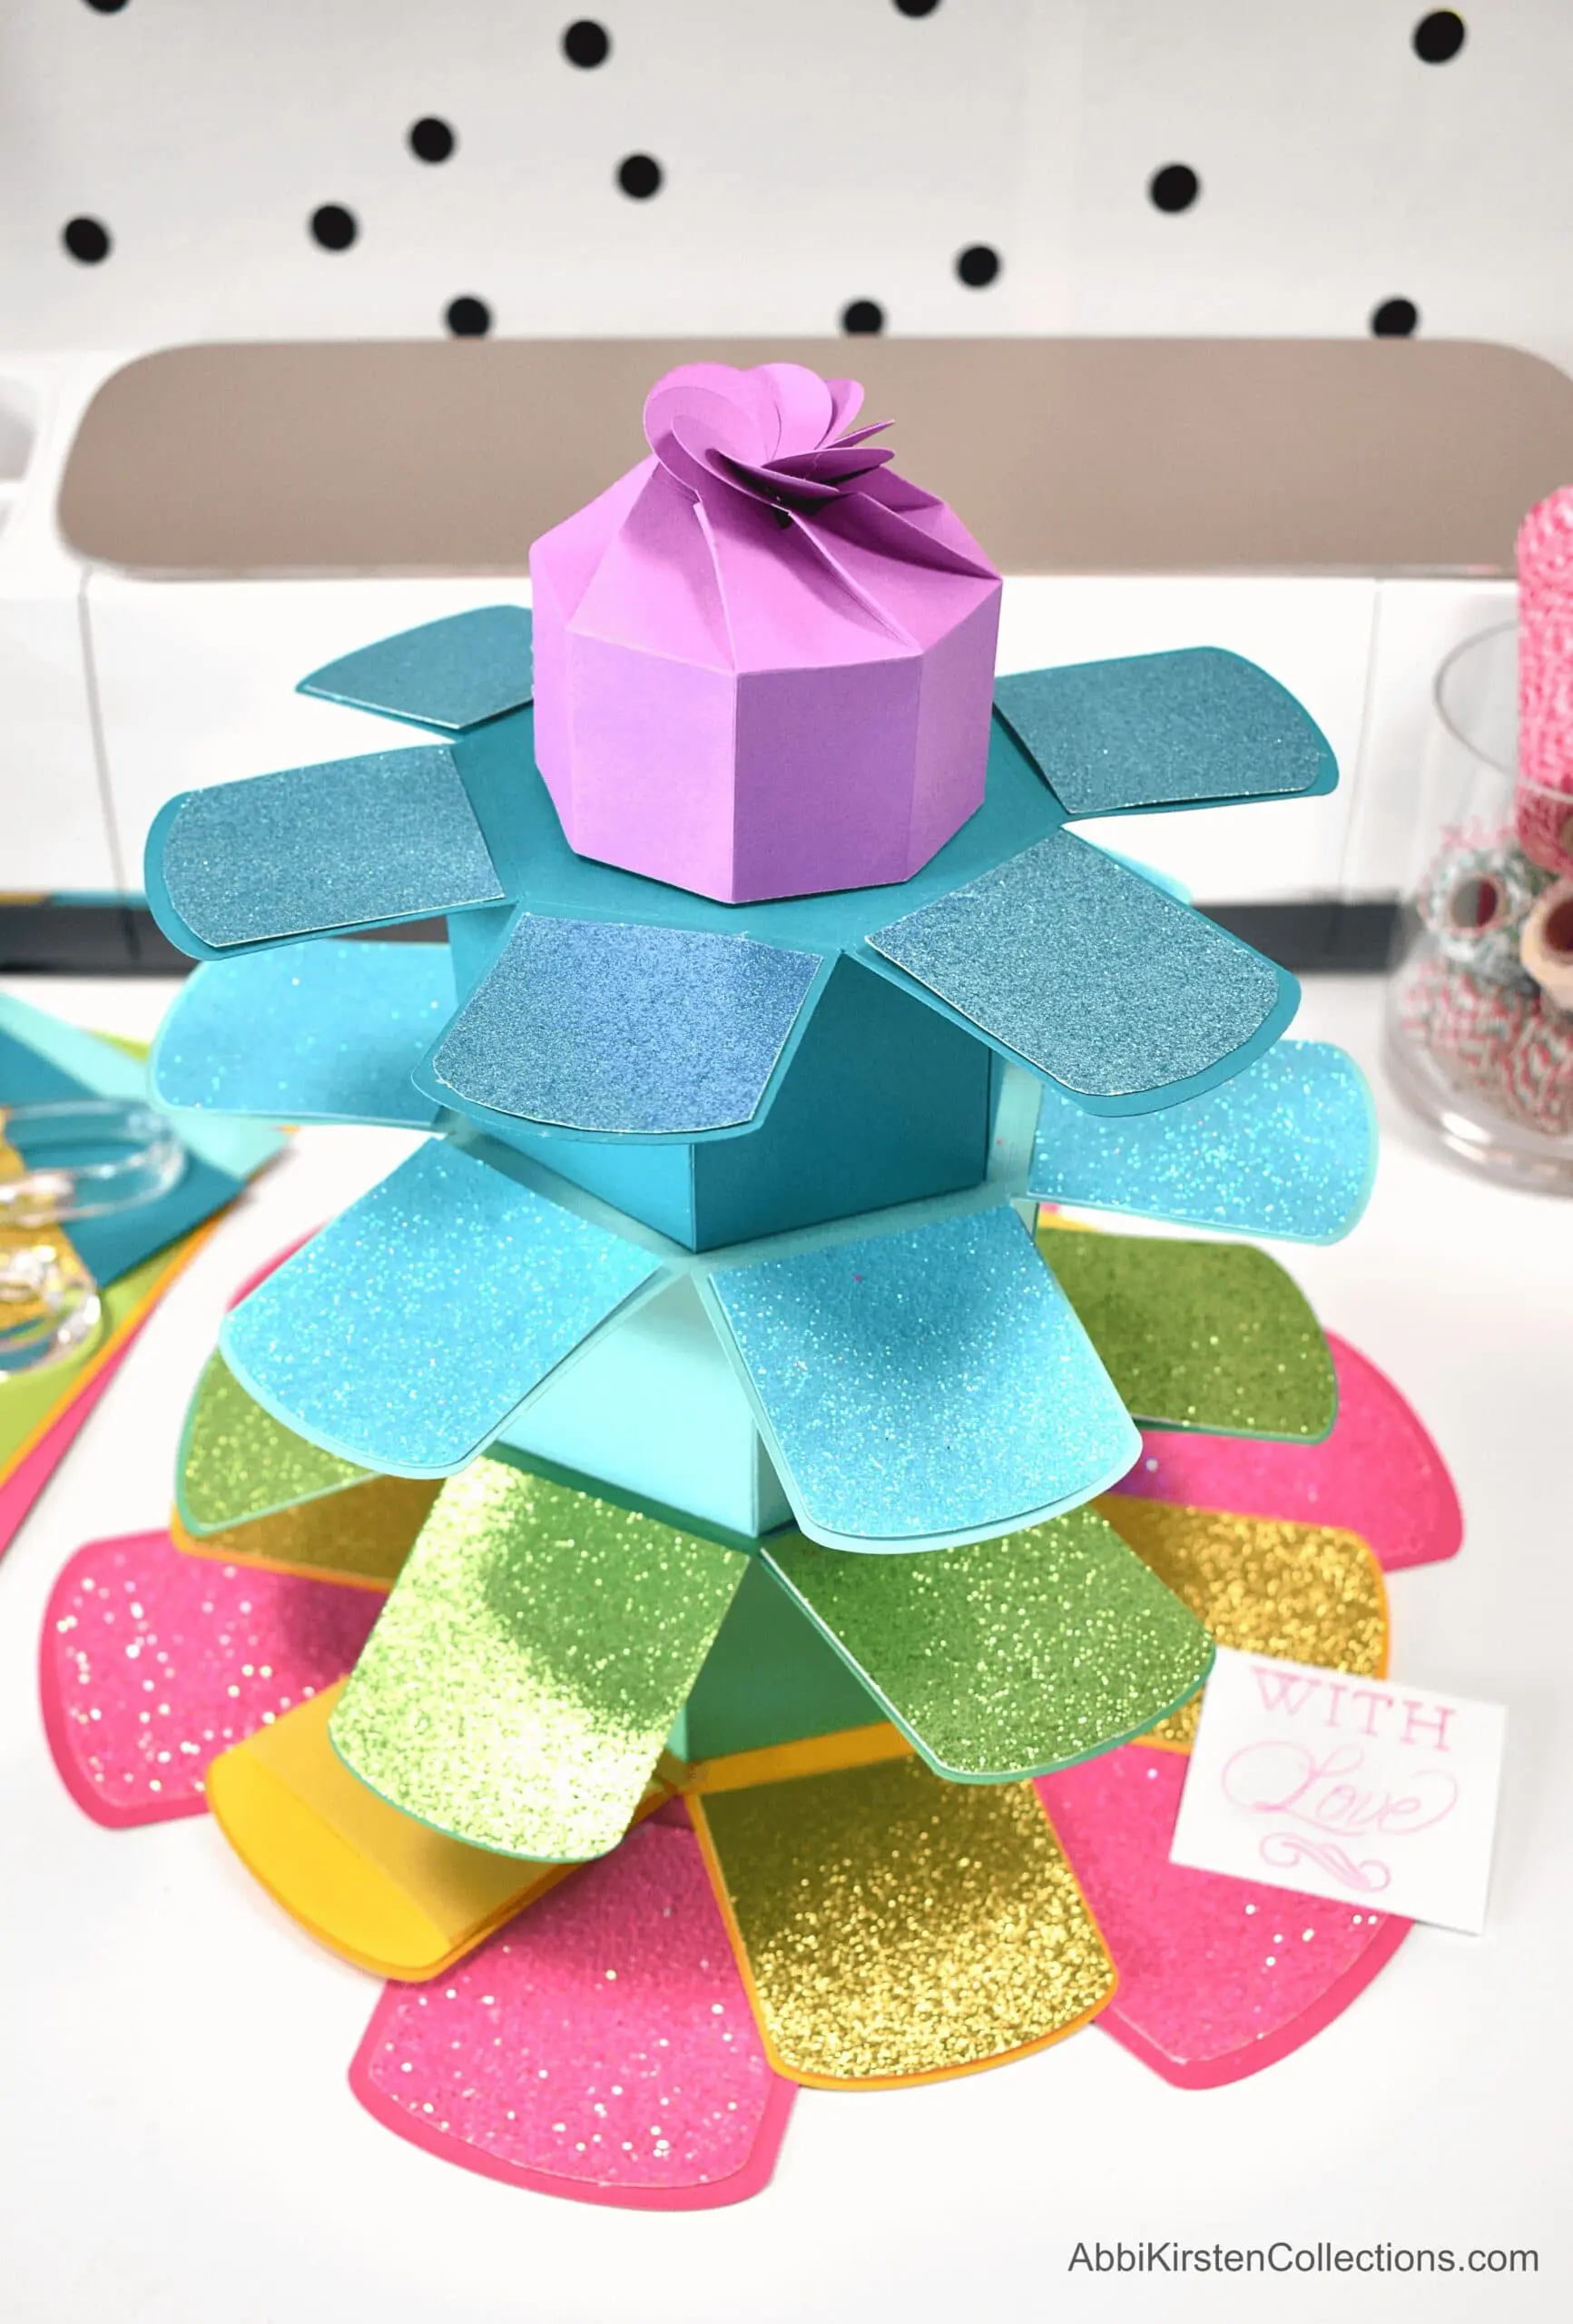
- Make A Spring House Explosion Treat Box