How To Make A Custom Photo Map With Cricut: Full Tutorial and Photo Map SVG Templates
This post may contain affiliate links that won’t change your price but will share some commission.
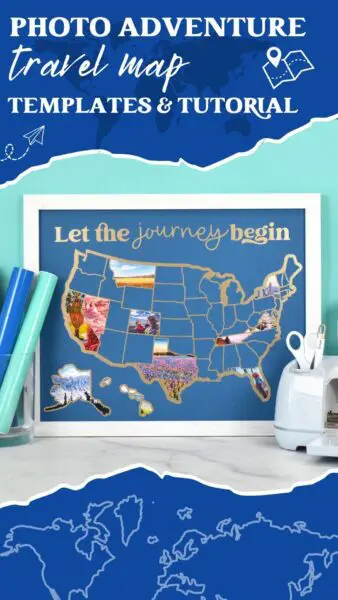
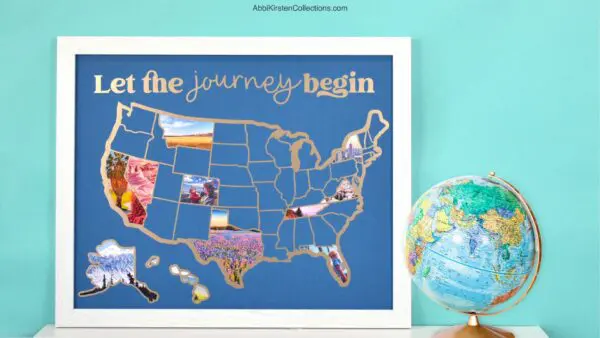
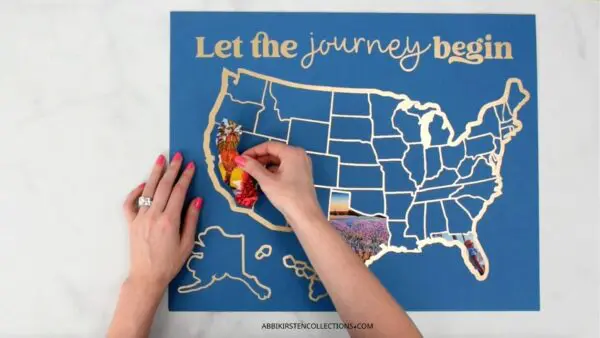
Do you love to explore different places and have a passion for travel? There’s a great way to showcase your favorite memories from your adventures across the United States, mountain ranges, or even world travels. Instead of letting your favorite photos get lost in your phone’s gallery or packing away old photos, why not create a personalized photo map with all your family photos to hang in your home?
In this tutorial, I will show you how to create a DIY photo map with your Cricut machine using travel and trip photos! This DIY project is a fantastic way to compile your travel memories into a beautiful composite that you can proudly display.
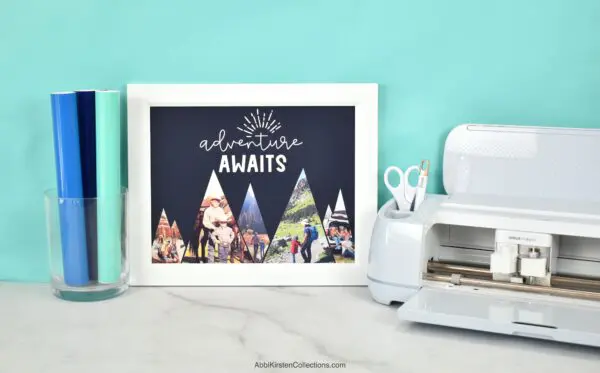
Download The Adventure Photo Map and Moutain SVG Files
To start this exciting project, download the adventure photo map and mountain SVG files. These SVG files can be found in the Abbi Kirsten Craft Vault for our premium members! Below are links to each design.
Supplies to make your family photo map
Let’s review the supplies you will need to make your family photo map!
- Any current full-size Cricut machine (Maker, Maker 3, Explore Air 2, Explore 3).
- Matboard (I used a 16 x 20 inch matboard)
- Permanent vinyl
- Transfer tape
- Printable vinyl
- Inkjet printer
- 12 x 12 Cricut mat
- 12 x 24 Cricut mat
- Picture frame or wood sign (I used a 16 x 20-inch frame)
- Weeding tool
- Cricut scraper
- Photos of your choice
- Parchment paper (optional)
Photo Adventure Map Video Tutorial
DIY Photo Map Design Space Set up
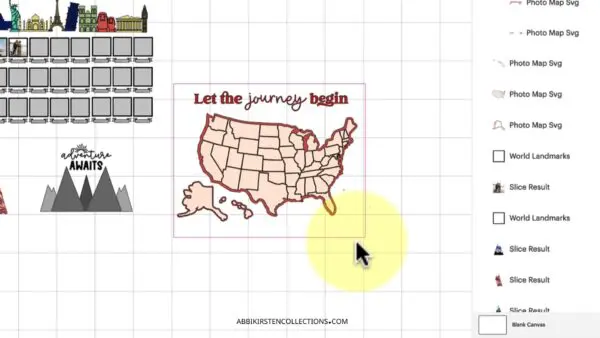
- Upload the photo map SVG or mountain range SVG to Cricut Design Space. See how to upload SVG for Cricut here!
- Scale the map to your preferred size.
- I used a square from the Shape’s Panel as a Guide Operation to match the size of my matboard. Then I scaled the map to fit within the Guide. For me, I did a 16×20-inch matboard.
Note: Do not scale this design too small – it is recommended for the US map to go with a 16×20 frame for best results.
Have You Calibrated Your Cricut For Print Then Cut?
If you are new to Cricut, make sure you first calibrate your machine before performing any Print Then Cut projects! Find a full guide to Print Then Cut, including calibration, in this tutorial here!
How To Upload Photos to Cricut
To set up the photo aspect of this design, you will need to upload family photos or terrain pictures to Cricut.
- Start by clicking the upload button again and bring in the photo.
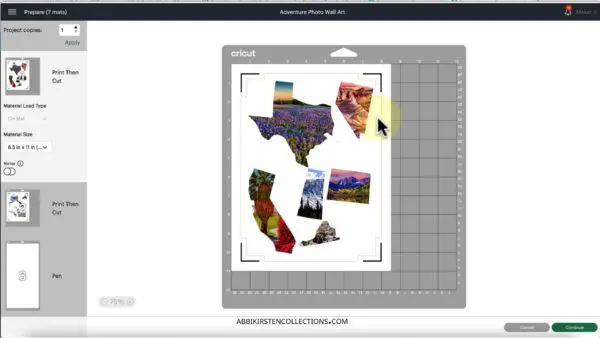
- Click Apply and Continue. Then select the Print Then Cut preview option.
- Next, scale the photo to a similar size as the state you plan to clip the image into.
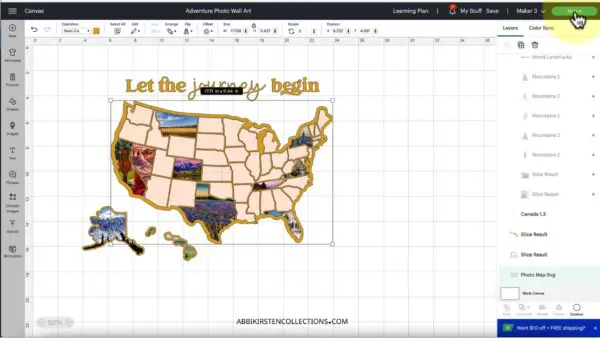
Using The Slice Tool To Set Your Vacation Photos

Using the Slice Tool, fit your travel photos into the shape of the state you plan to clip the image into. This process transforms your image files into state shapes!
- Ungroup the map or mountain range design and select just one state. Right-click>Ungroup.
- Use the Arrange Tool to bring that state cut out to the front so that the photo falls behind it.
- Fine-tune the scale and position of the state over the photo.
- Select both the state and photo, then click Slice at the bottom of the Layer’s Panel. Note: You can only slice two objects at once.
- Pull apart the pieces and keep just the state cut-out result!
- Repeat these steps with any states you wish to use.
- Don’t forget to save your project so you can return later when it’s time to add more photos.
How To Use Slice And Set For Layering Iron On Vinyl!
The Slice Tool has many uses! One of the best ways to use this tool is for layering heat transfer vinyl, also known as iron-on vinyl. Check out this full tutorial on layering HTV using the Slice and Set technique!
Print Then Cut State Photos On Sticker Vinyl
Once you’ve completed your states photo map set up in Design Space, it’s time to print and cut the state photos on sticker vinyl.
- Send your images to the cut screen by clicking Make It.
- You will need to Print Then Cut the photo state images by sending the design to your printer to print out in ink.
- Use Cricut’s printable vinyl or a similar printable vinyl sticker paper to print on.
- Lay the printed result on your cutting mat and load it into the Cricut machine.
- Select the Printable Vinyl material setting. If you are using a different brand of sticker vinyl, you may want to do a test cut before printing.
- Next, Cricut will scan the registration marks and then proceed to cut around the states or mountain range images.
- Set these aside when complete.
Cutting The Vinyl Photo Map Frame
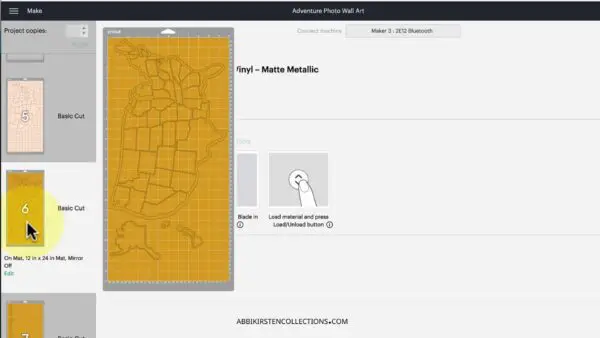
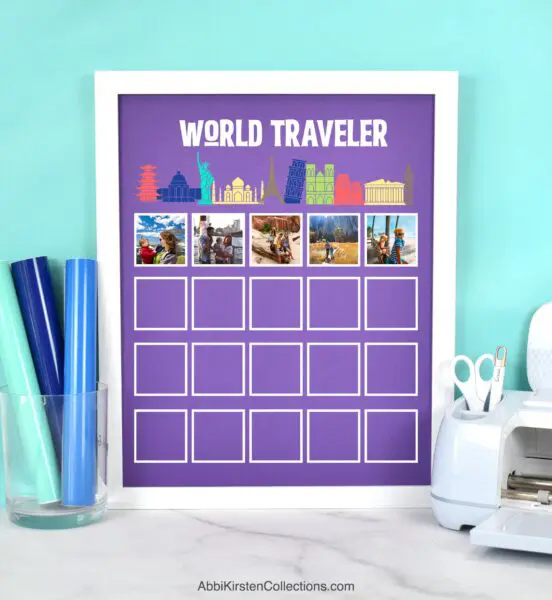
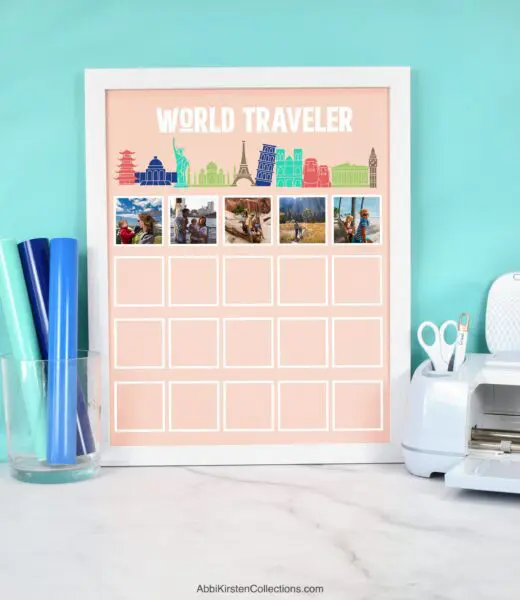
- You will also need to cut the frame of the USA map or the world traveler SVG (the mountain range does not have a frame, and Canada does not either due to the tiny islands – see my notes on Canada here in the video).
- Load your vinyl onto the 12×24-inch mat, or if you have an Explore 3 or Maker 3, you can cut with Smart Vinyl (meaning you do not have to use a mat). I used a gold smart vinyl by Cricut.
- Cricut will cut out the map. Remove the mat or material from the machine when complete and begin to weed the design.

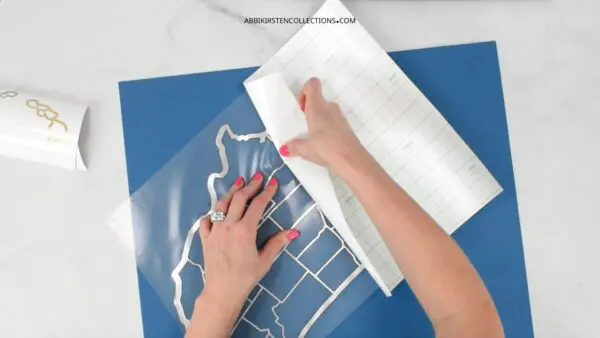
Applying Vinyl To Mat Board
- Apply a large piece of transfer tape and burnish the design onto the transfer tape.
- Flip the design over and press, crease, and roll away the liner to release the vinyl onto the transfer tape.
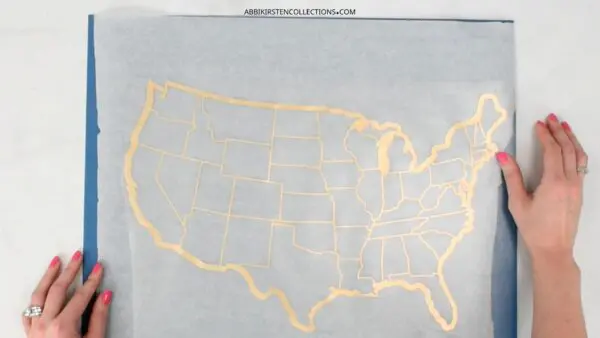
- Grab your matboard and align the design pressing it down when ready. To help with alignment, you can use a piece of parchment paper to shift the design until you are happy with the location and then slide out the parchment paper to press it down. See how to use the parchment paper in this video here!
- Repeat steps 4-6 with the top phrase if you are adding it or any other pieces you need to add on separately.
Add In Your Travel Photos
- Lastly, peel off your state or mountain range vinyl printed stickers and place them onto your map, mountain range, or world traveler design!
- Your personalized travel photo map is ready to be hung up in your home or given as a gift.
By making your own pictures into a story of the places you’ve visited, you can create a unique memento. You can include photos from national parks, various states, or any particular location that holds a special place in your heart for a one-of-a-kind travel map display. Not only does it allow you to relive your travel experiences, but it also adds a personal touch to your decor!
Floating Photo Ornaments
With the help of your Cricut, you can use personal family photos in other ways, too, such as floating photo ornaments. Get the full tutorial and free templates to make your own photo ornaments this holiday season!

This DIY project opens up new ways to cherish your travel memories. Your entire map, filled with your favorite photos from various locations, becomes a visual narrative of your travels. It’s a little bit of creativity combined with your precious travel photos that result in a keepsake you’ll treasure for years to come.
What do you think of this photo map tutorial? Tell me in the comments below!
About Abbi Kirsten
Welcome to my colorful corner of the internet, where we play with vibrant crafts and unlock your creative magic! Hang out with me and get lost in a fun array of projects, tutorials, and products, from stunning papercraft ideas to flower templates, Cricut help for beginners, and endless crafter’s hacks.
Join A-Star Crafters and participate in monthly Craft-Alongs in our community Facebook group!