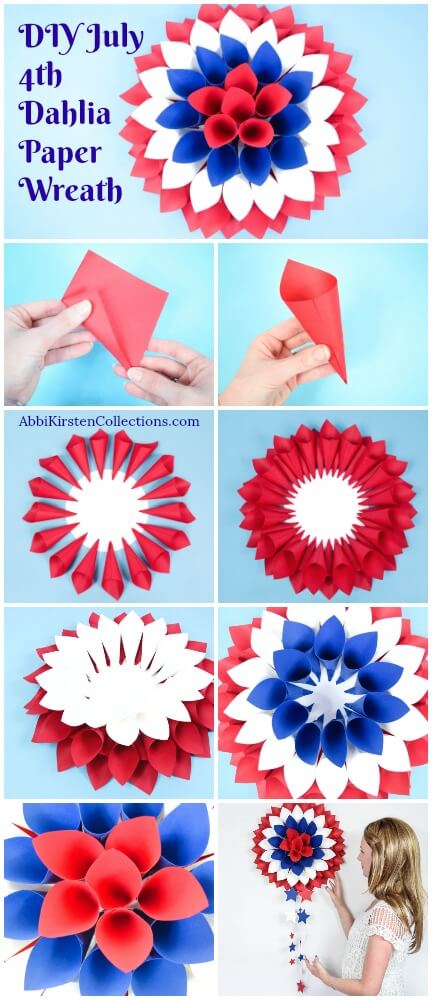
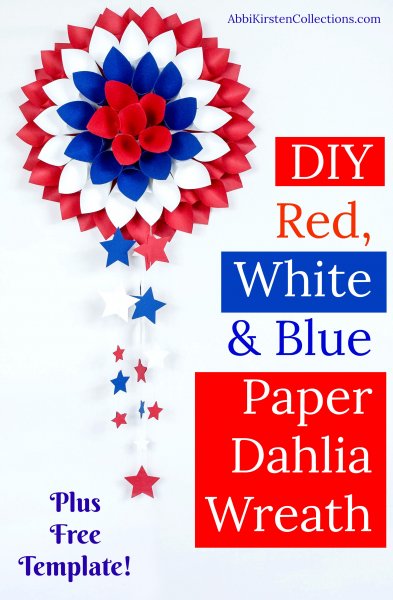
Red, White and Blue Dahlia Paper Wreath
This post may contain affiliate links that won’t change your price but will share some commission.
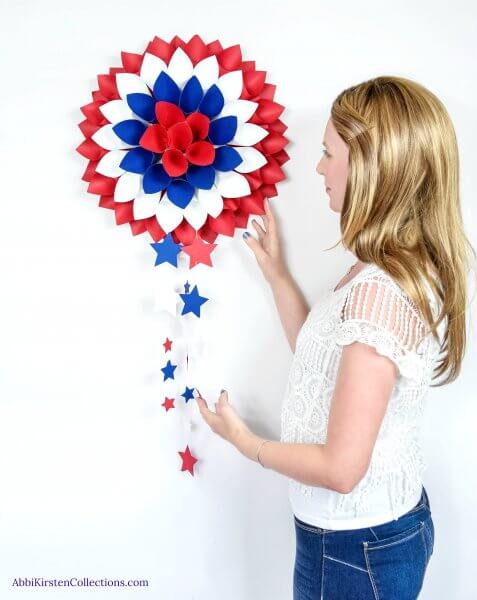
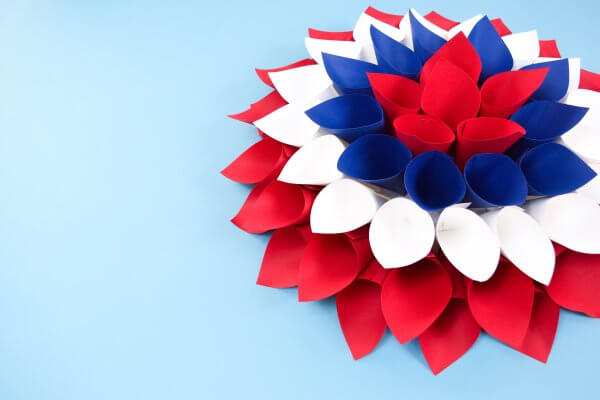
Making a wreath is a wonderful way to decorate for any holiday or season. As you know I love to create things from paper and decided to rework and reshare one of my most popular posts ever with this floral Dahlia Paper Wreath for July 4th!
Ultimately you can create this as a set of flowers or a single piece of decor for any occasion or holiday to adorn a door or mantel in your home- so don’t be afraid to get creative! In this tutorial I will show you how to build the dahlia paper wreath and I also included free PDF printables and SVG cut files below!
Supplies Needed for a Patriotic Paper Dahlia Wreath
- Glue Gun
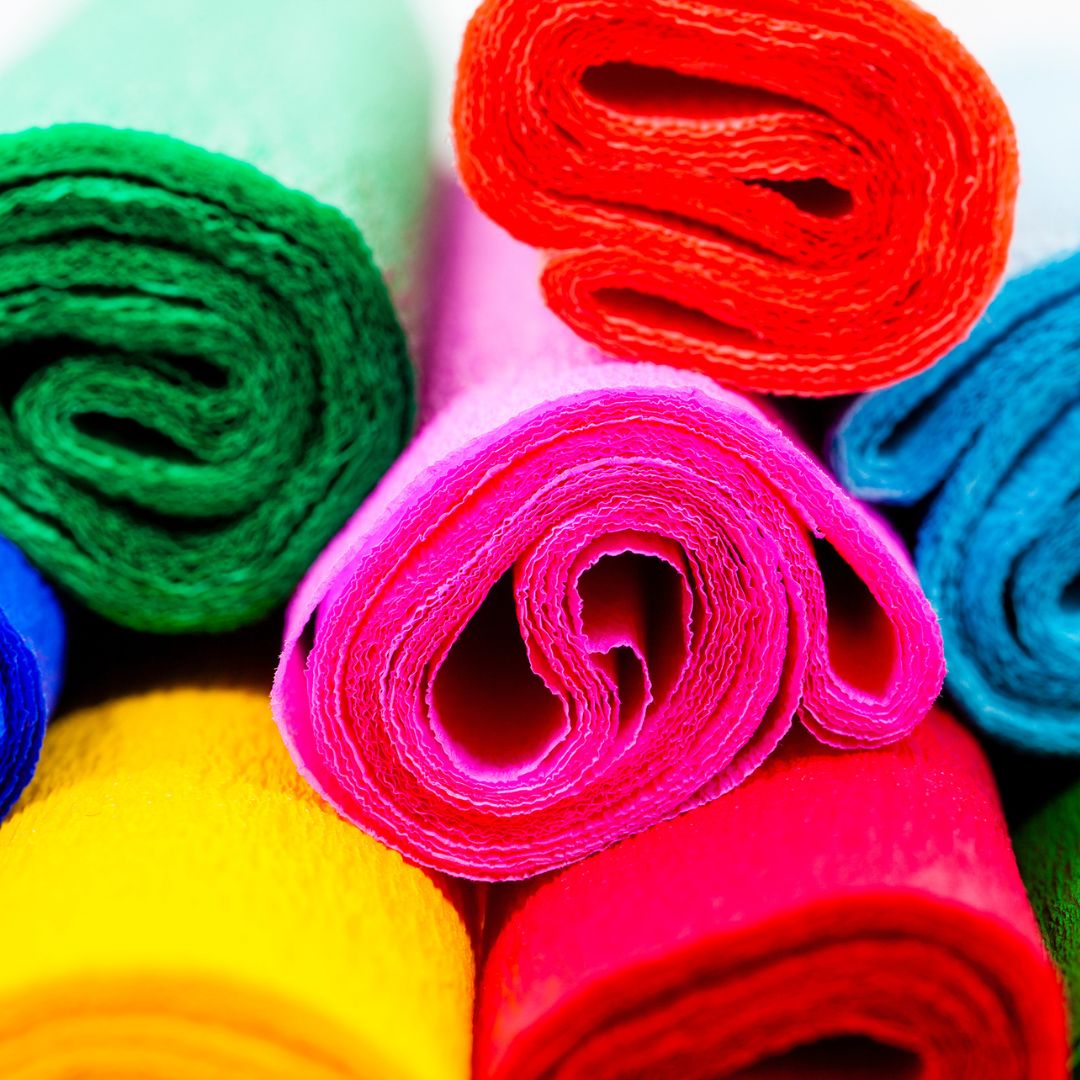
- 65-pound cardstock
- Scissors and/or cutting machine (Cricut Explore Air 2 Machine)
- Templates – download below
- You can always find my detailed supply list here!
Download the Dahlia Paper Wreath Template Here!
Grab your free dahlia paper wreath template in Abbi’s Craft Vault! Enter your name and email below to create a free account, or sign in and download the Dahlia template design here.
How would you decorate using this dahlia paper wreath for your home or gathering for this July 4th celebrations?! Tell me in the comments.
July 4th DIY Decor: Red, White and Blue Dahlia Paper Wreath
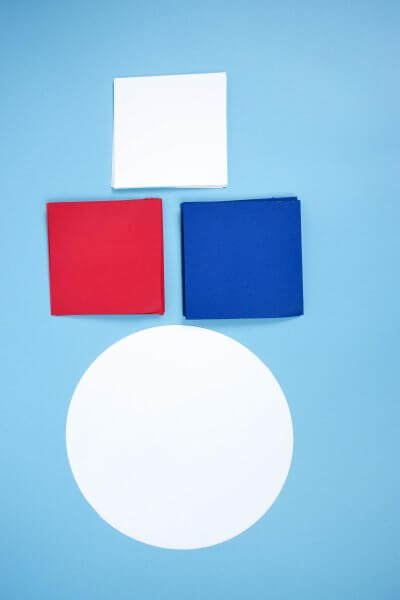
Step 1 – Cut Out Paper Squares

Related Posts
Easy Beginner’s Method When Making a Large Paper Flower
8 Easy Ways to Hang Paper Flowers
37 Inspiring Paper Flower Tutorials
How to Stem a Giant Paper Flower

Step 2 – Shape the Dahlia Petals
Shape each square into a cone. Gently fold one end inwards and glue the other over to secure. Repeat with all your cones.

Step 3 – Attach the Cones to the Centerpiece
Start gluing the cones to the outer edge of the circle cut out, going all the way around. Make sure to leave about a 1/2 inch or so of space between each cone.

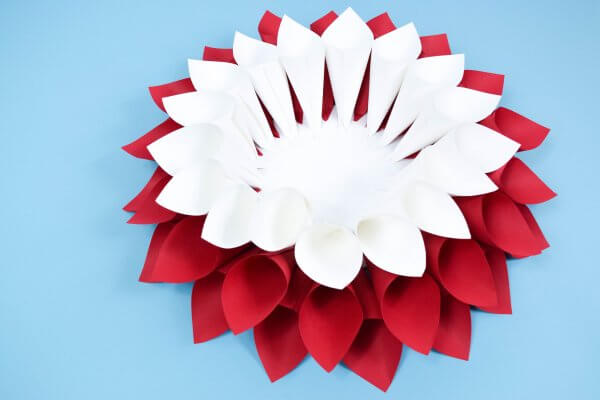
Step 4 – Layer in the White Cones
Next, continue adding cones. Place the cones in the spaces we left between the first layer of cones we glued down.
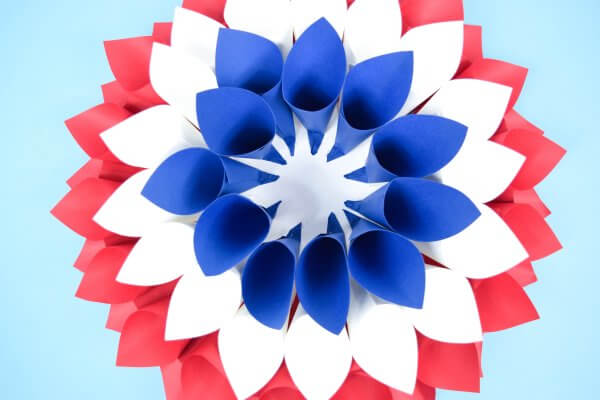
Step 5 – Layer the Blue Paper Cones
Continue the pattern and keep filling in more of the dahlia cone petals. Your cones may start to stand up more as you work towards the center. That’s a good thing!
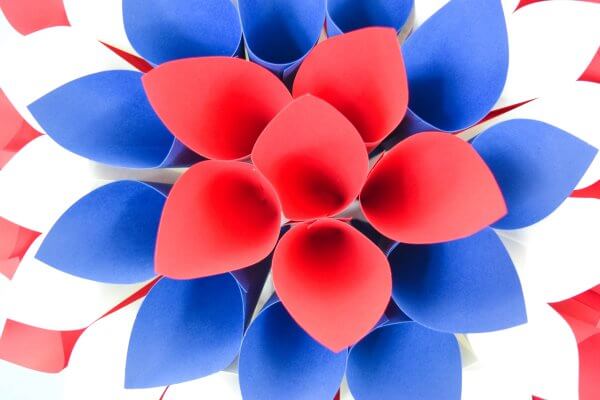
Step 6 – Place the Red Center
Once you get down to the last half dozen or so of the cones, they will naturally bend at the tip when you glue them down. This is what you want so that the final look is a tight dahlia paper wreath center. You may need to grab a thin wood dowel or pencil to press the tip down and ensure it makes good contact in the center with the glue.
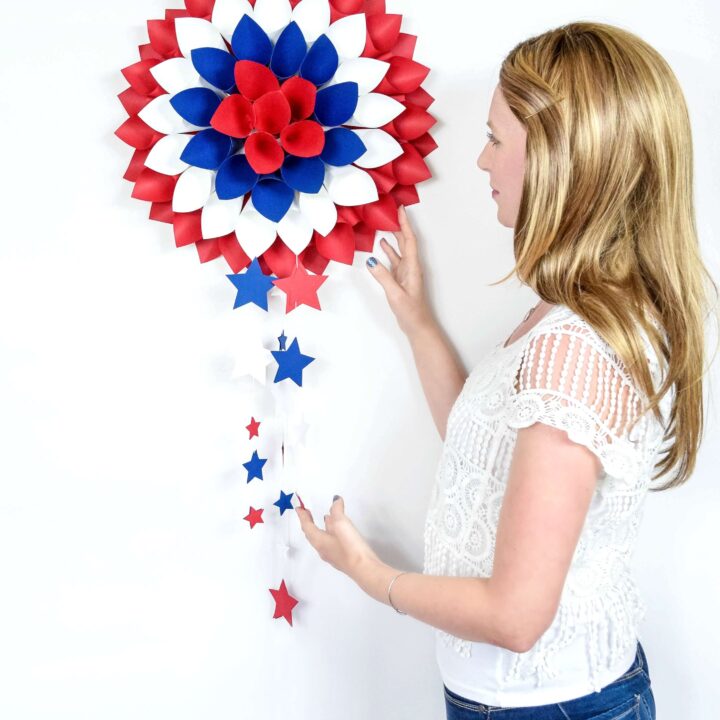
I decided to finish off my Dahlia by adding some star cutouts hanging from baker’s twine. I cut 2 stars in each size and glued them back to back with the twine in between then glued them to the underside of the dahlia paper wreath. Plus click here learn the 8 Ways to Hang a Paper Flower.

More Crafts You Will Love
Red, White, and Blue Paper Dahlia Wreath
This red, white, and blue paper dahlia wreath is perfect for the 4th of July holiday! It's easy to make with my paper dahlia template.
Materials
- Glue Gun
- 65-pound cardstock
- Cutting machine
- Scissors (if you don't have a cutting machine)
- Paper Dahlia templates
Instructions
- Cut out 40 4.5-inch squares from the red, white, and blue card stock. Then cut out one 8-inch round circle for the base.
- Roll each square into a cone shape and glue to secure shut.
- Start gluing the first layer of cones around the outer edge of the base circle. This layer will use the most cones. I used red cones.
- Next, glue the second inner-most layer on top of the base layer. I used white cones for this layer.
- Next, glue a third-inward layer. I used blue cones for this layer. The cones will be standing more at this layer, closest to the center.
- Next, fill the center - I used red cones for this. You may need a thin wood dowel or pencil to press the tip of the cone down enough to secure it to the base.
Discover More
Share what you’ve been up to by using #DIYwithAbbi. I would love to see your creativity in the works so flaunt your flower power magic! You are a huge source of my inspiration!
My mission at Abbi Kirsten Collections is to inspire you to nurture the creative magic inside your soul – bringing you fun, easy to learn DIY projects, and quality template designs. I share a variety of projects but specifically love paper crafting and paper flowers. Interested in more flower tutorials?! I’ve created dozens of signature designs for you to enjoy – starting with my best seller, The Art of Giant Paper Flowers, the Giant Flower Library and my shop of endless paper designs and flower templates.
Feeling overwhelmed? Start here with my tried and true Resource List!
Thanks for letting me pop into your day!