Farm Animal Candy Holder Craft
This post may contain affiliate links that won’t change your price but will share some commission.
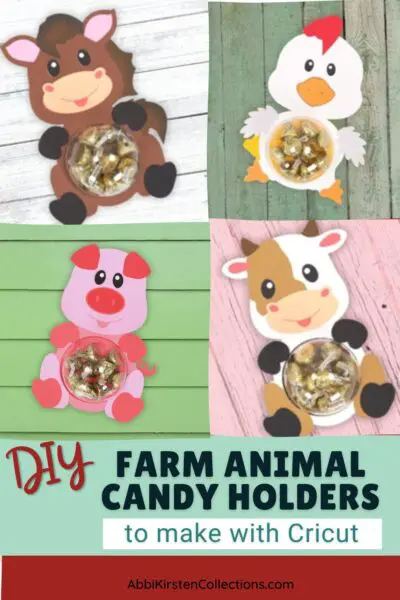
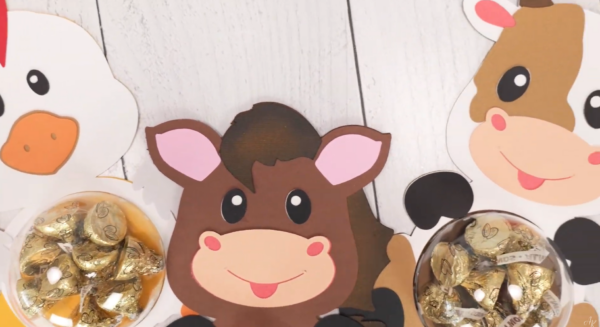
Make an adorable farm animal candy holder craft for parties, fun events, or as a sweet gift for classrooms, co-workers, and friends, then fill it with your favorite wrapped candies. This cute A-Star Crafters collection includes templates for a cow, horse, chicken, and pig – a complete farm animal set – that you make with your Cricut. Follow the step-by-step craft tutorial below to create easy farm animal candy holders as a last-minute gift that will make anyone smile!
You can use any cutting machine, such as Silhouette Cameo or Cricut, or any other machine that works with SVG cut files.
Supplies And Materials You’ll Need
To make this fun candy holder project, gather the following craft supplies.
- 65-pound medium-weight cardstock. You can choose the cardstock colors that are used in the video below or select your own. I recommend 12×12 Cardstock Shop for high-quality cardstock options.
- Cutting machine and cutting mat
- Bearly Art craft glue
- 3D foam strip tape (optional)
- Plastic dome half ornaments. I use the 8cm ones, which means the circle hole opening should be about 3.15 inches in the templates. This is a good size, typically holding between 4-6 pieces of candy.
- Pre-wrapped candies
- DIY Farm Animal Candy Holder Templates
Access The Farm Animal Candy Holder Templates
You can find all the templates you need linked below, available for instant download. These templates are designed to work seamlessly with your cutting machine.
- If you’re an existing A-Star Crafter, log in to access and download the Farm Animal Candy Holder templates here.
- If you haven’t yet joined A-Star Crafters, click JOIN A-STAR CRAFTERS below, create your account, log in, and go directly to the Farm Animal Candy Holder collection here. Join to get access to the templates for this fun project and so much more!
Get This And Hundreds More Craft Templates By
Becoming an A-Star Crafter!
DIY Farm Animal Candy Holder Video Instructions
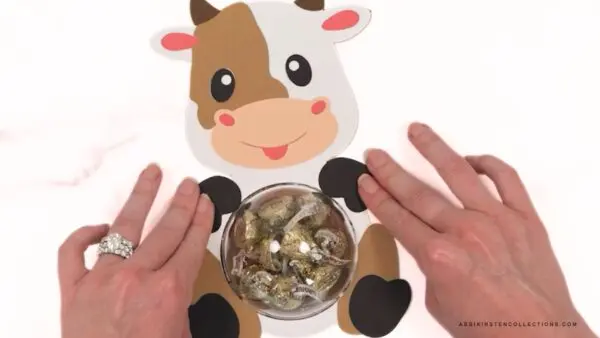
The video below shows how I assembled the cow farm animal once the layers have been cut. You can also read on for a pictorial with steps for assembling the craft.
Steps for Making The Farm Animal Candy Holder
1. Download The Templates.
Download the Farm Animal templates here.
2. Import The Files Into Design Space.
Import the files into Design Space. I used my Cricut machine for cutting the SVG templates. If you’re new to Cricut, read my tutorial on uploading an SVG file to Design Space.
- Adjusting the size of the candy holder: In Design Space, if you need to adjust the size of your candy holders to fit a different-sized plastic dome, you can use the extra circle included in the SVG file to scale. The extra circle is the same as the inside cutout where the dome fits, giving you a size reference. Be sure to scale everything as a group to retain proportions, then ungroup and check the size of the circle to see if it matches your dome size.
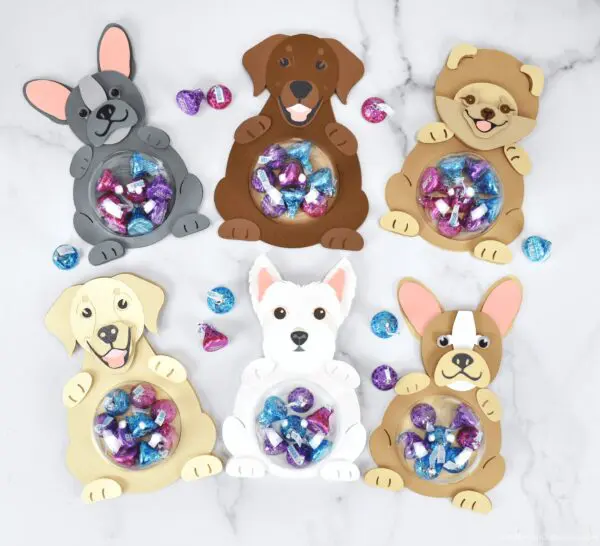
My video on making candy holders for puppy dogs and cats will show you how I resize the candy holder, if needed. Plus, it contains links and info to more fun candy holder templates featuring all kinds of puppies!
- Setting the perforation area: Ensure the layers are ungrouped then select only the circle with the tab at the top and change the operation to Perforate. Next, hold down the Shift key and select the perforated circle and the solid base piece. Use the Attach tool to attach these two pieces together. This ensures that perforation occurs when moving to the Cut screen. (If you own a Maker model, you also have the option to use the Perforation Blade that comes with your Quick Swap tools to set your perforation line and attach it to the base layer.)
3. Cut The Cardstock.
Begin by cutting out all the necessary layers from your medium-weight cardstock. You can choose the cardstock colors I used for the farm animals (shown in the DIY Farm Animals video) or customize them to your liking. Use your brayer tool to ensure the material adheres securely to the cutting mat.
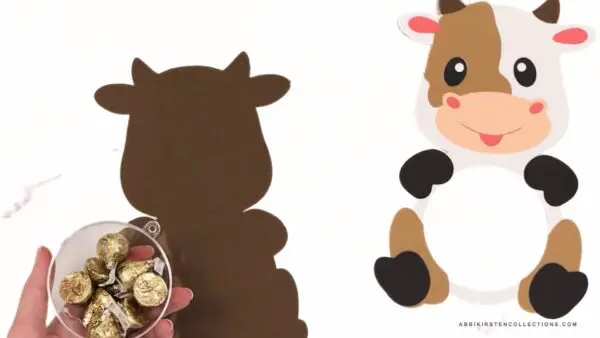
4. Assemble the Candy Holder.
After cutting out the template pieces, assemble the mechanics of your farm animal candy holder.

- First, glue the paper cutouts to the main farm animal cutout as shown in the video. This creates the front details of the farm animal. Set this layer aside.
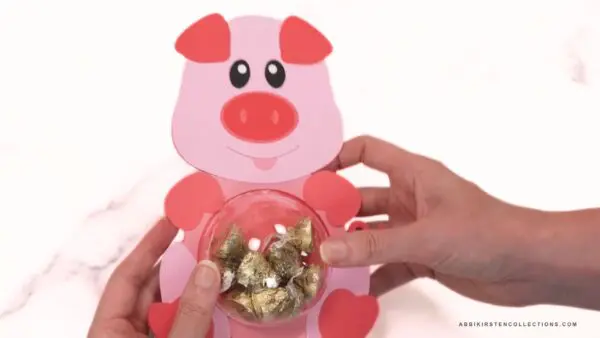
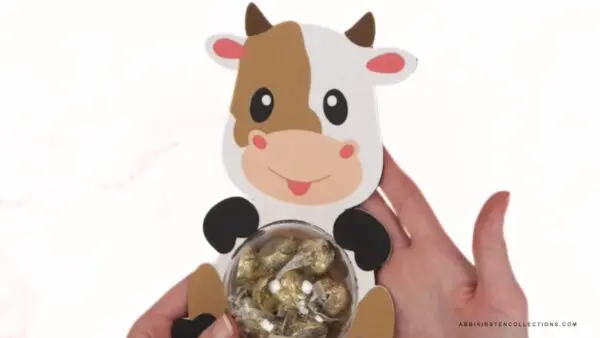
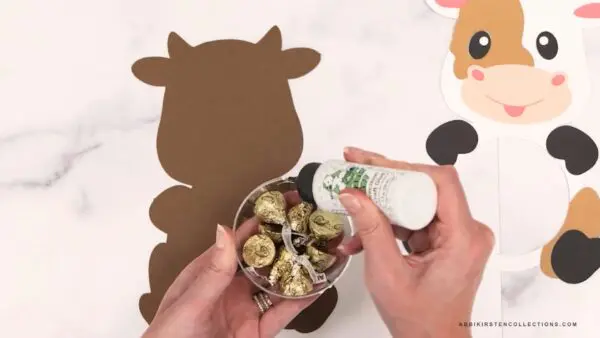
- Next, fill your plastic ball with candy and apply glue to the edge of the ornament half.
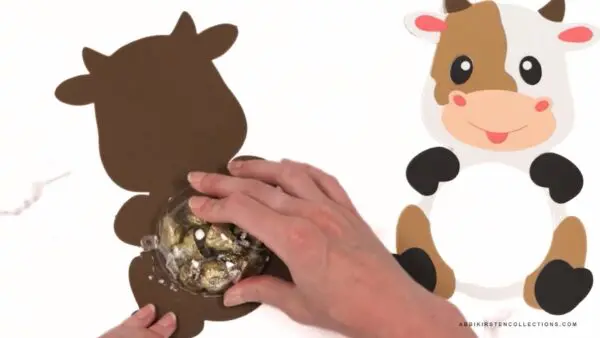
- Place this ornament half down on the other main animal cutout. This forms the base of your candy holder. Let it dry completely.
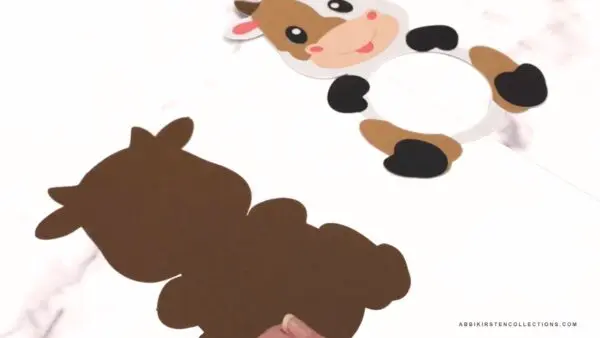
- Now, apply glue to the back of the first animal cutout (the one with all the details) which is the front of your craft.
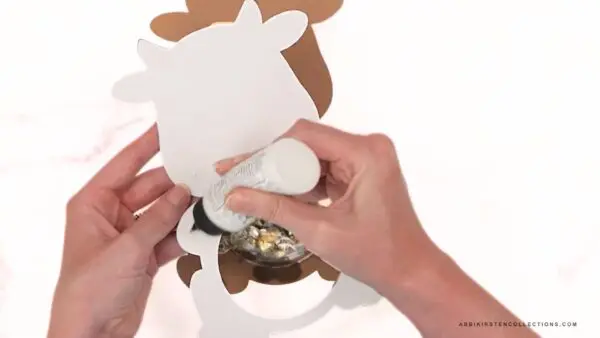
- Glue this detailed layer to the ornament base layer, aligning it properly. Let it dry completely before moving it – at least 30 minutes.
In just a few steps, you’ve created these cute candy holders – perfect for a farm animal-themed party or shower – or just to give as a sweet gift anytime!
More Candy Holder Crafts Please!
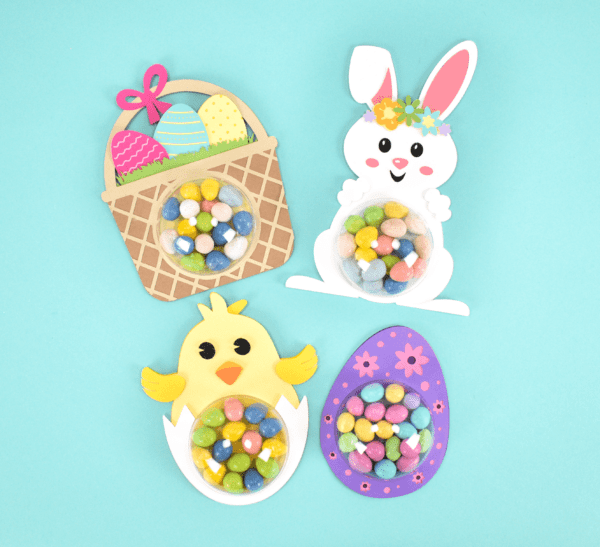
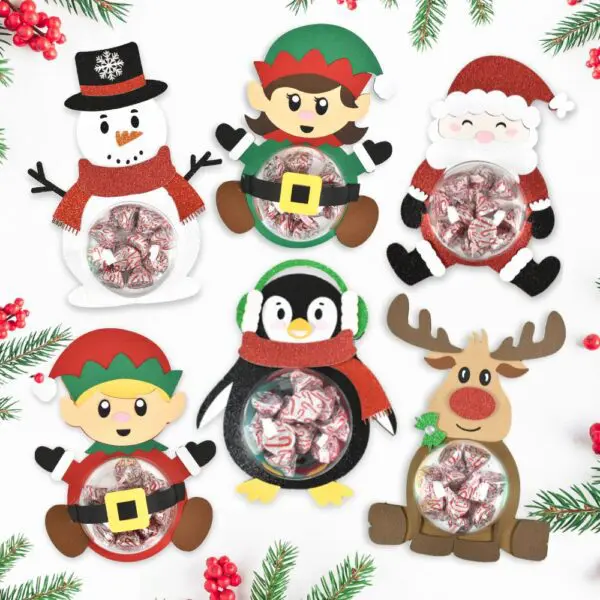
Check out our assortment of available templates for making these sweet candy holders for holidays or special themes. Each one follows the same process and is completed in no time! If you love these adorable farm animal candy holders, then don’t miss our other candy holder collections: Easter candy holder collection, puppy dog and cat candy holders, woodland animal candy holders, and Christmas-themed candy holders! (Um, did I mention candy holder templates for 13 different puppies?!)
Looking For Freebies? Find Hundreds Of Free Templates In The Craft Vault!
Did you make this craft?
We would love to see what you have created! Tag @abbi_kirsten_collections on Instagram so we can see your creations!