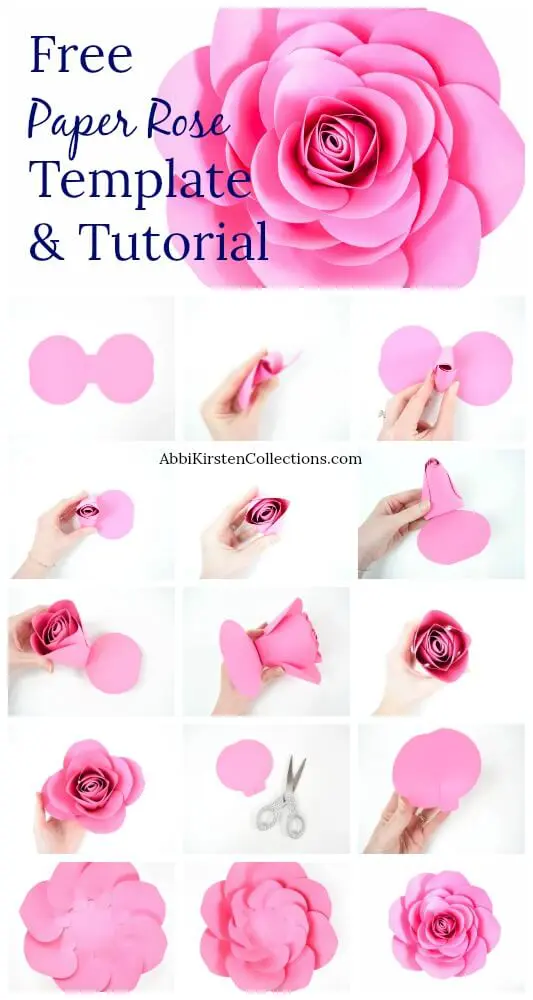
Free Large Paper Rose Template: DIY Camellia Rose Tutorial
This post may contain affiliate links that won’t change your price but will share some commission.
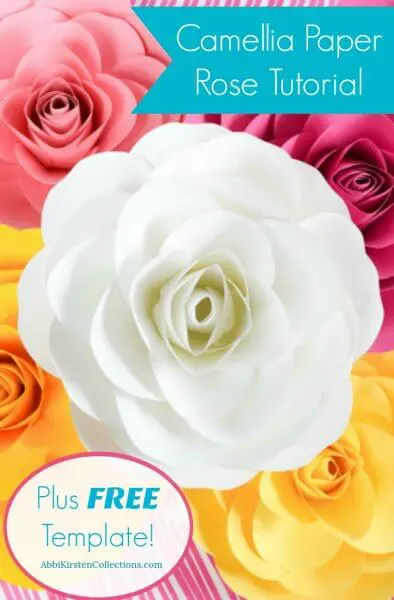
Free Large Paper Rose Template: DIY Camellia Rose Tutorial
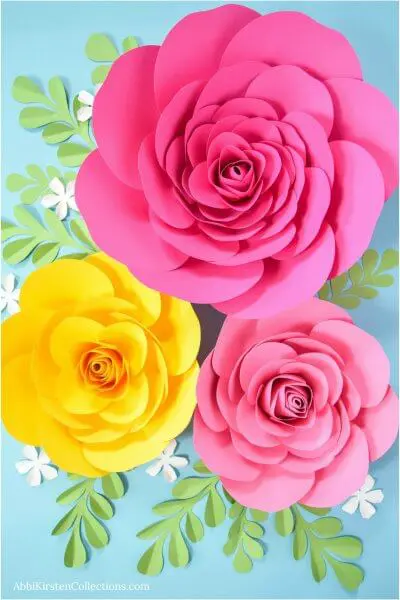
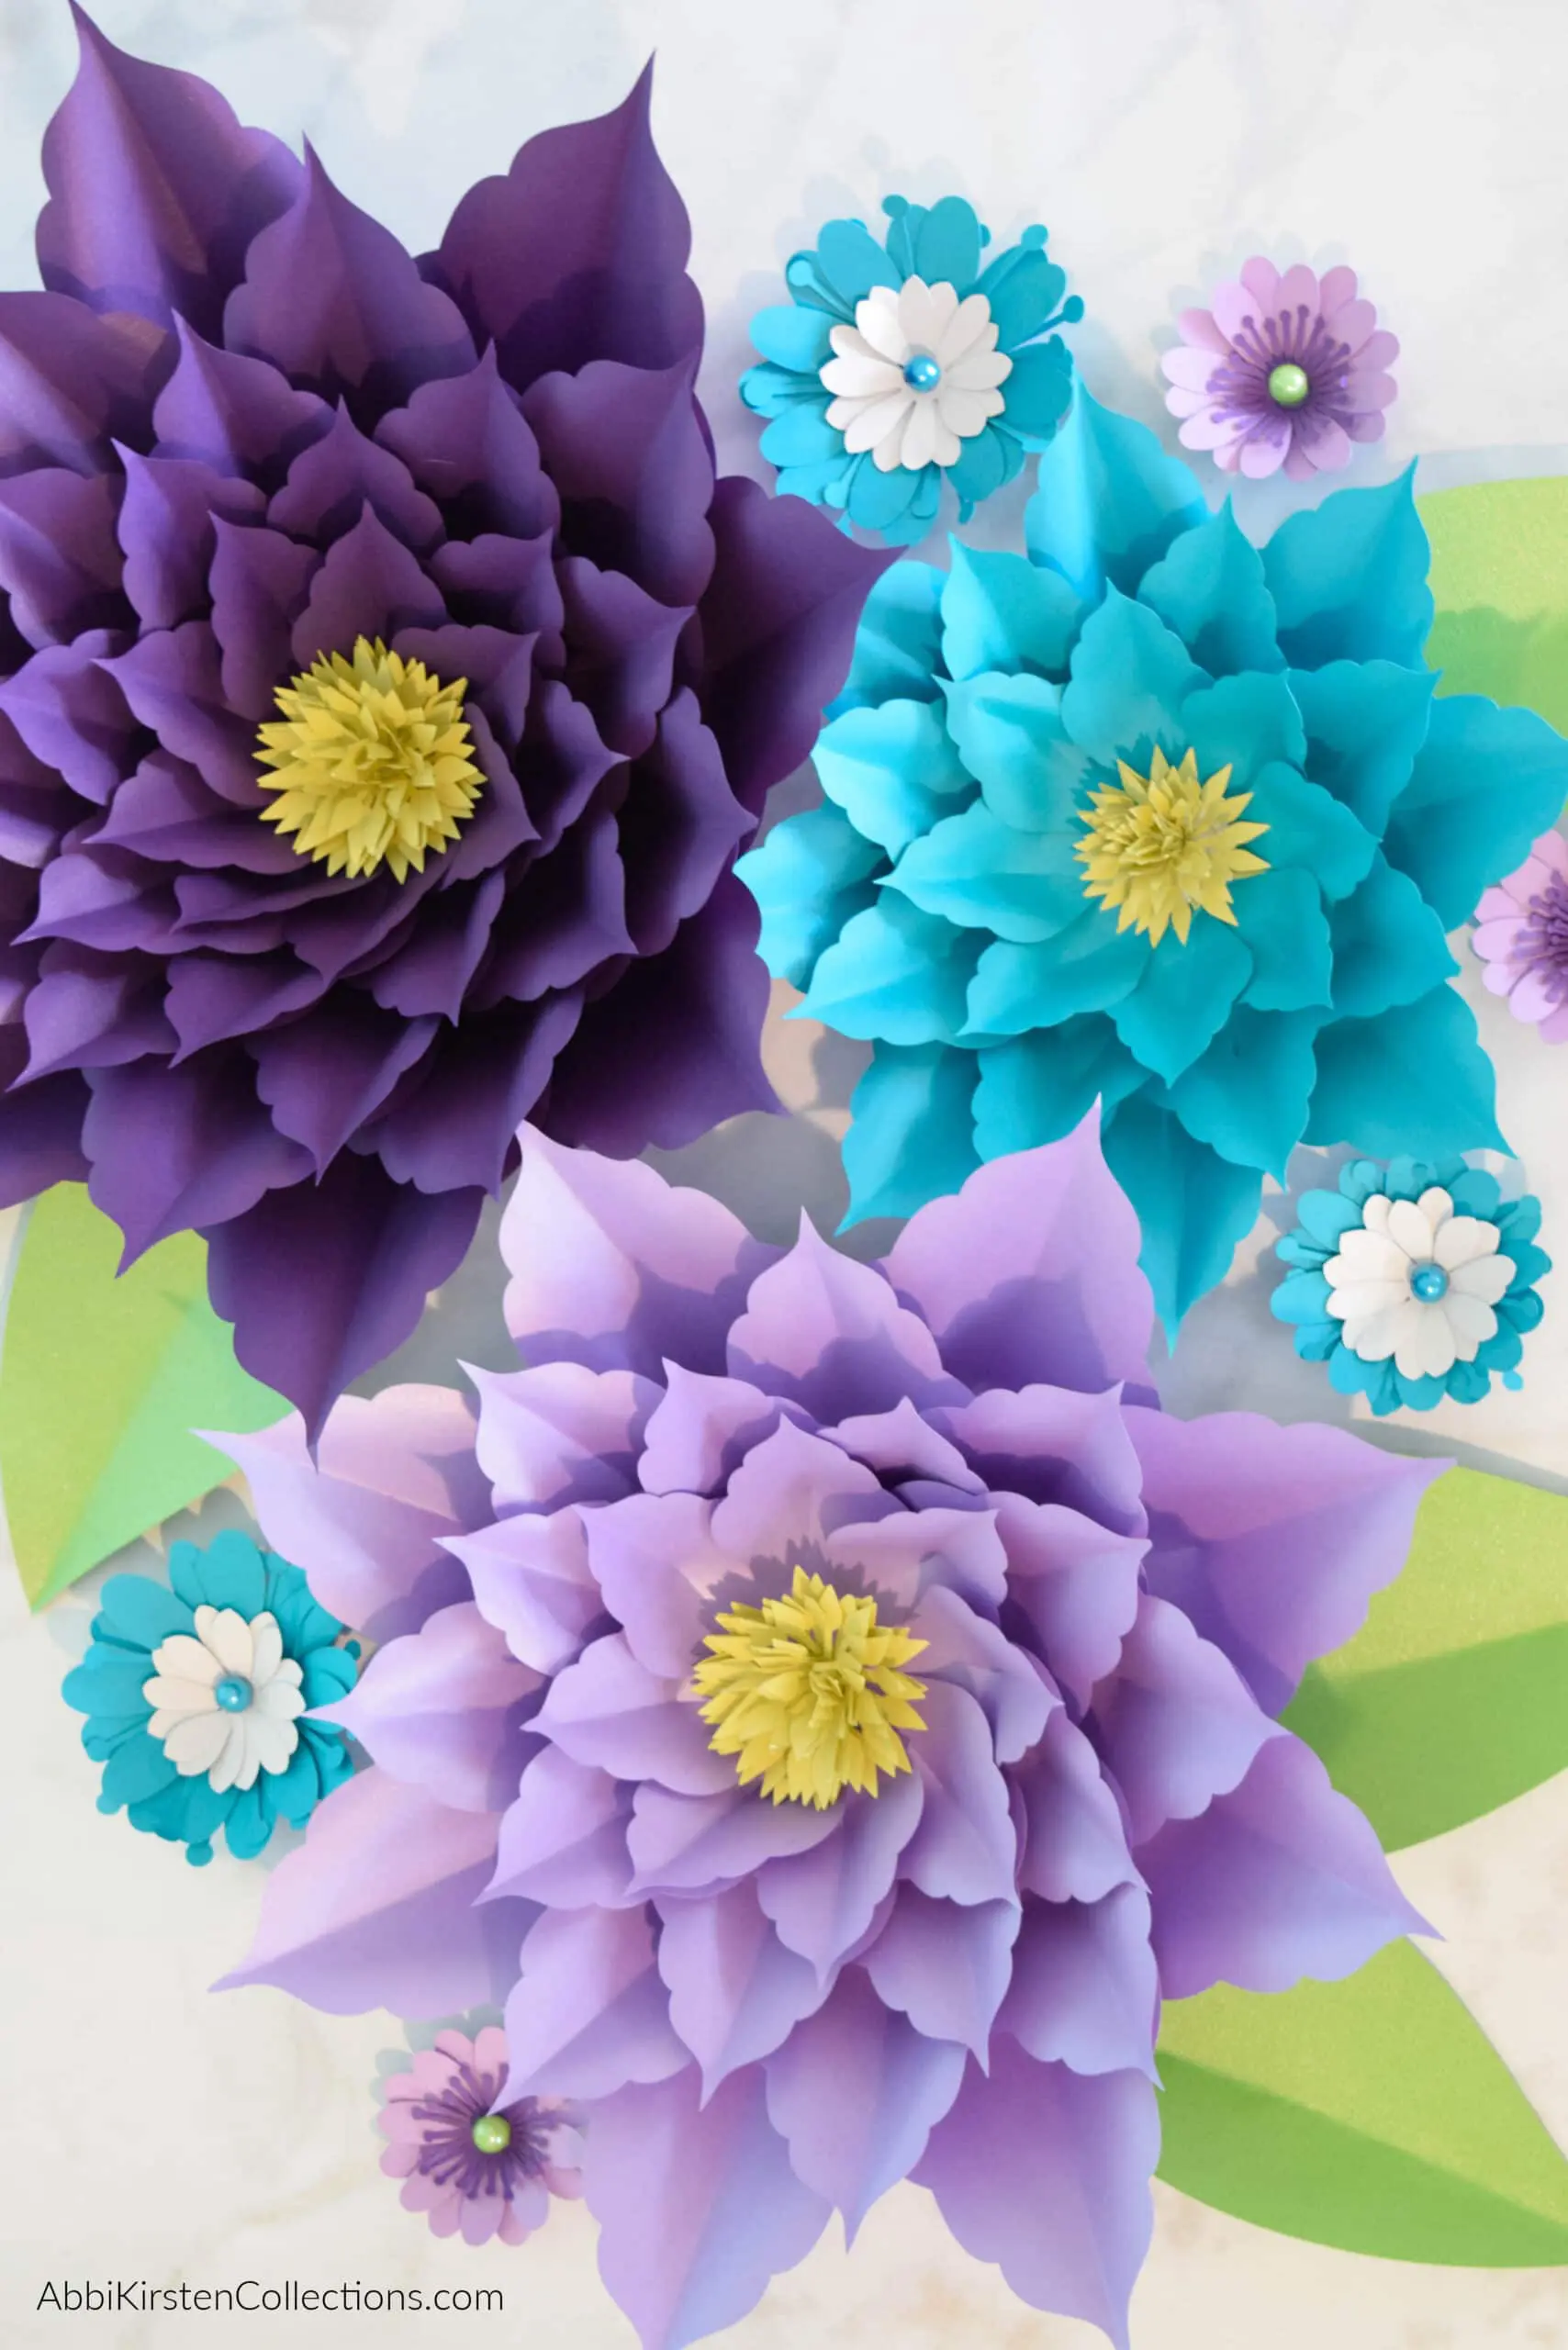
Lately I have been itching to design a Camellia style paper rose (nickname Cami Rose for short!). I decide from the start that this rose would be a gift to my readers. A lot of you have loved my easy beginners method to giant flowers so I am hopefully you will enjoy this too!
Update: This post has gone viral even beyond your all-time favorite rose, Eden, and I am so happy everyone is enjoying it!
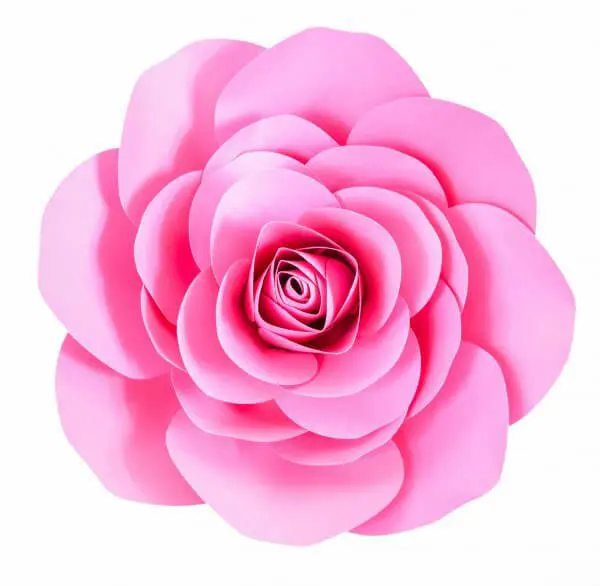
Today I am giving you my new free large paper rose template! You will be able to hand cut this rose easily with the printable PDFs or you can download the free svg cut files to use with your favorite cutting machine! This Cami rose is different from some of my other rose designs and the ones I teach in my book, The Art of Giant Paper Flowers in that it has lots of petal layers. This helps to create that authentic Camellia rose look.
This paper rose will measure about 12 inches across in the tutorial I am showing below. You can also make the extra large version as well, which will measure 17 inches once made!
Machine cutters: I include the machine petal measurements below for you to plug in to create the large and extra large Cami rose.
Hand cutters: If you are hand cutting I have pre-sized PDFs for the large and extra large too.
When making the extra large just know that the steps from this tutorial will apply, you will just be adding an extra large petal to the base first to expand the flower. 🙂
Let’s review our supply list to get started on this free large paper rose template design!
DOWNLOAD YOUR FREE PAPER ROSE TEMPLATE
Download these free rose templates by signing up below. If you are already a member, then log in right here and search rose or Design #22.
Supplies
- Glue Gun
- 65-pound cardstock
- Scissors and/or cutting machine (Cricut Explore Air 2 Machine)
- Thin wooden dowel for rolling
- Templates (below)
- Patience – Paper roses in general are more advanced, and I would say Cami roses definitely will require a little practice if you are new to paper flowers.
- You can always view my full, tried, and true supply list here!
You will use only 2 petal sizes for the large Cami rose. Cut the following number of petals
- Medium petal – 28
- Large petal – 8
- 1 8-sided Perfect Base
Machine measurements:
- Medium petal – 4.1 x 4.1 inches
- Large petal – 5.3 x 5.3 inches
- Extra large petal – 6.9 x 6.9 inches (for making the extra large Cami rose)
Number of petals to cut for extra large Cami rose
- Medium petal – 28
- Large petal – 8
- Extra large petals – 8 (if you want to go really fluffy and big add an additional layer of 8 extra large petals.)
- 1 8-sided Perfect Base

Cami Paper Rose Center
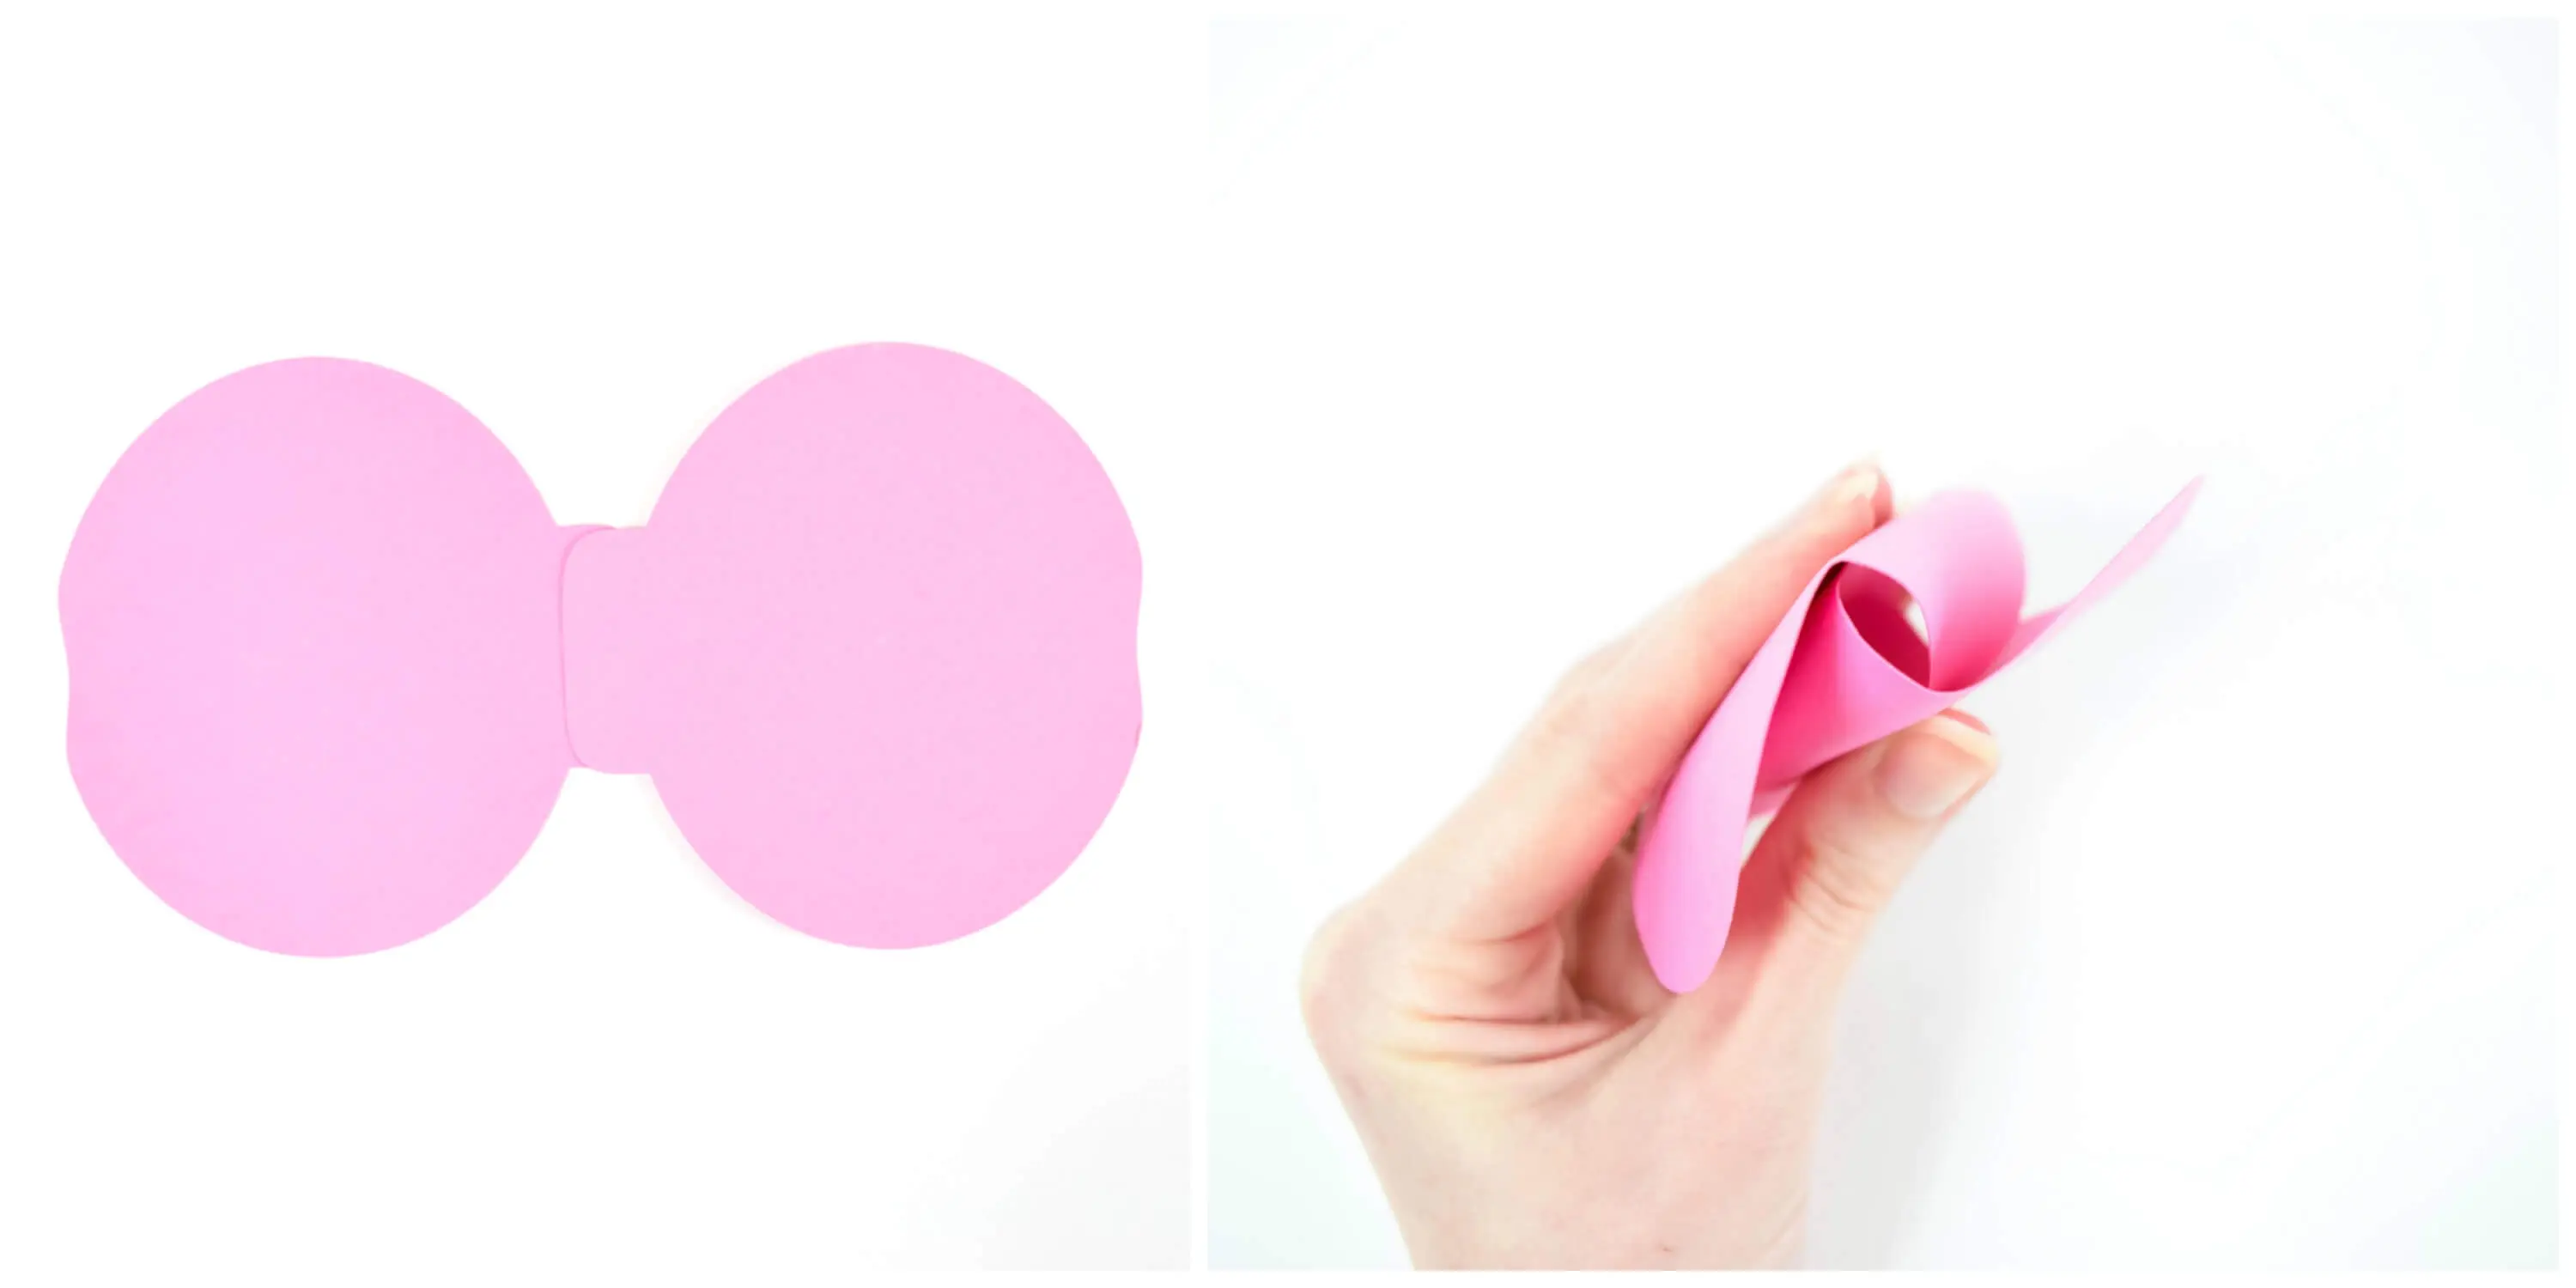
Step 1
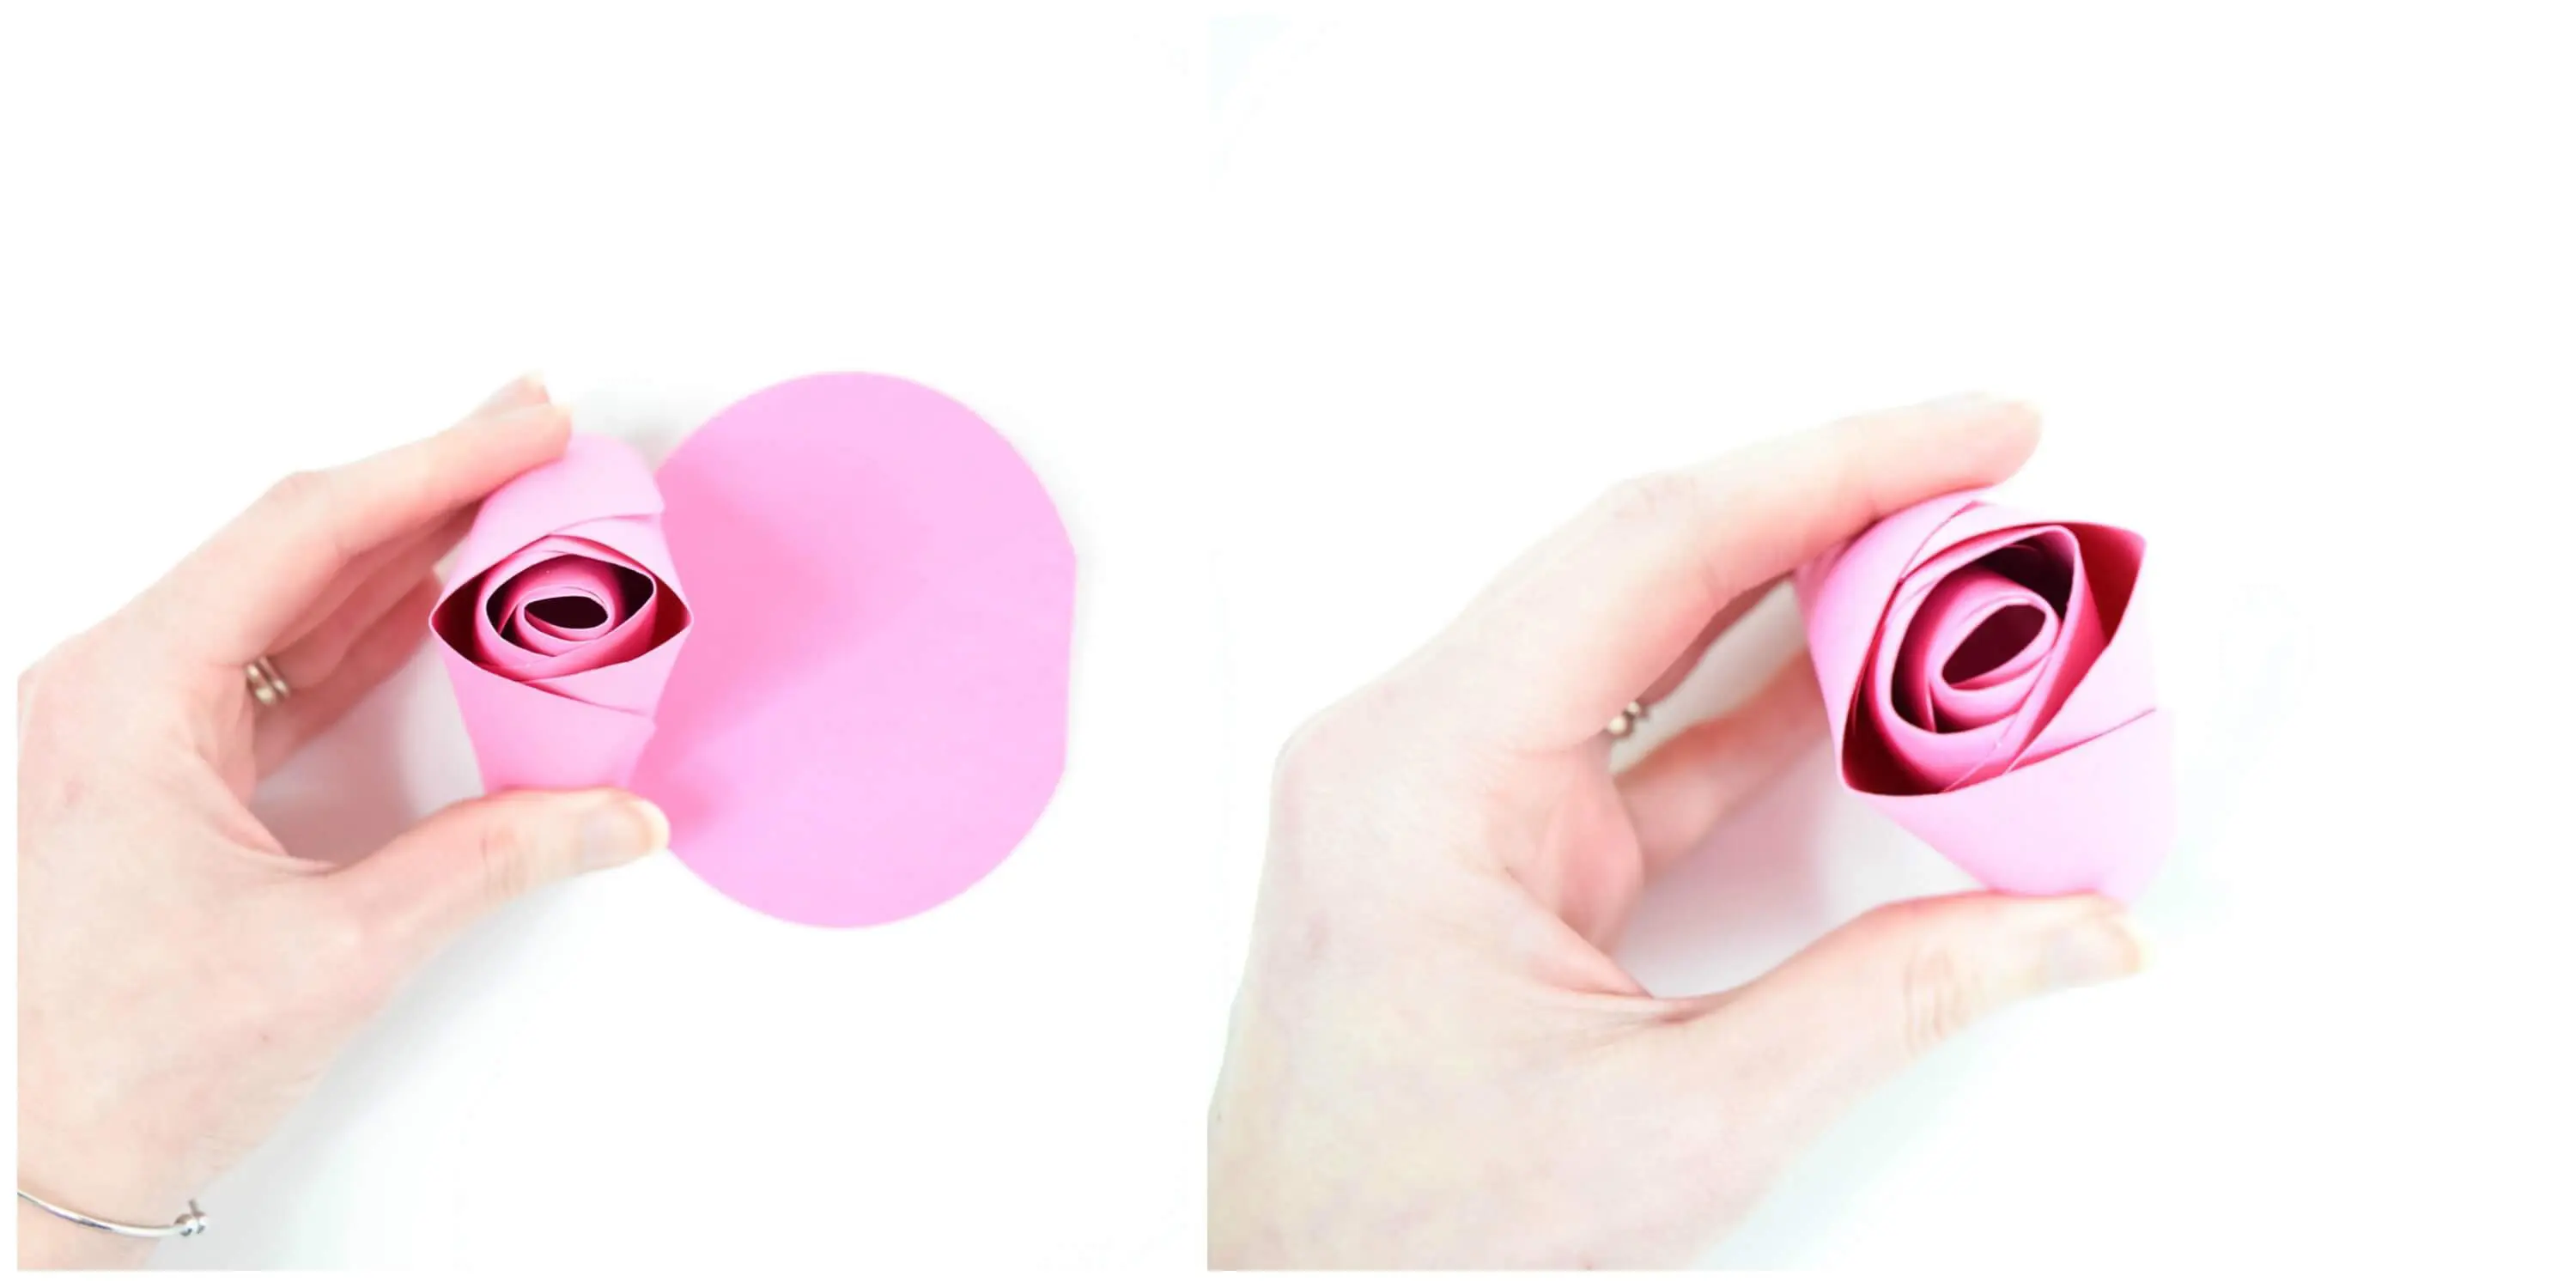
To build the paper rose center use 20 of the medium petals. Overlap by gluing 2 of the center petals together as in picture 1.
Step 2
Fold them up and secure with glue by wrapping around each other- as if they were hugging each other.
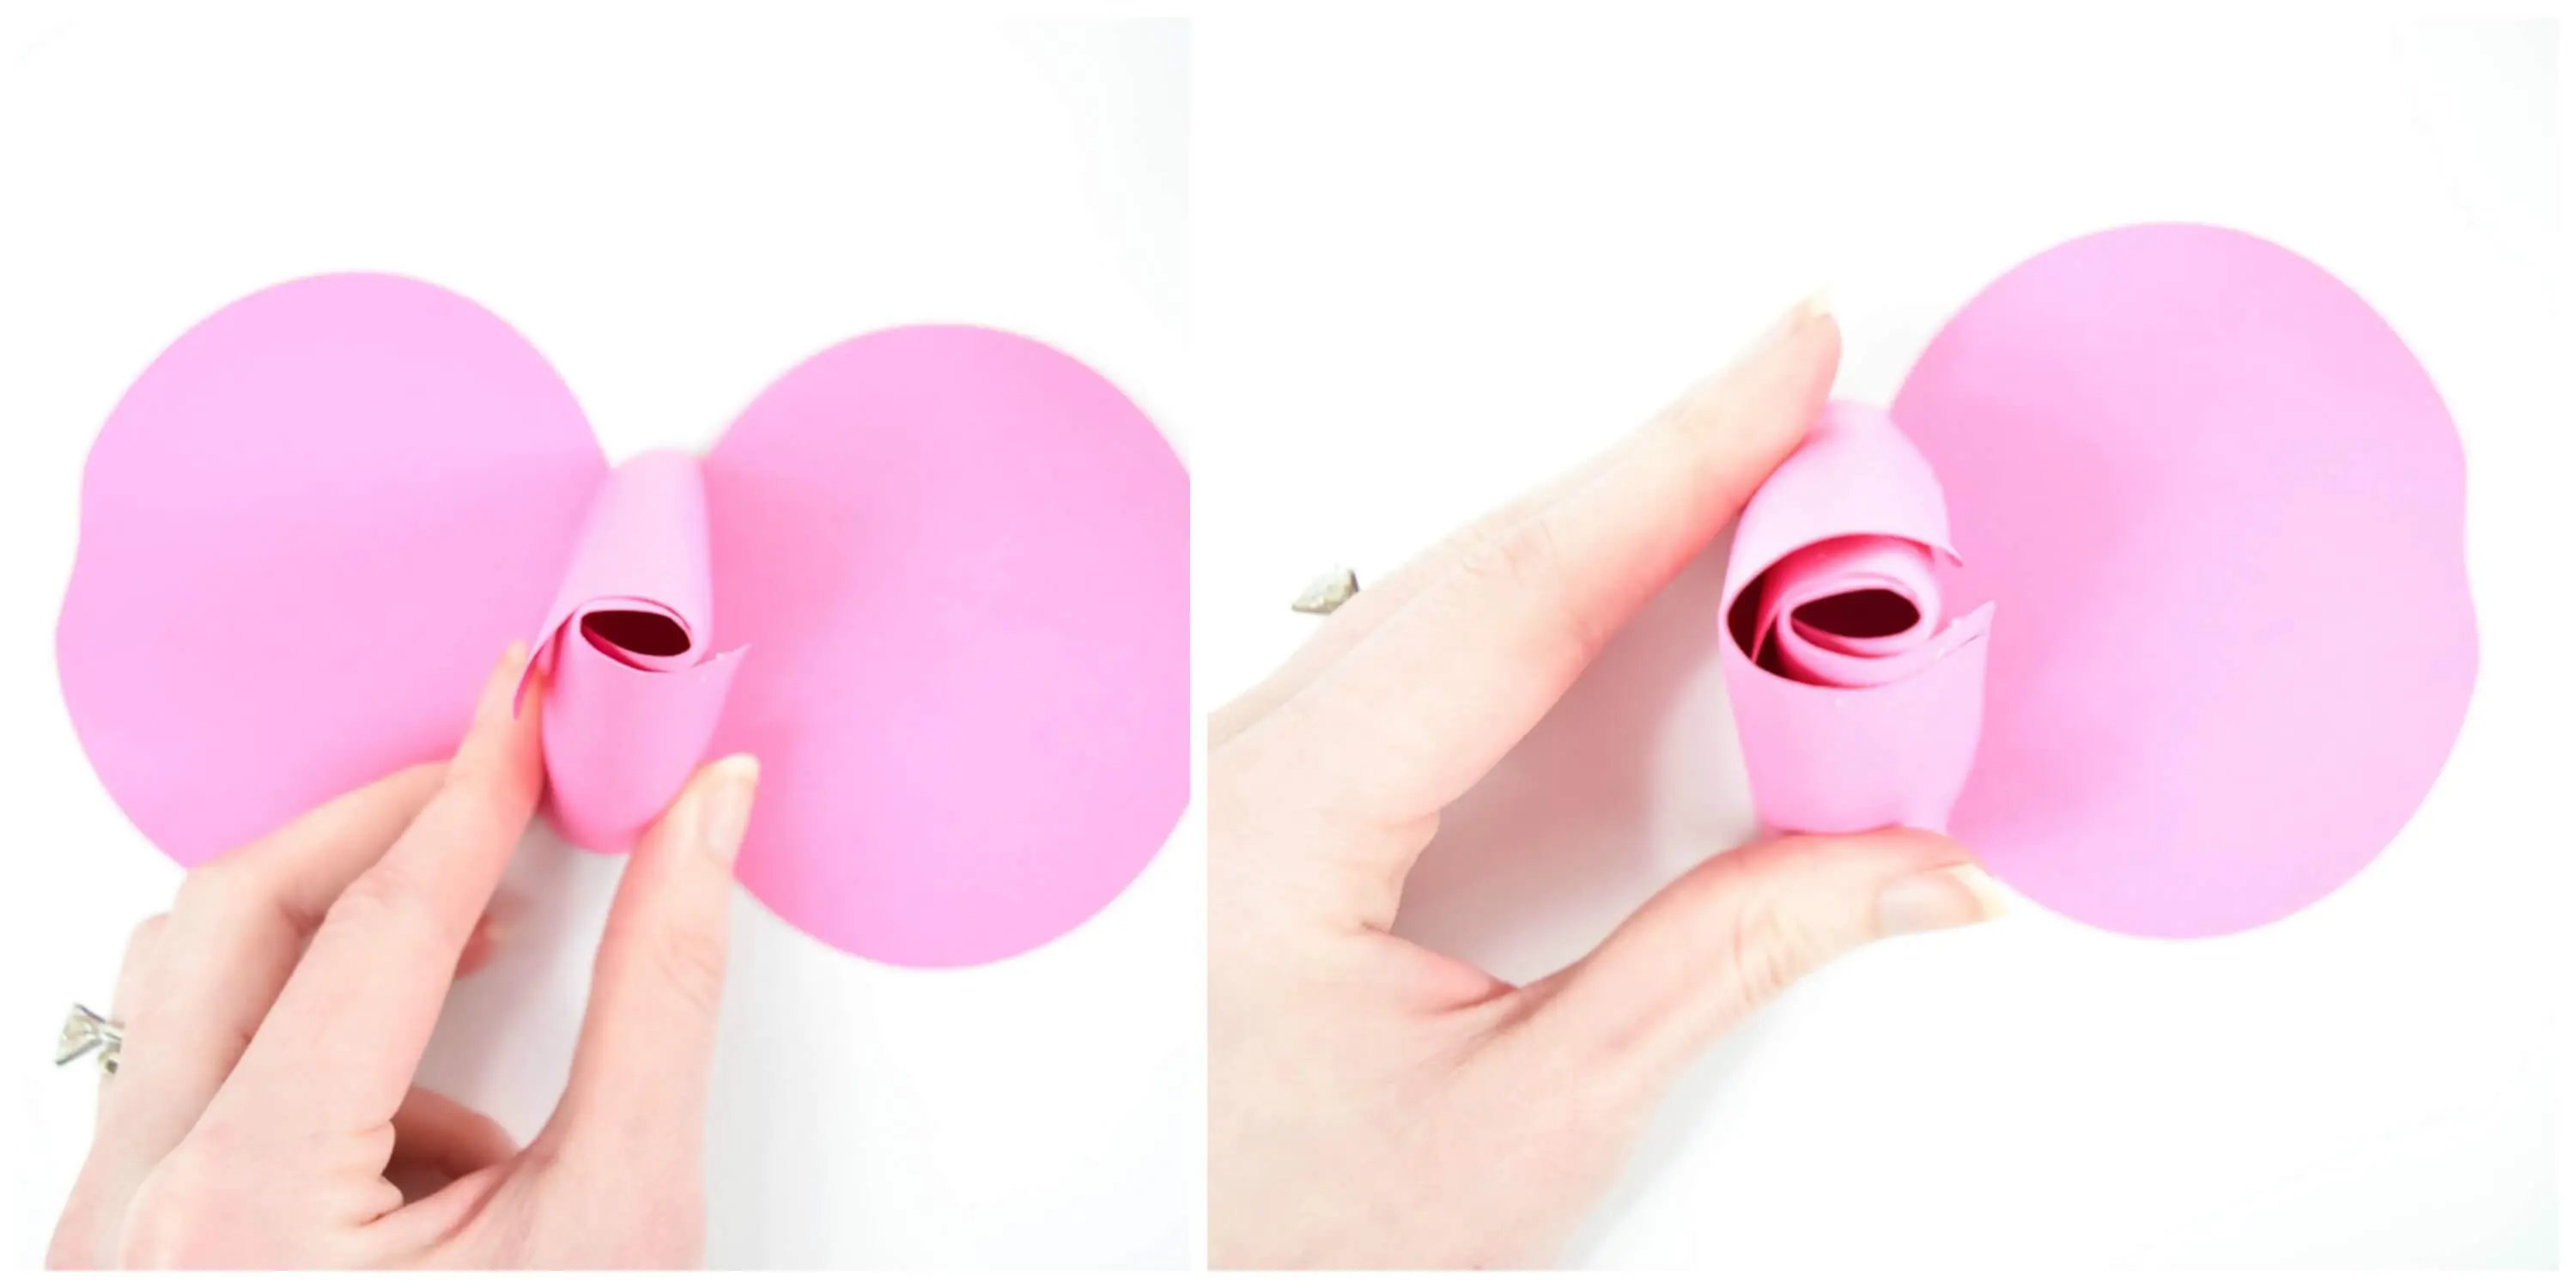
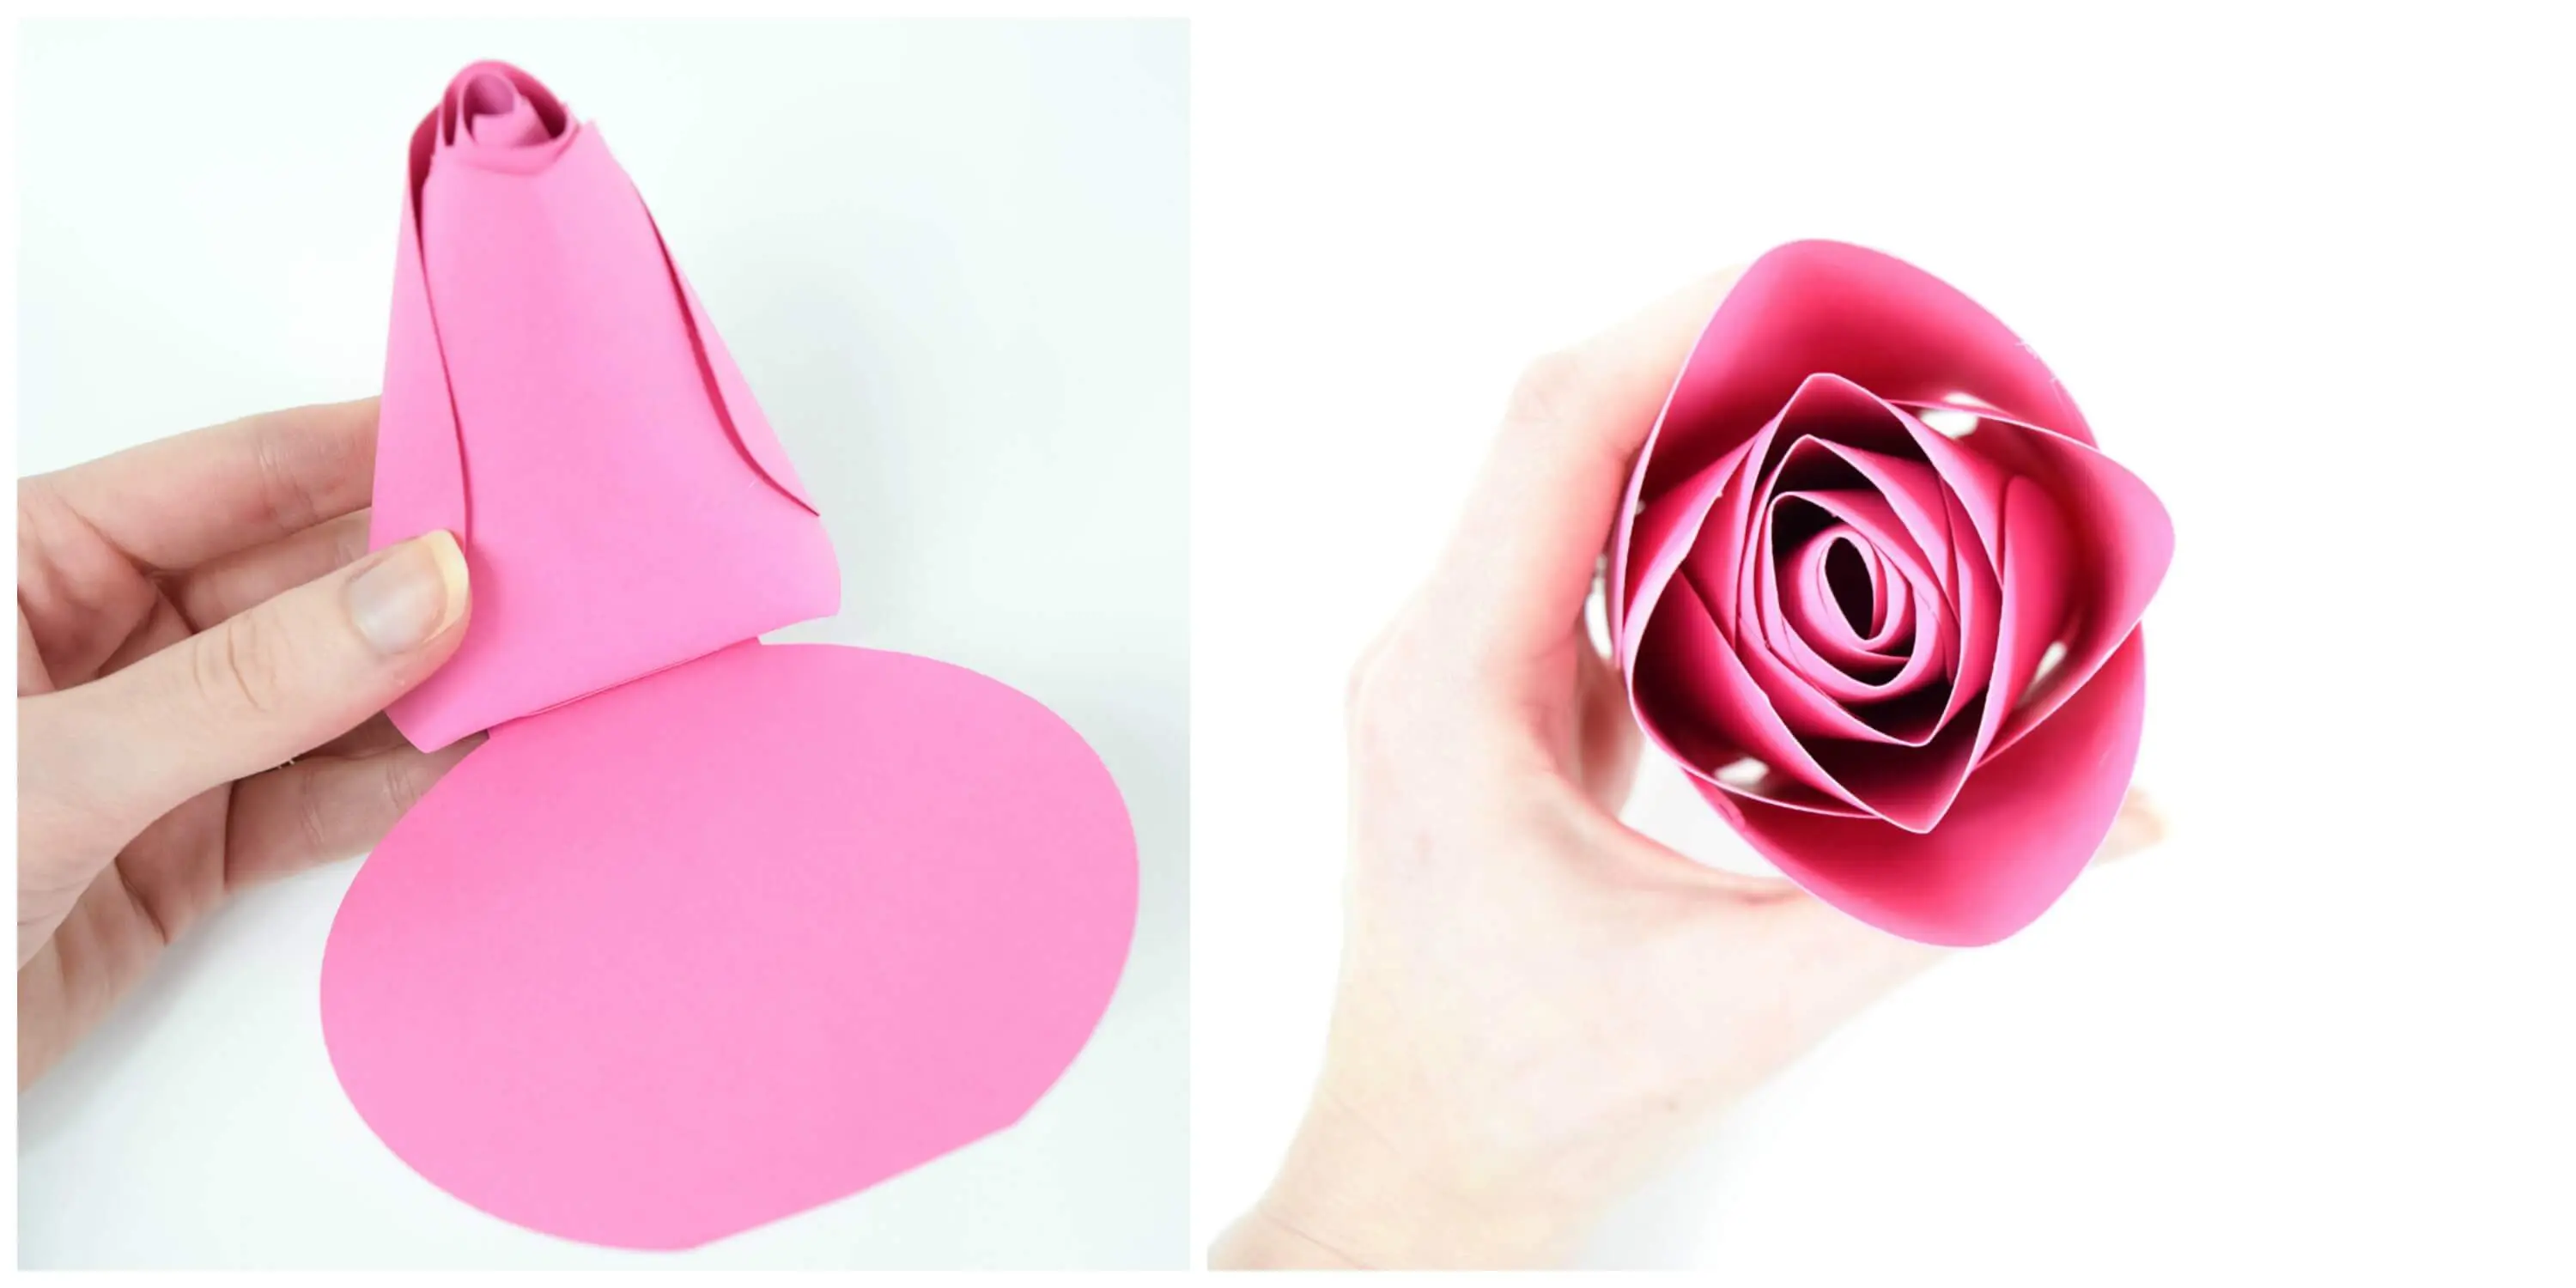
Step 3
Overlap 2 more petals with glue. Then glue the first center bud onto the next set of connected petals. Repeat the process of wrapping the petals up and around the rose bud, securing with glue.
Step 4
You will continue to repeat this process, but adding 1 petal at a time to each side as you go.
Step 5
Repeat again with 2 more petals. When you adding a petal on aim to add the petal to the side that has the 2 seams, as shown in the image to the top left.
Step 6
Add 4 more center petals – 2 on each side of the rose center. Leave a little more space when you glue these petals up by adding the glue at the base as shown in the image to the left above.
Repeat with the last 4 petals to complete the center. You should have used 20 of your medium petals in the center. If you feel a different number looks better for you that is fine too.
Set your rose center aside. We will build the base next.
Related Posts
Cami Paper Rose Base
Step 7
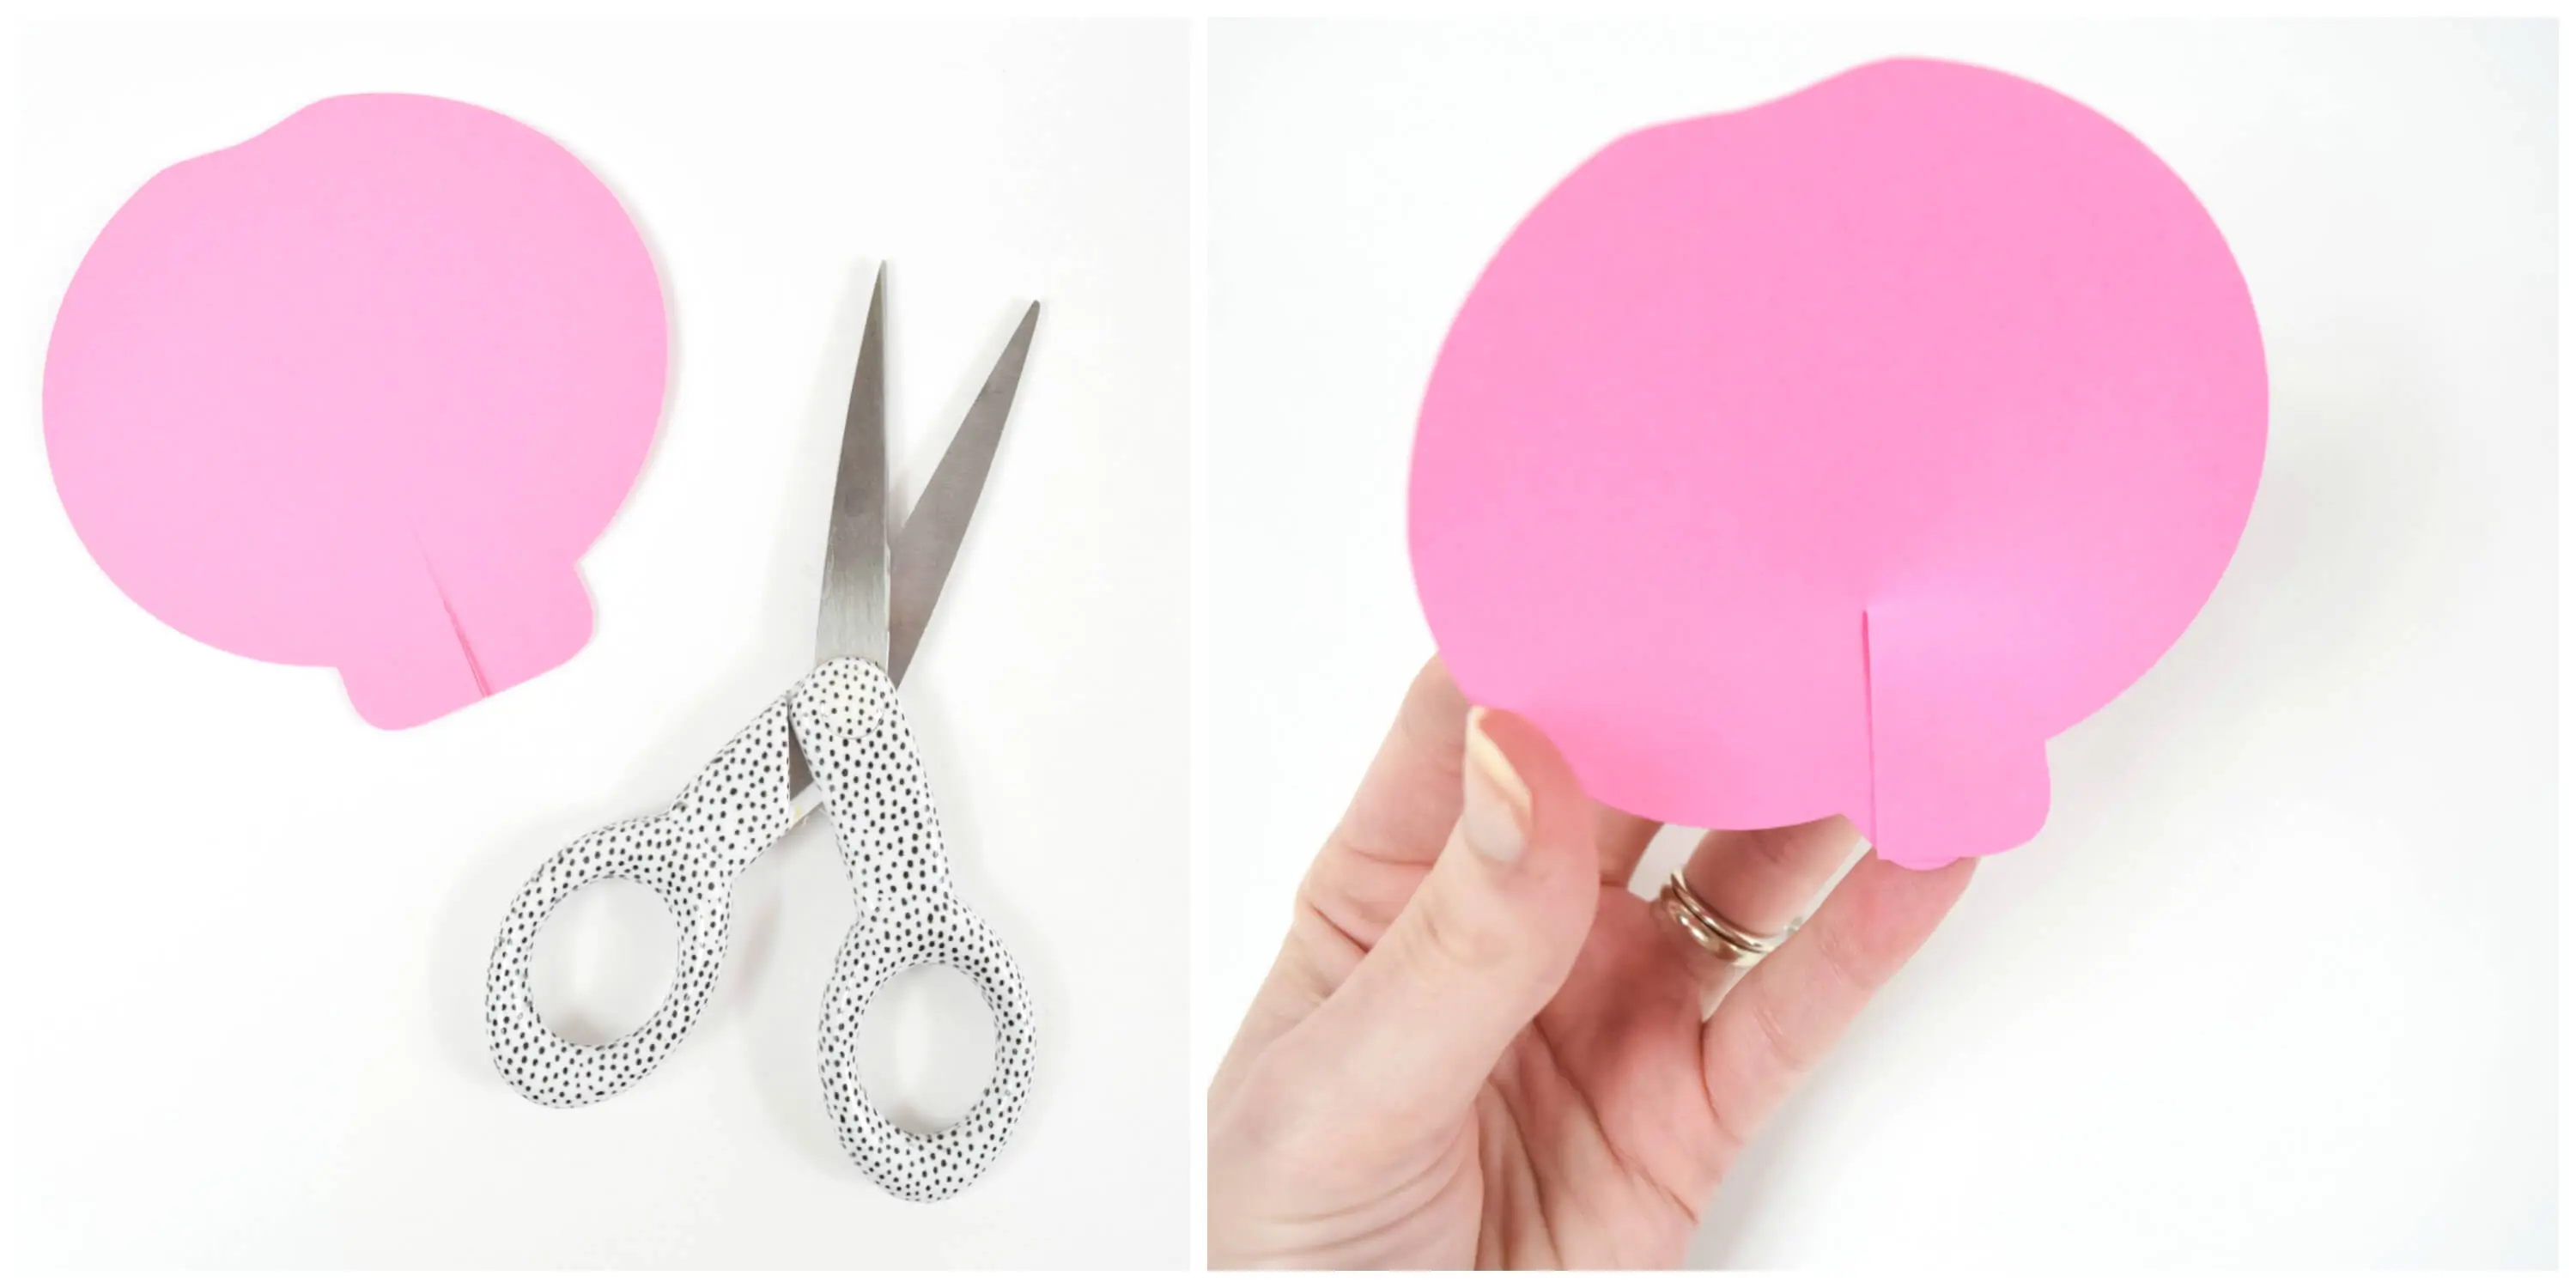
Cut about 1 1/2 inch slits at the bottom of the 8 remaining medium petals and the 8 large petals.
Step 8
Add glue along the slit and overlap.

To review: At this point you should have 20 medium petals in your Cami rose center, 8 medium petals cut with slits and overlapped with glue, and finally 8 large petals with slits cut at the bottom and overlapped with glue as well, plus 1 8-sided Petal Perfect base cut out.
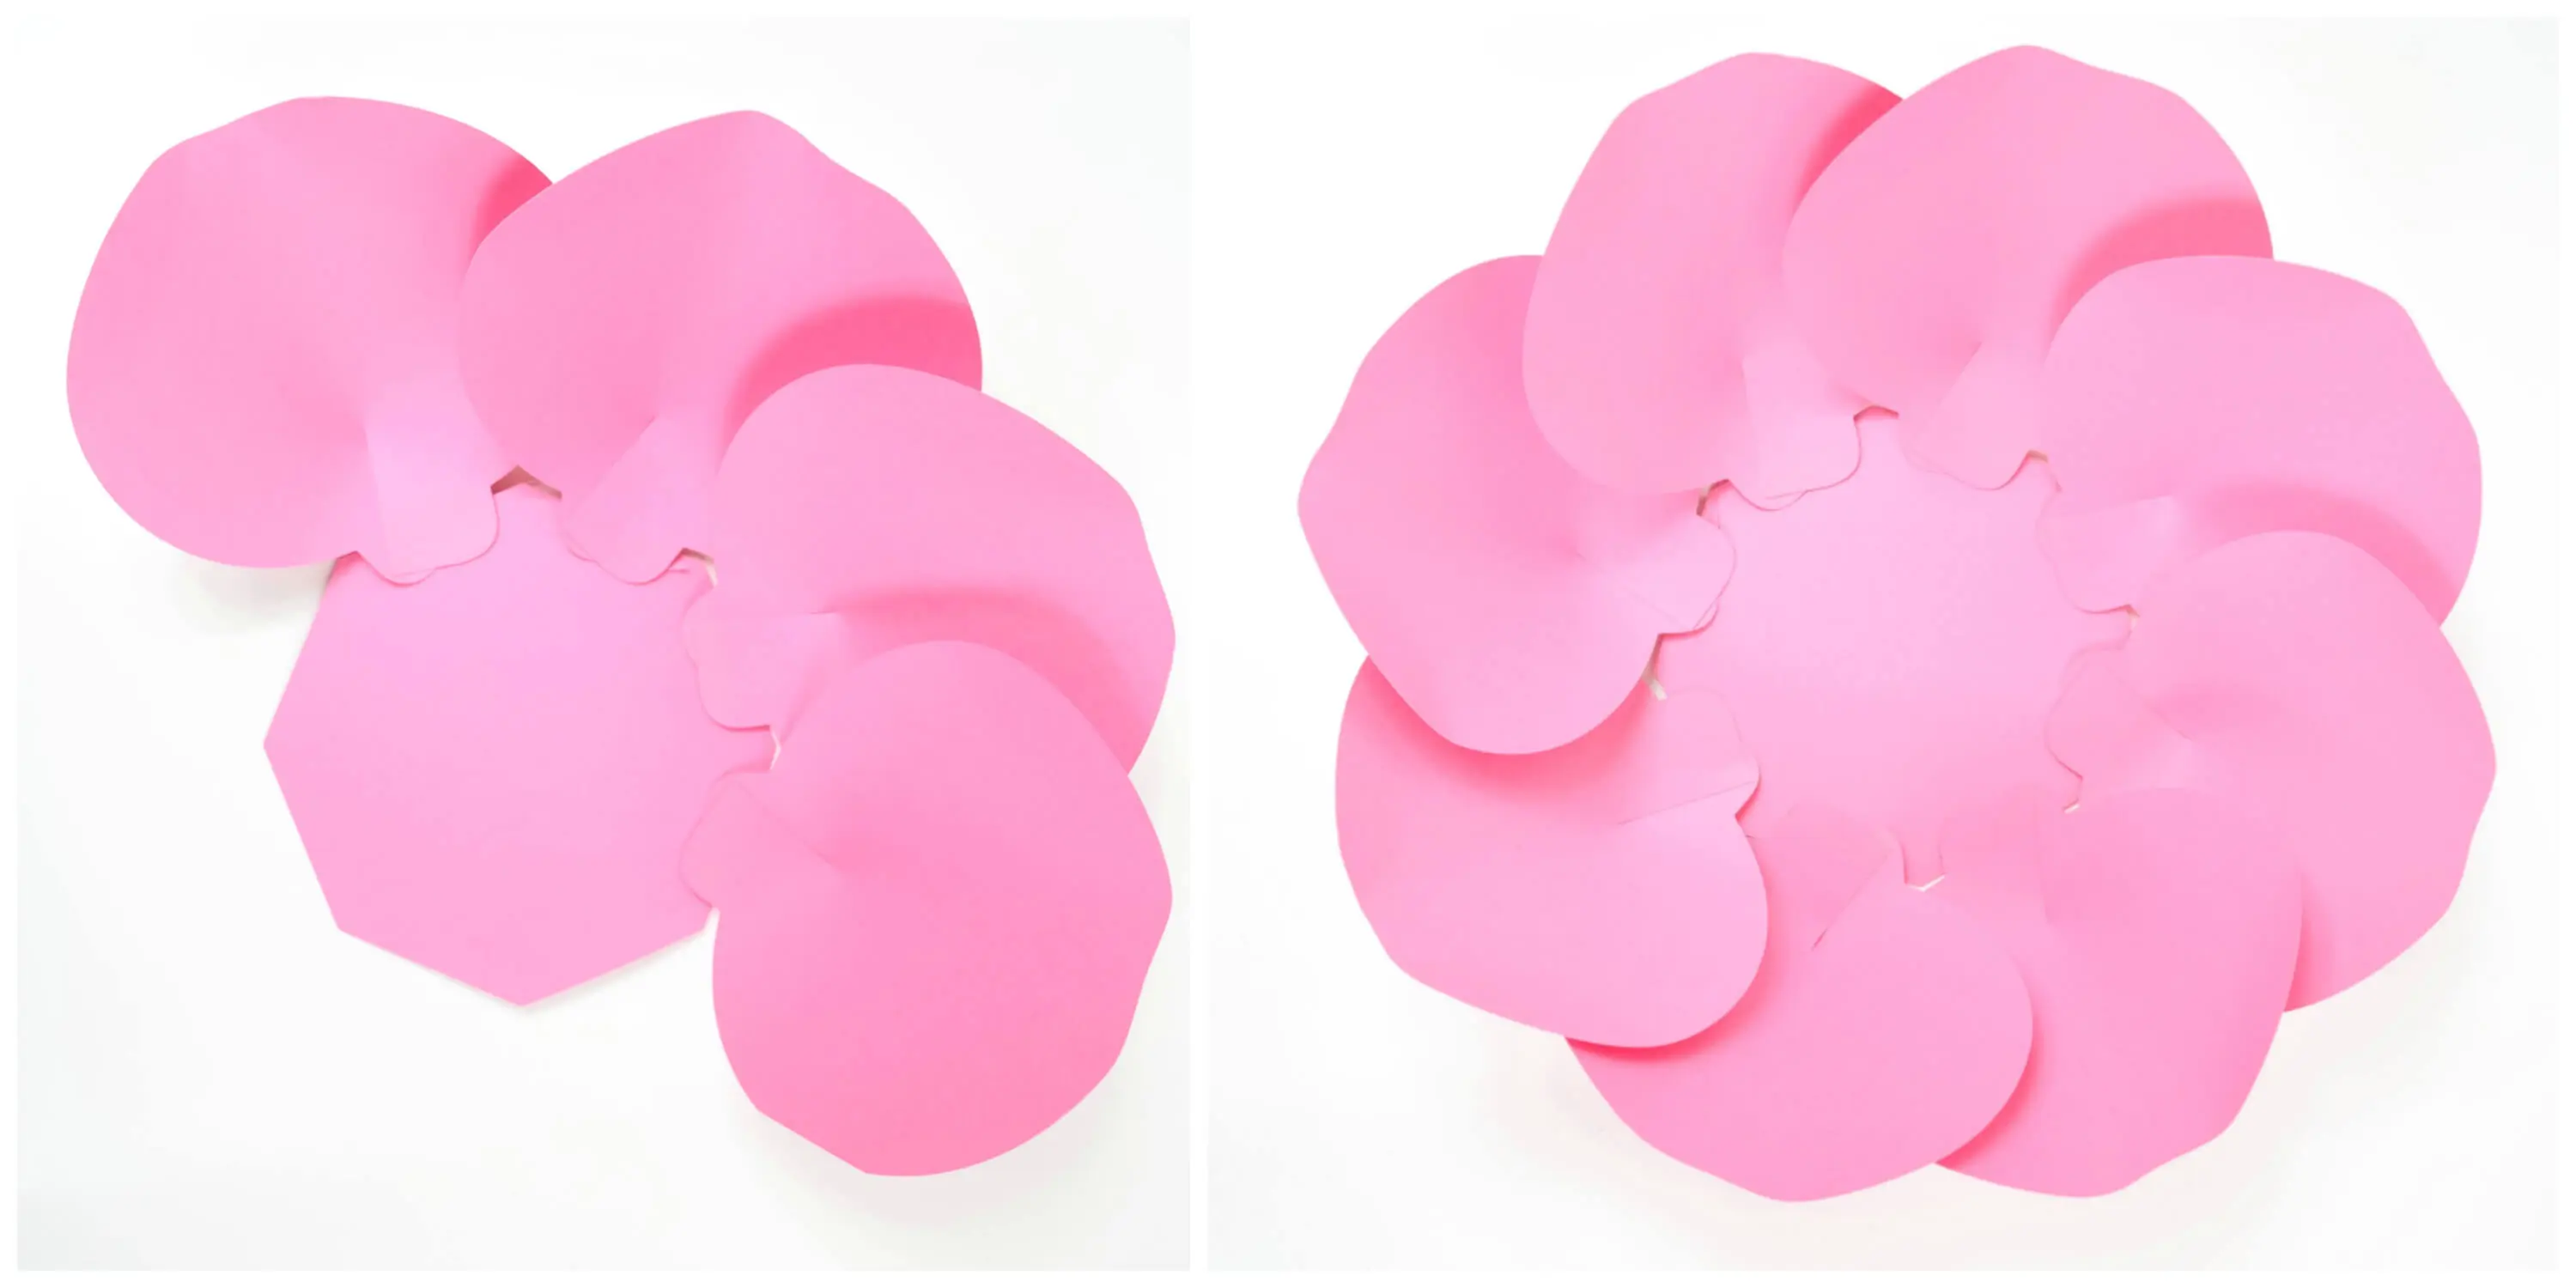
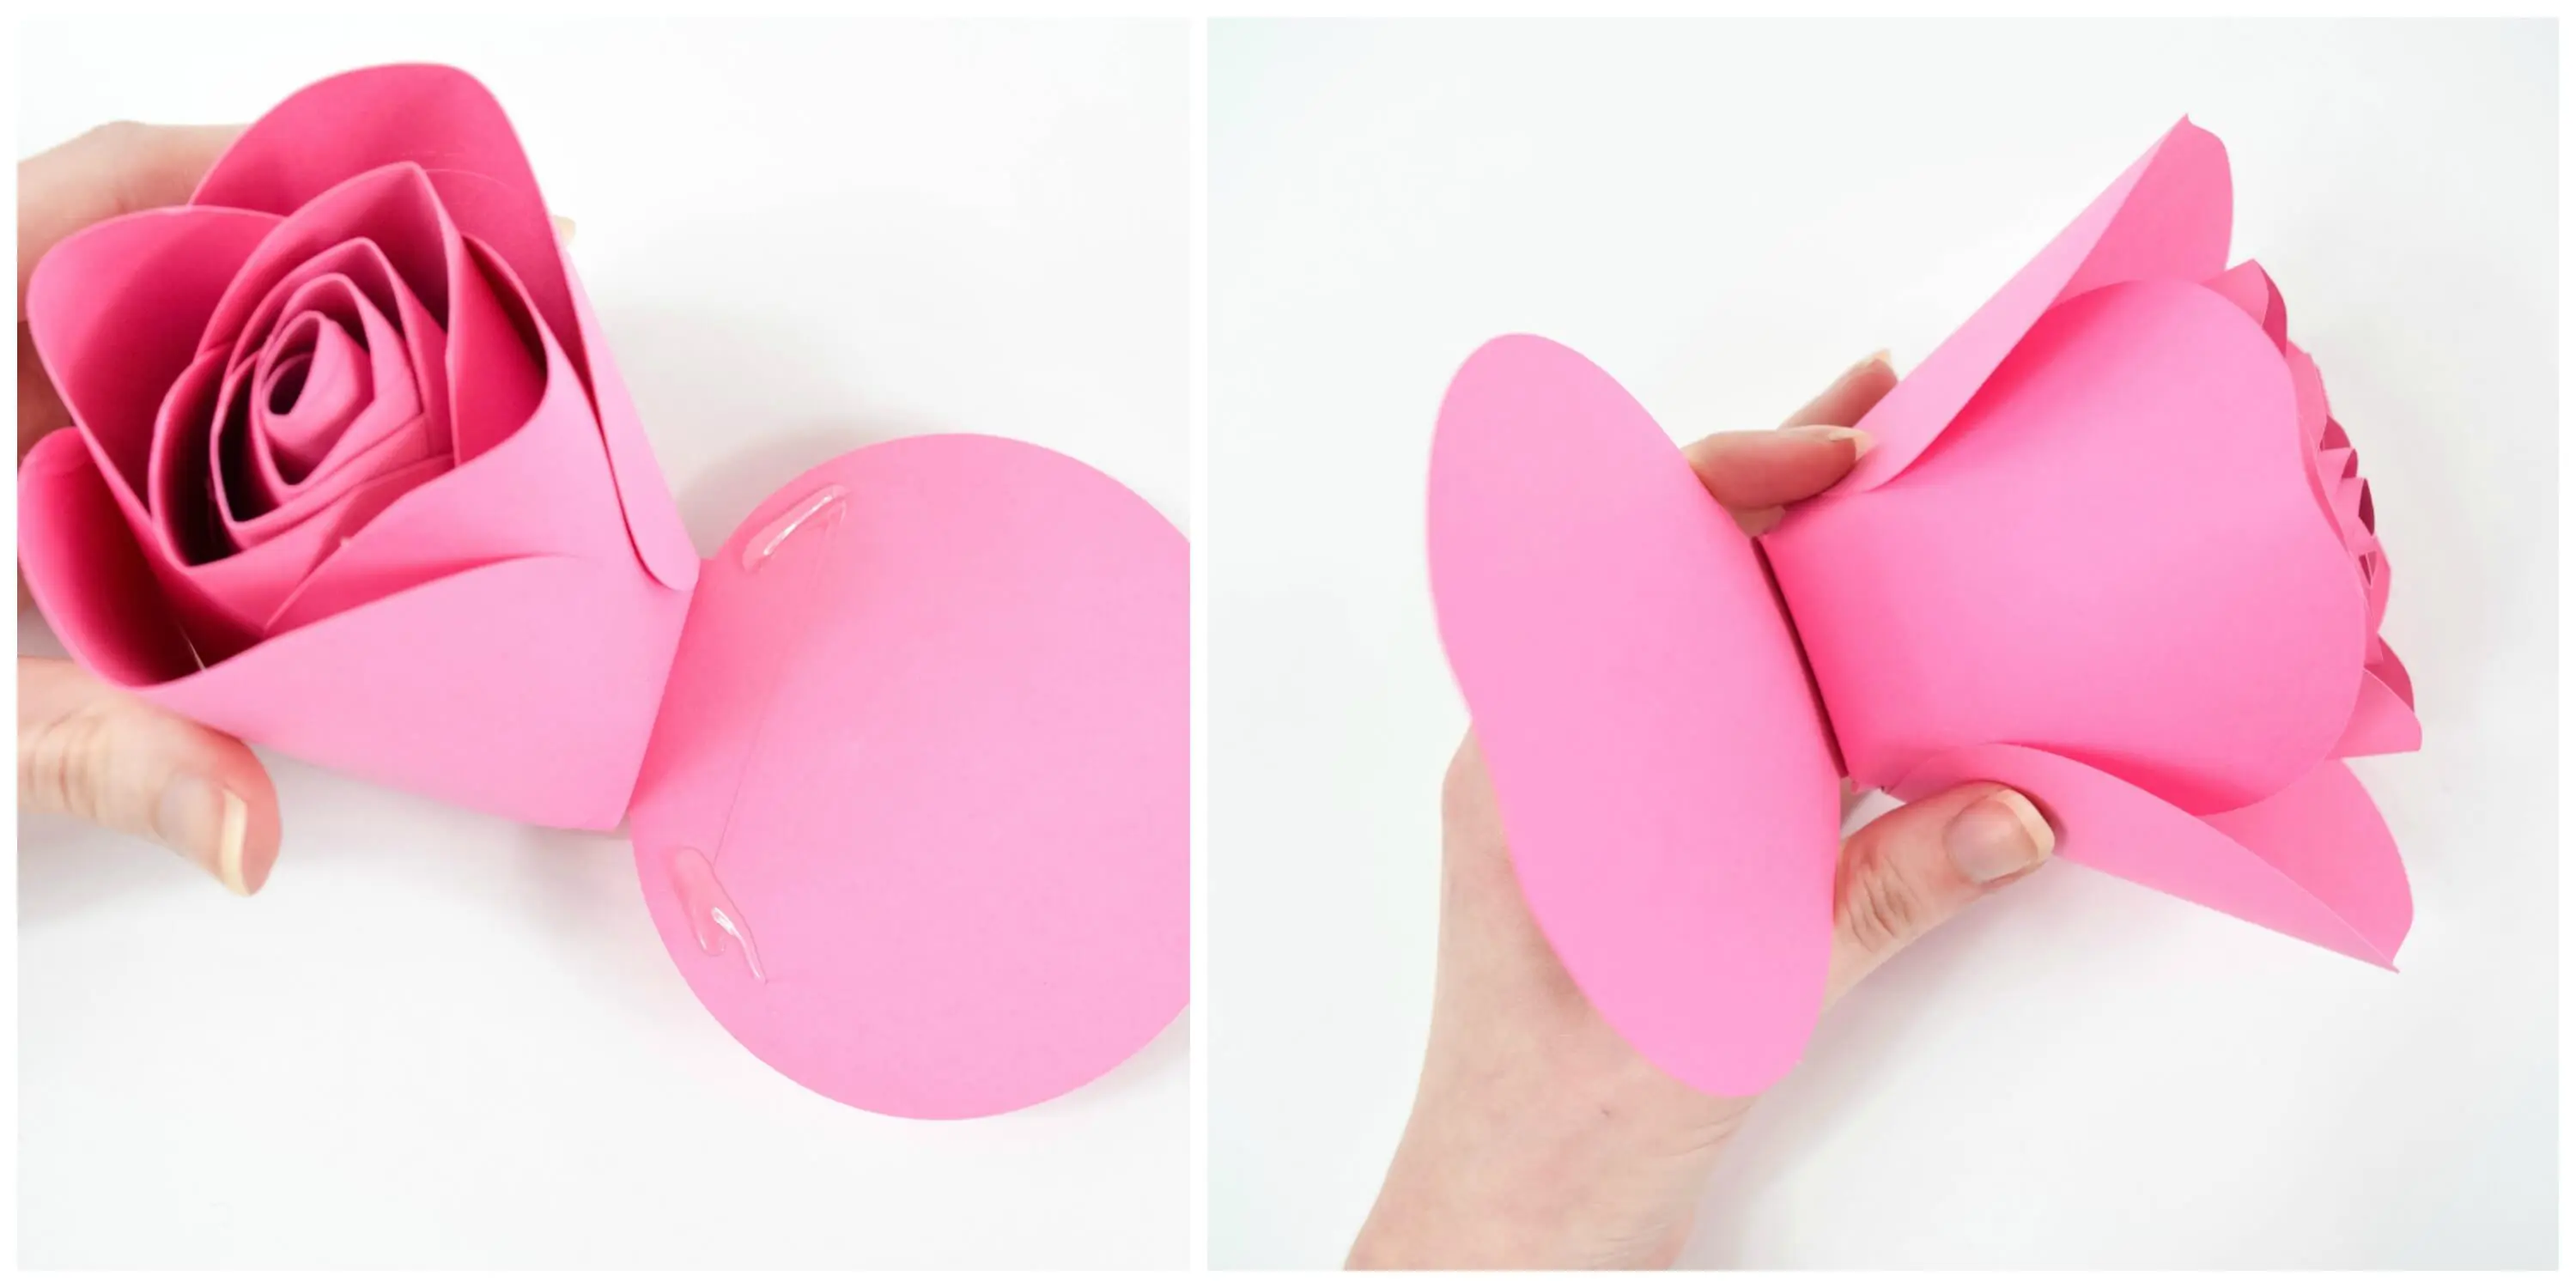
Step 9
Using your 8 sided base, start gluing each of the 8 large petals on – one on each side of the base. You should have 8 large petals on your 8-sided base.
Step 10
Next we are adding in the 8 remaining medium petals. Add each of these petals in between the 1st layer of large petals so that they alternate.
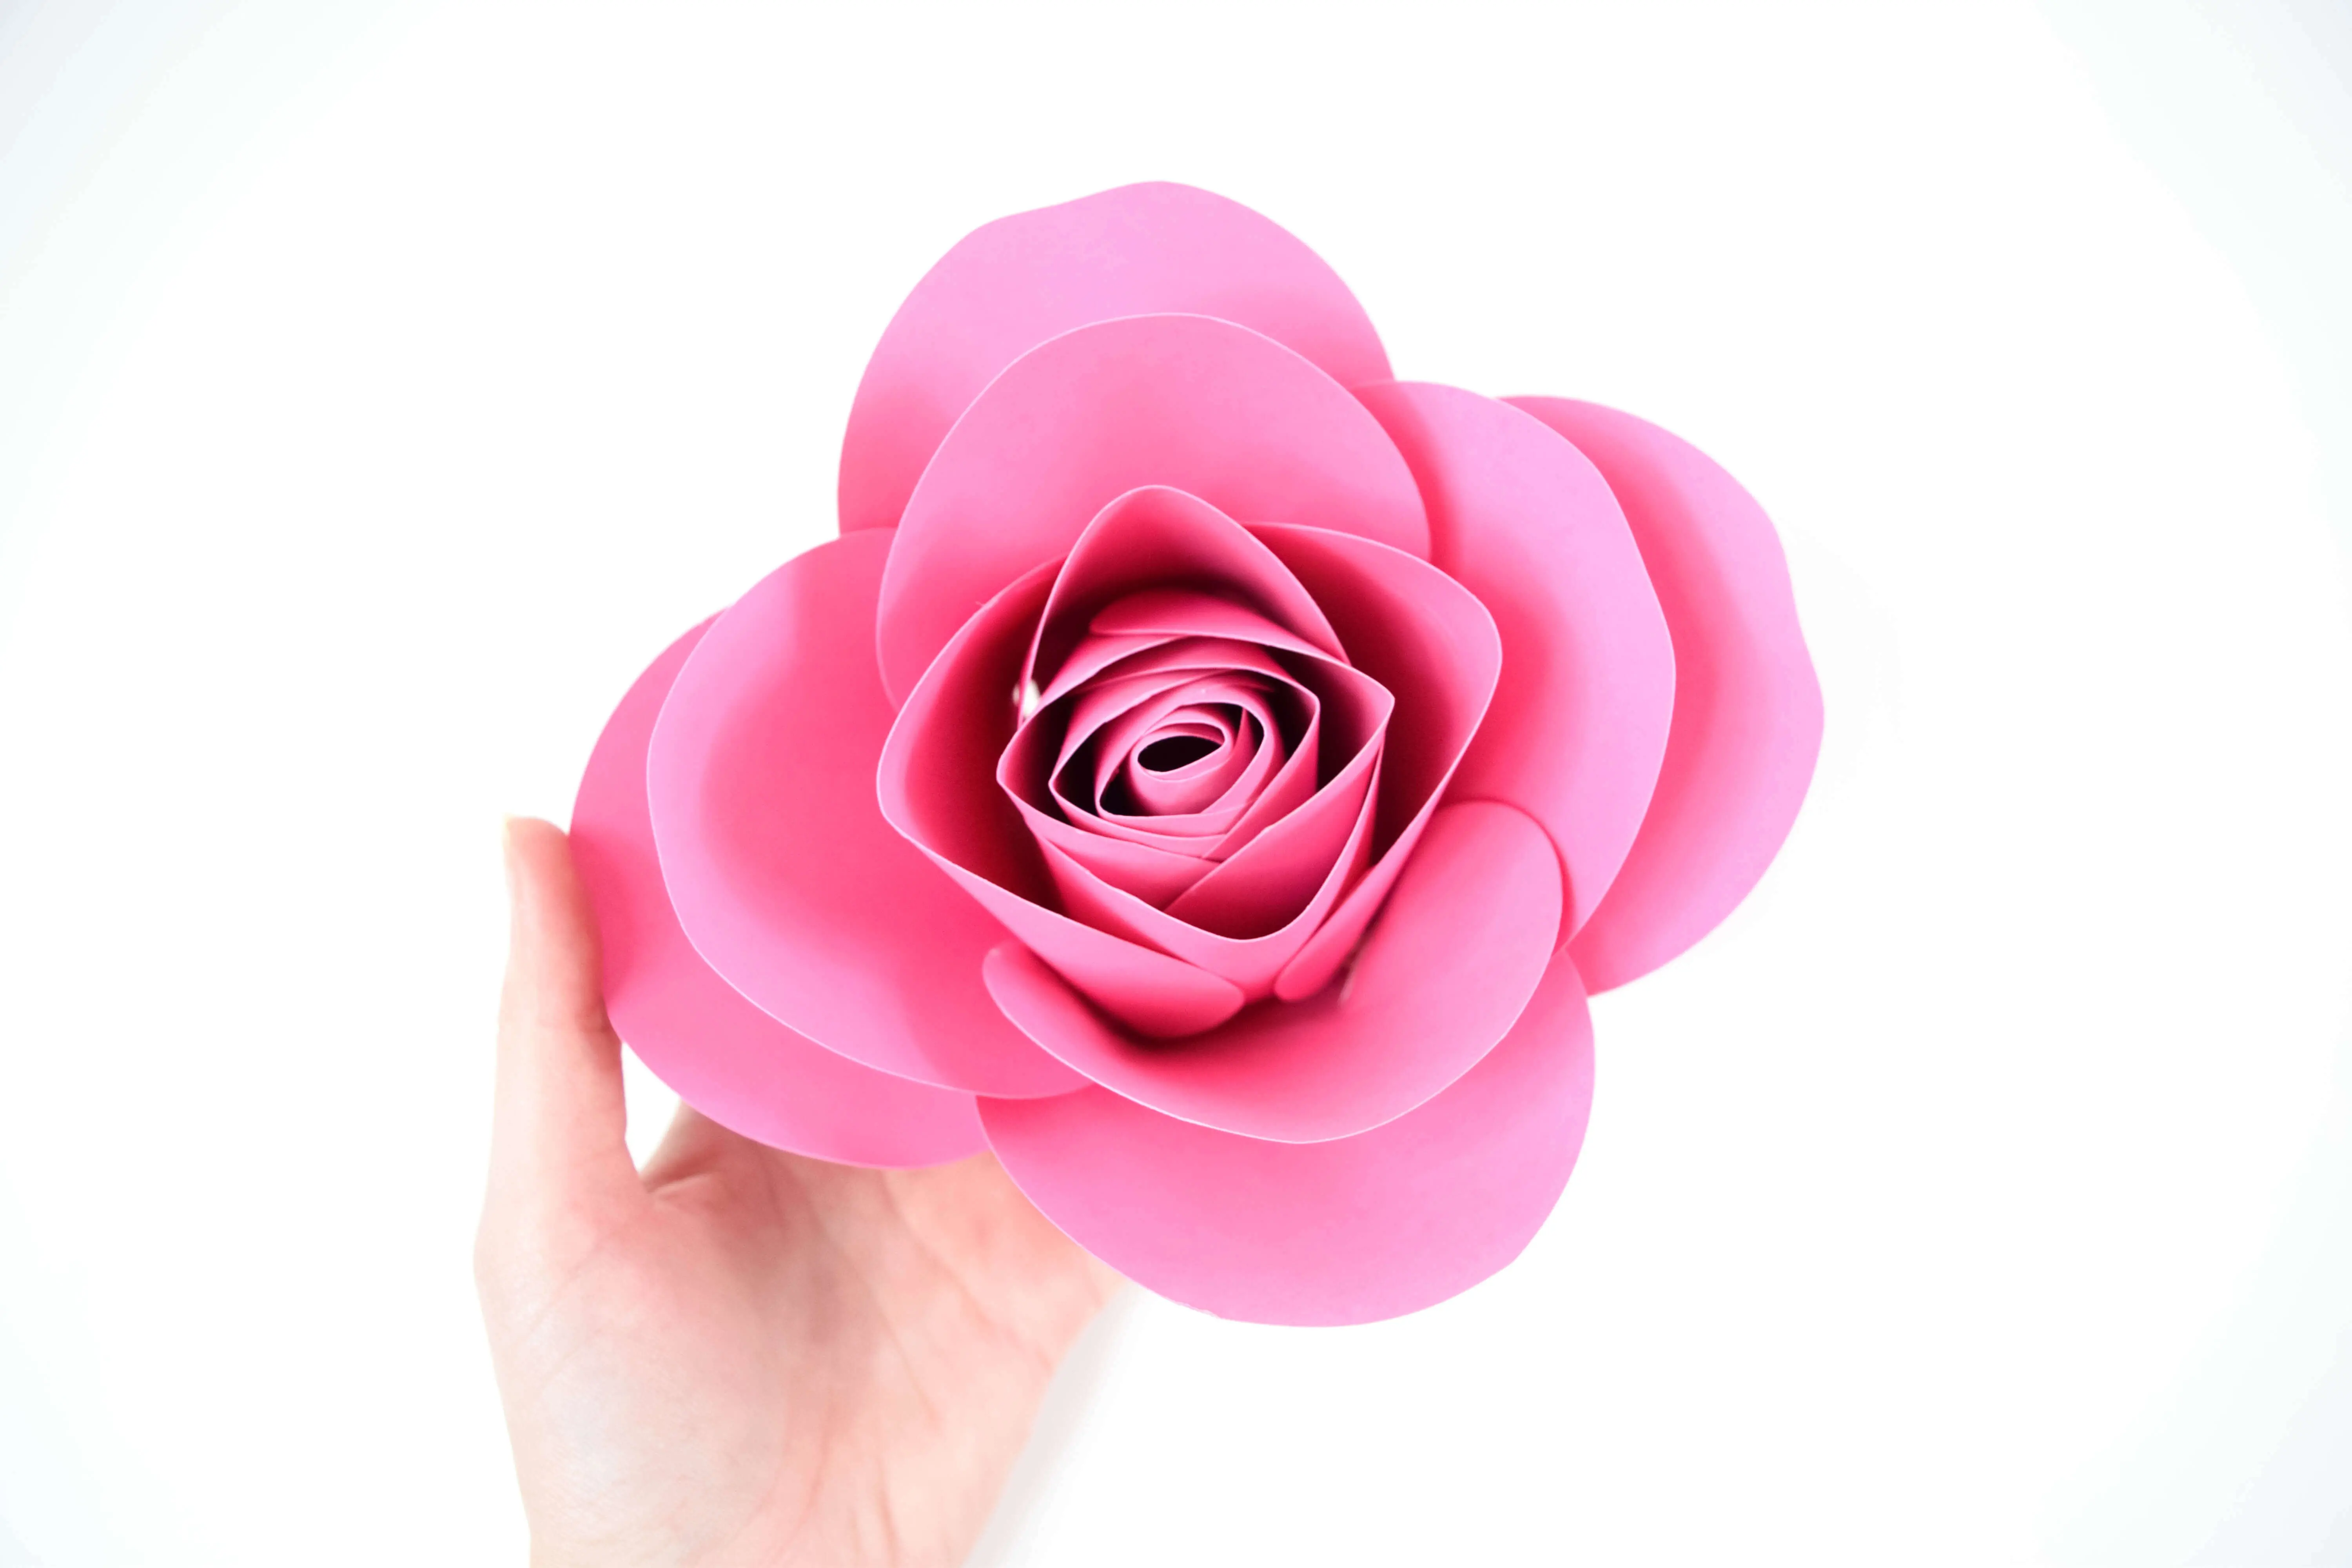
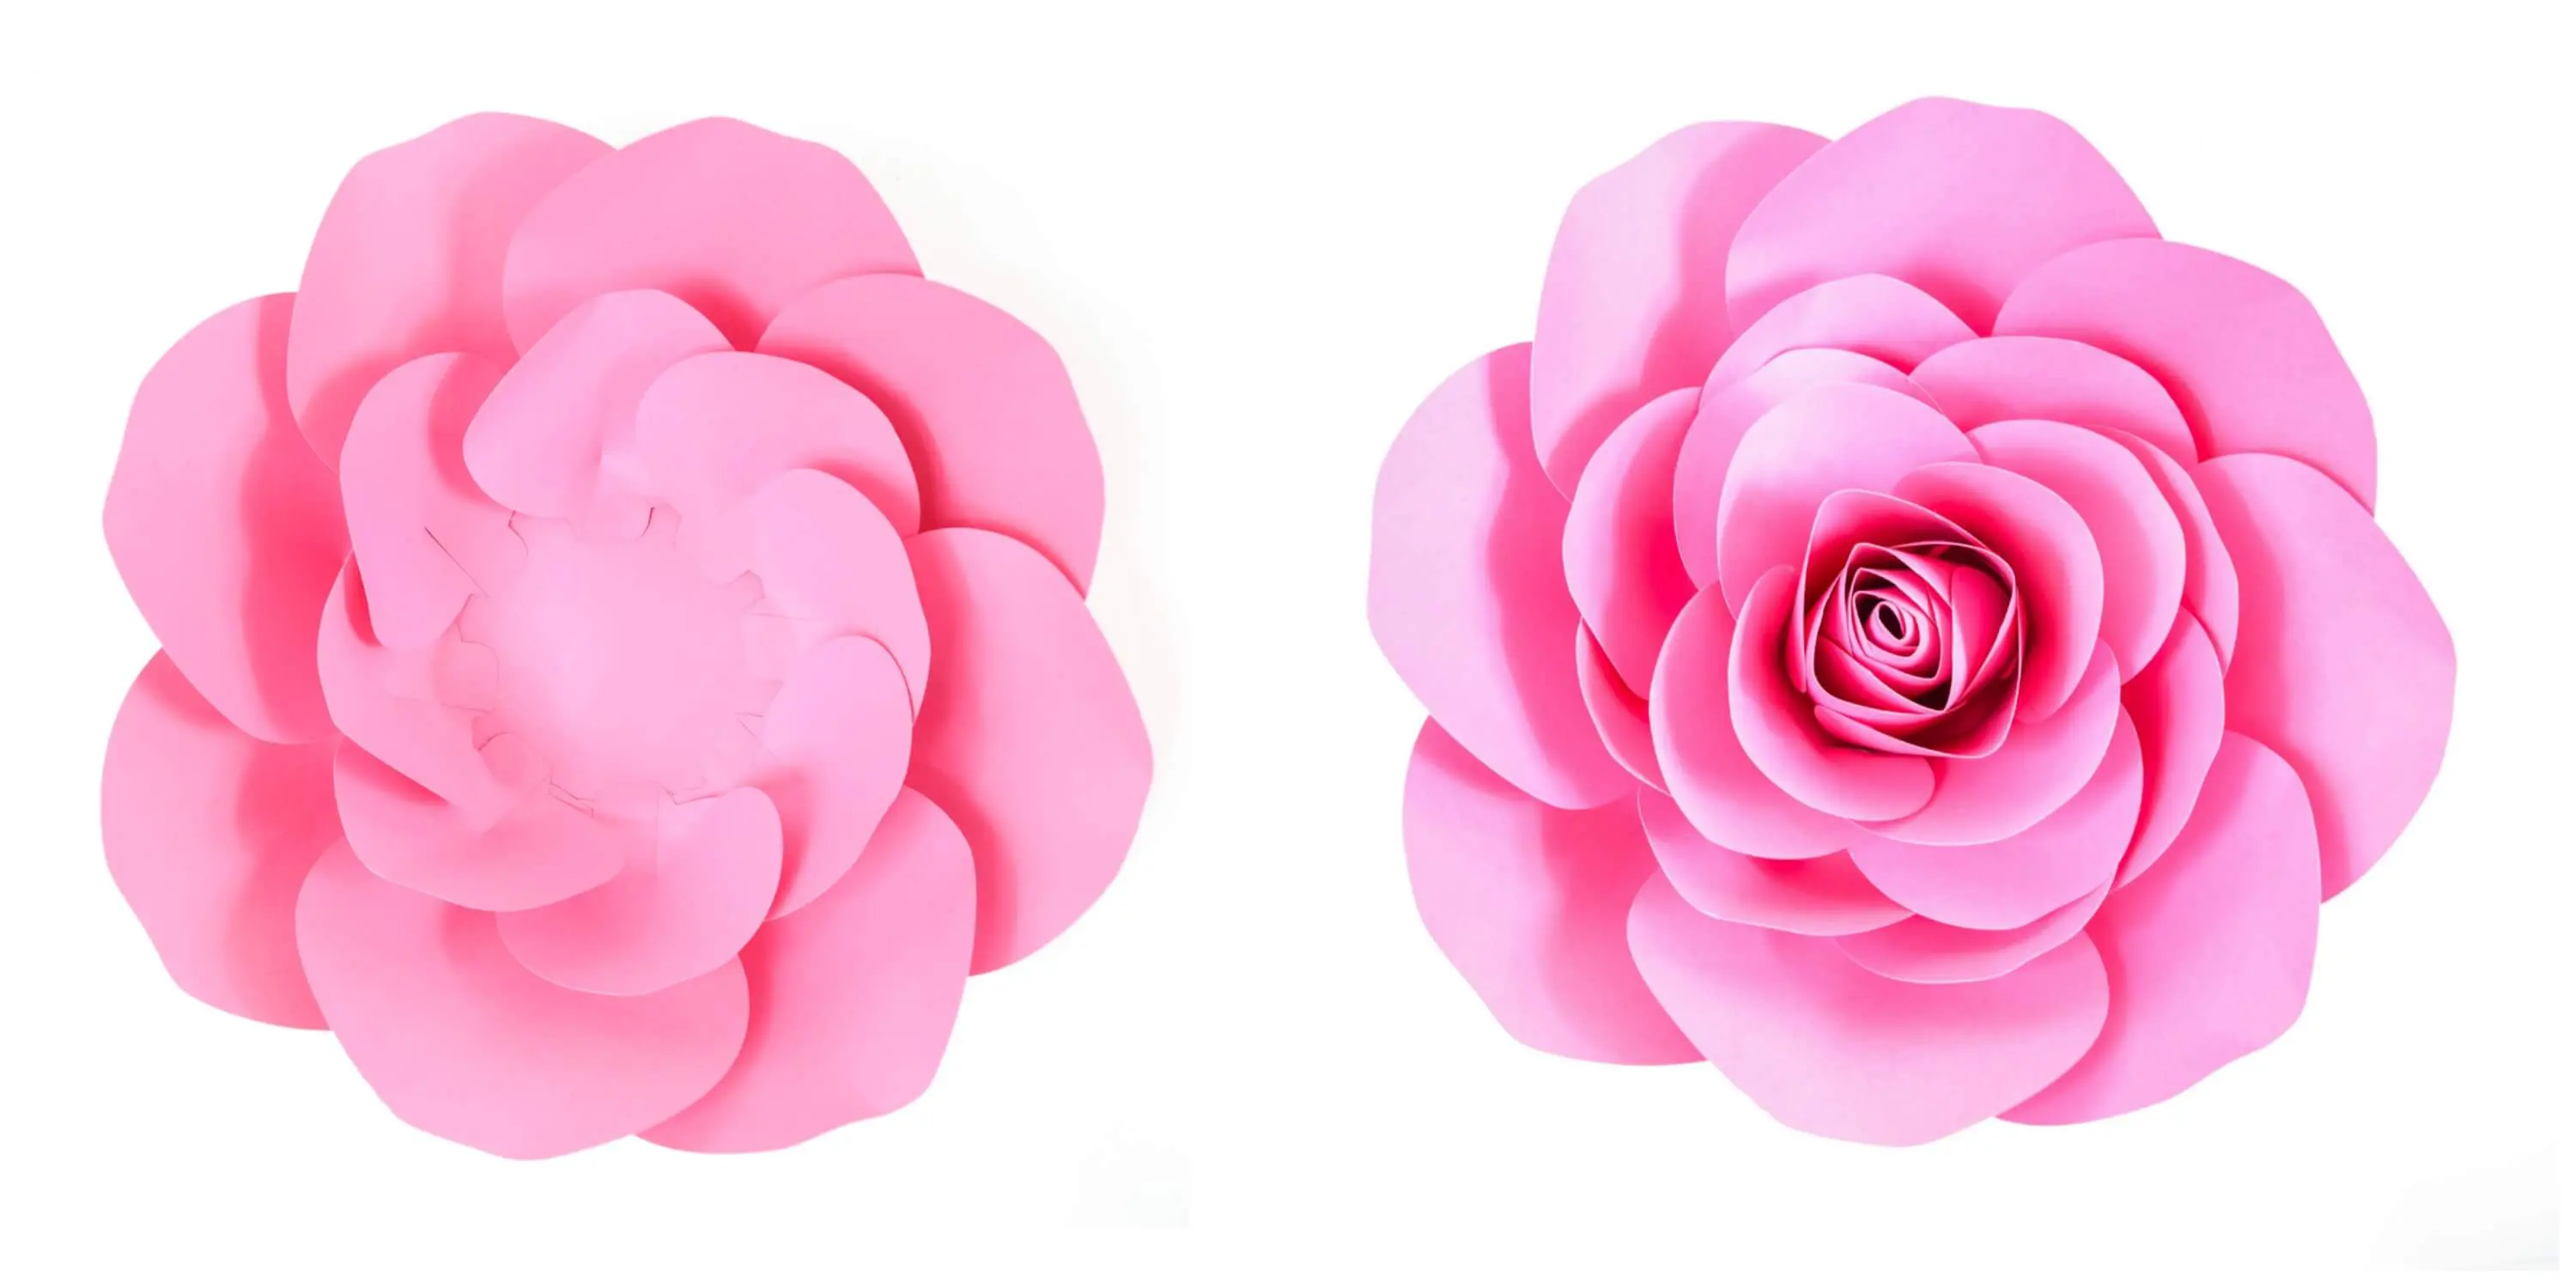
Step 11
Finally glue in your Cami rose center!
Did you enjoy this free large paper rose template and tutorial?! I hope so! If you did drop me a comment below or share on your favorite social media!
DOWNLOAD YOUR FREE PAPER ROSE TEMPLATE
Download these free rose templates by signing up below. If you are already a member, then log in right here and search rose or Design #22.
I have enjoyed seeing all your posts flood in since I released this! Some of you have asked about how to hang these flowers on a backdrop. I teach two methods of this. One is with PVC and the other is a tabletop backdrop.
Ready to take your Cricut skills up a notch?
Are you ready to Master your Cricut, discover new hobbies and skills, and design for yourself?! Be sure to join my FREE masterclass on the 3 biggest beginner Cricut crafter misconceptions and how to fix them!
This masterclass is for you if you…
…own a Cricut machine but feel like you have no clue what you are doing!
…wish you could design your own project files.
…are tired of searching Pinterest and Google for answers
…craft several times a week, and want to personalize your crafts, home or event decor or maybe even want to sell your crafts!

How to Stem a Giant Paper Flower
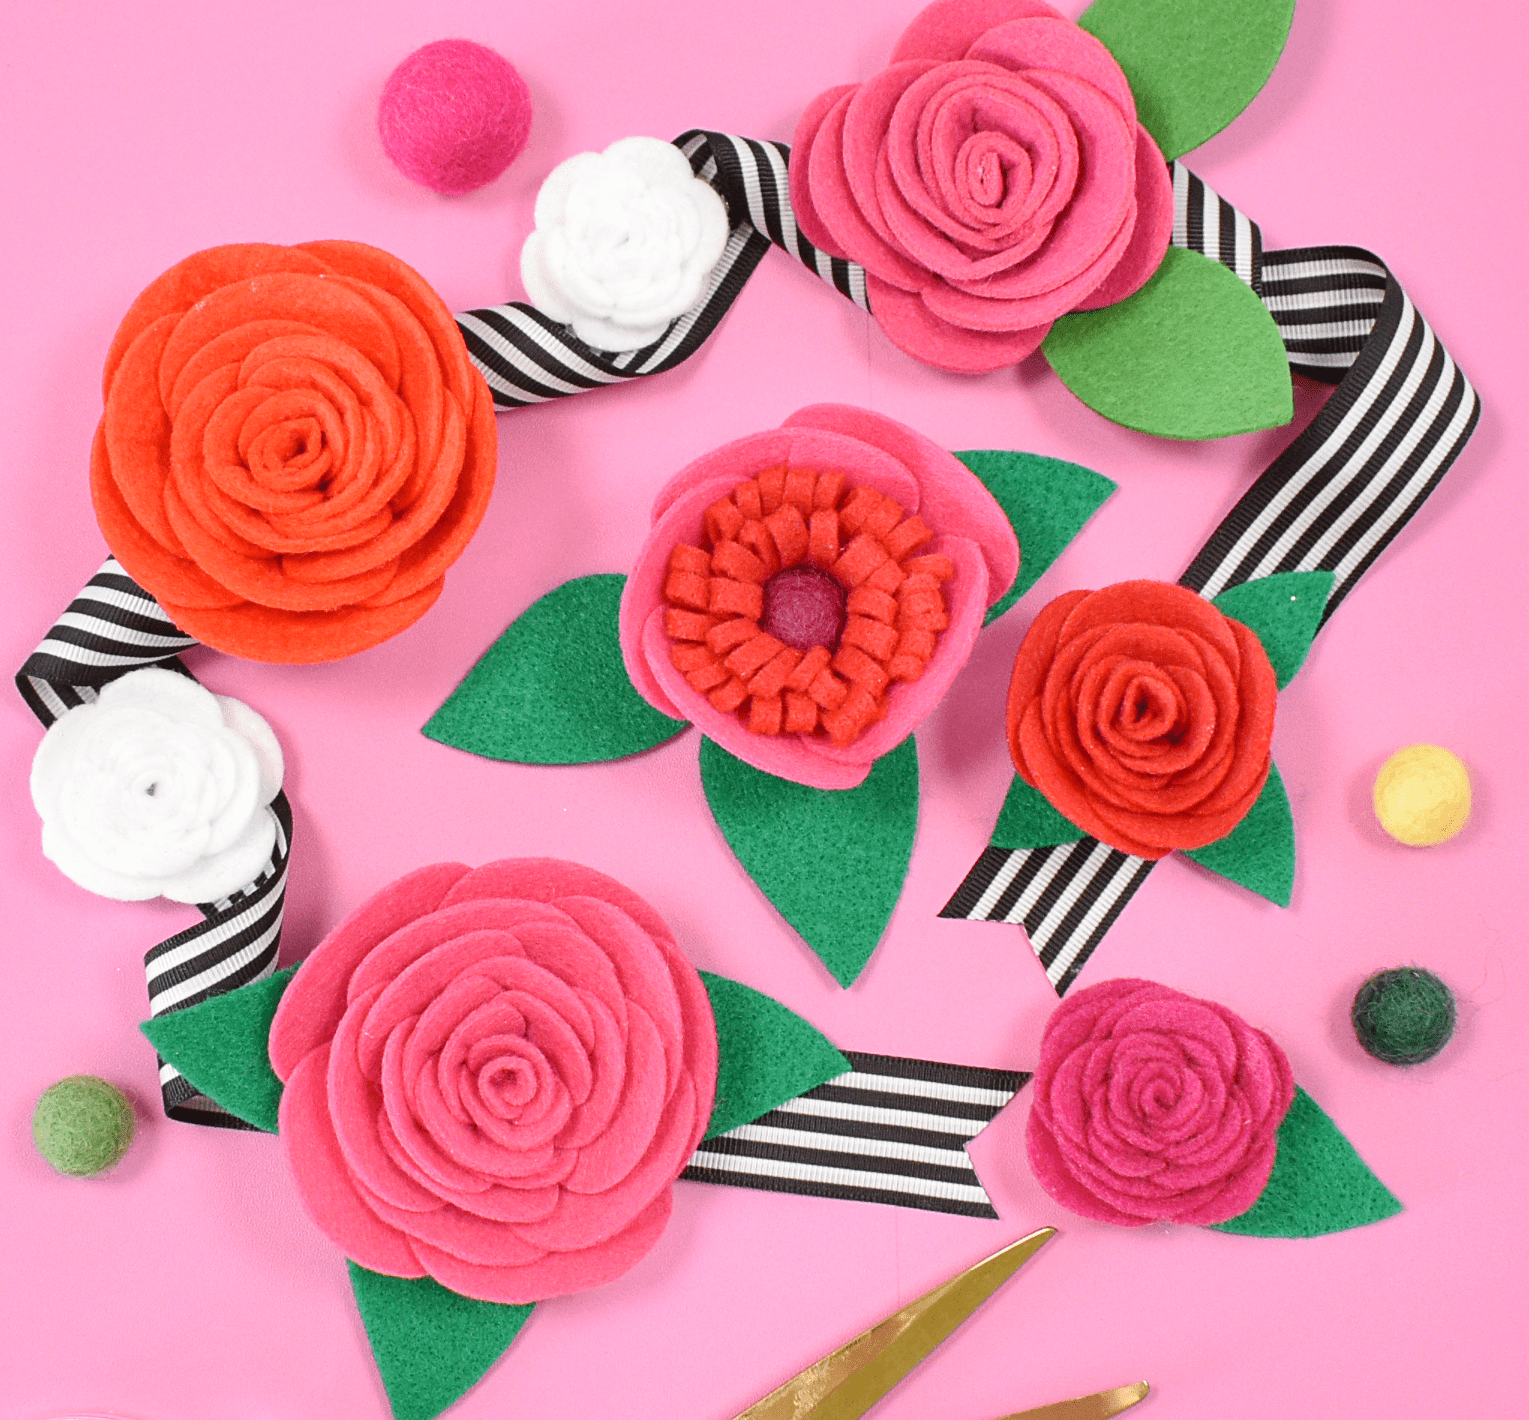
Shop our other best selling roses here!
[bigpres skus=”009,0092,00115,001011″ overlay=”no” animation=”fade” direction=”top” show_img=”yes” show_name=”yes” show_price=”yes” show_arrow=”no” hide_button=”no” link_to=”product” per_row=”4″ size=”medium” type=”card” show_content=”no” drop_shadow=”no” /]
About Abbi Kirsten
Welcome to my colorful corner of the internet, where we play with vibrant crafts and unlock your creative magic! Hang out with me and get lost in a fun array of projects, tutorials, and products, from stunning papercraft ideas to flower templates, Cricut help for beginners, and endless crafter’s hacks.
Join A-Star Crafters and participate in monthly Craft-Alongs in our community Facebook group!


This is great! Thank you!
This is awesome!!!! Thank you so much!
Thank you!! I’ve made the mini and the giant rose from your templates and I love them.
My pleasure! Enjoy!
What size is the 8-sided Petal Perfect base cut out? How many inches?
The 8 side base for the XL measures about 6 inches and the large should be about 5 inches. 🙂
I’m making all the flowers in different colors for my daughters 3rd birthday party!!!!! What’s the theme unicorns,and what goes with unicorns???? Amazing huge paper flowers!!! Afterwards its going in my daughters rooms as decor!!!
Sounds lovely Amy! You might want to check out the unicorn flowers here too! https://www.abbikirstencollections.com/2017/09/diy-iris-unicorn-rainbow-flowers-large-rainbow-paper-flowers.html
Hello. I enjoy making your Alora garden rose. i am trying to find the link to download the cami-rose but cannot. can you assist me with this please?
Linda
Please look at the bottom of the post where the large pink “download here” button is. That will take you to the templates.
Abbi, I have read and read again about the Cami-Rose but I cannot find the link. Please advise.
Linda
Please look at the bottom of the post where the large pink “download here” button is. That will take you to the templates.
Thank you so much can’t wait to also try the rose I bought erlier.
Love this! Do you still cut the slits at 1 1/2 inches for the large and extra large petals?
Yes, you will still cut the slits.
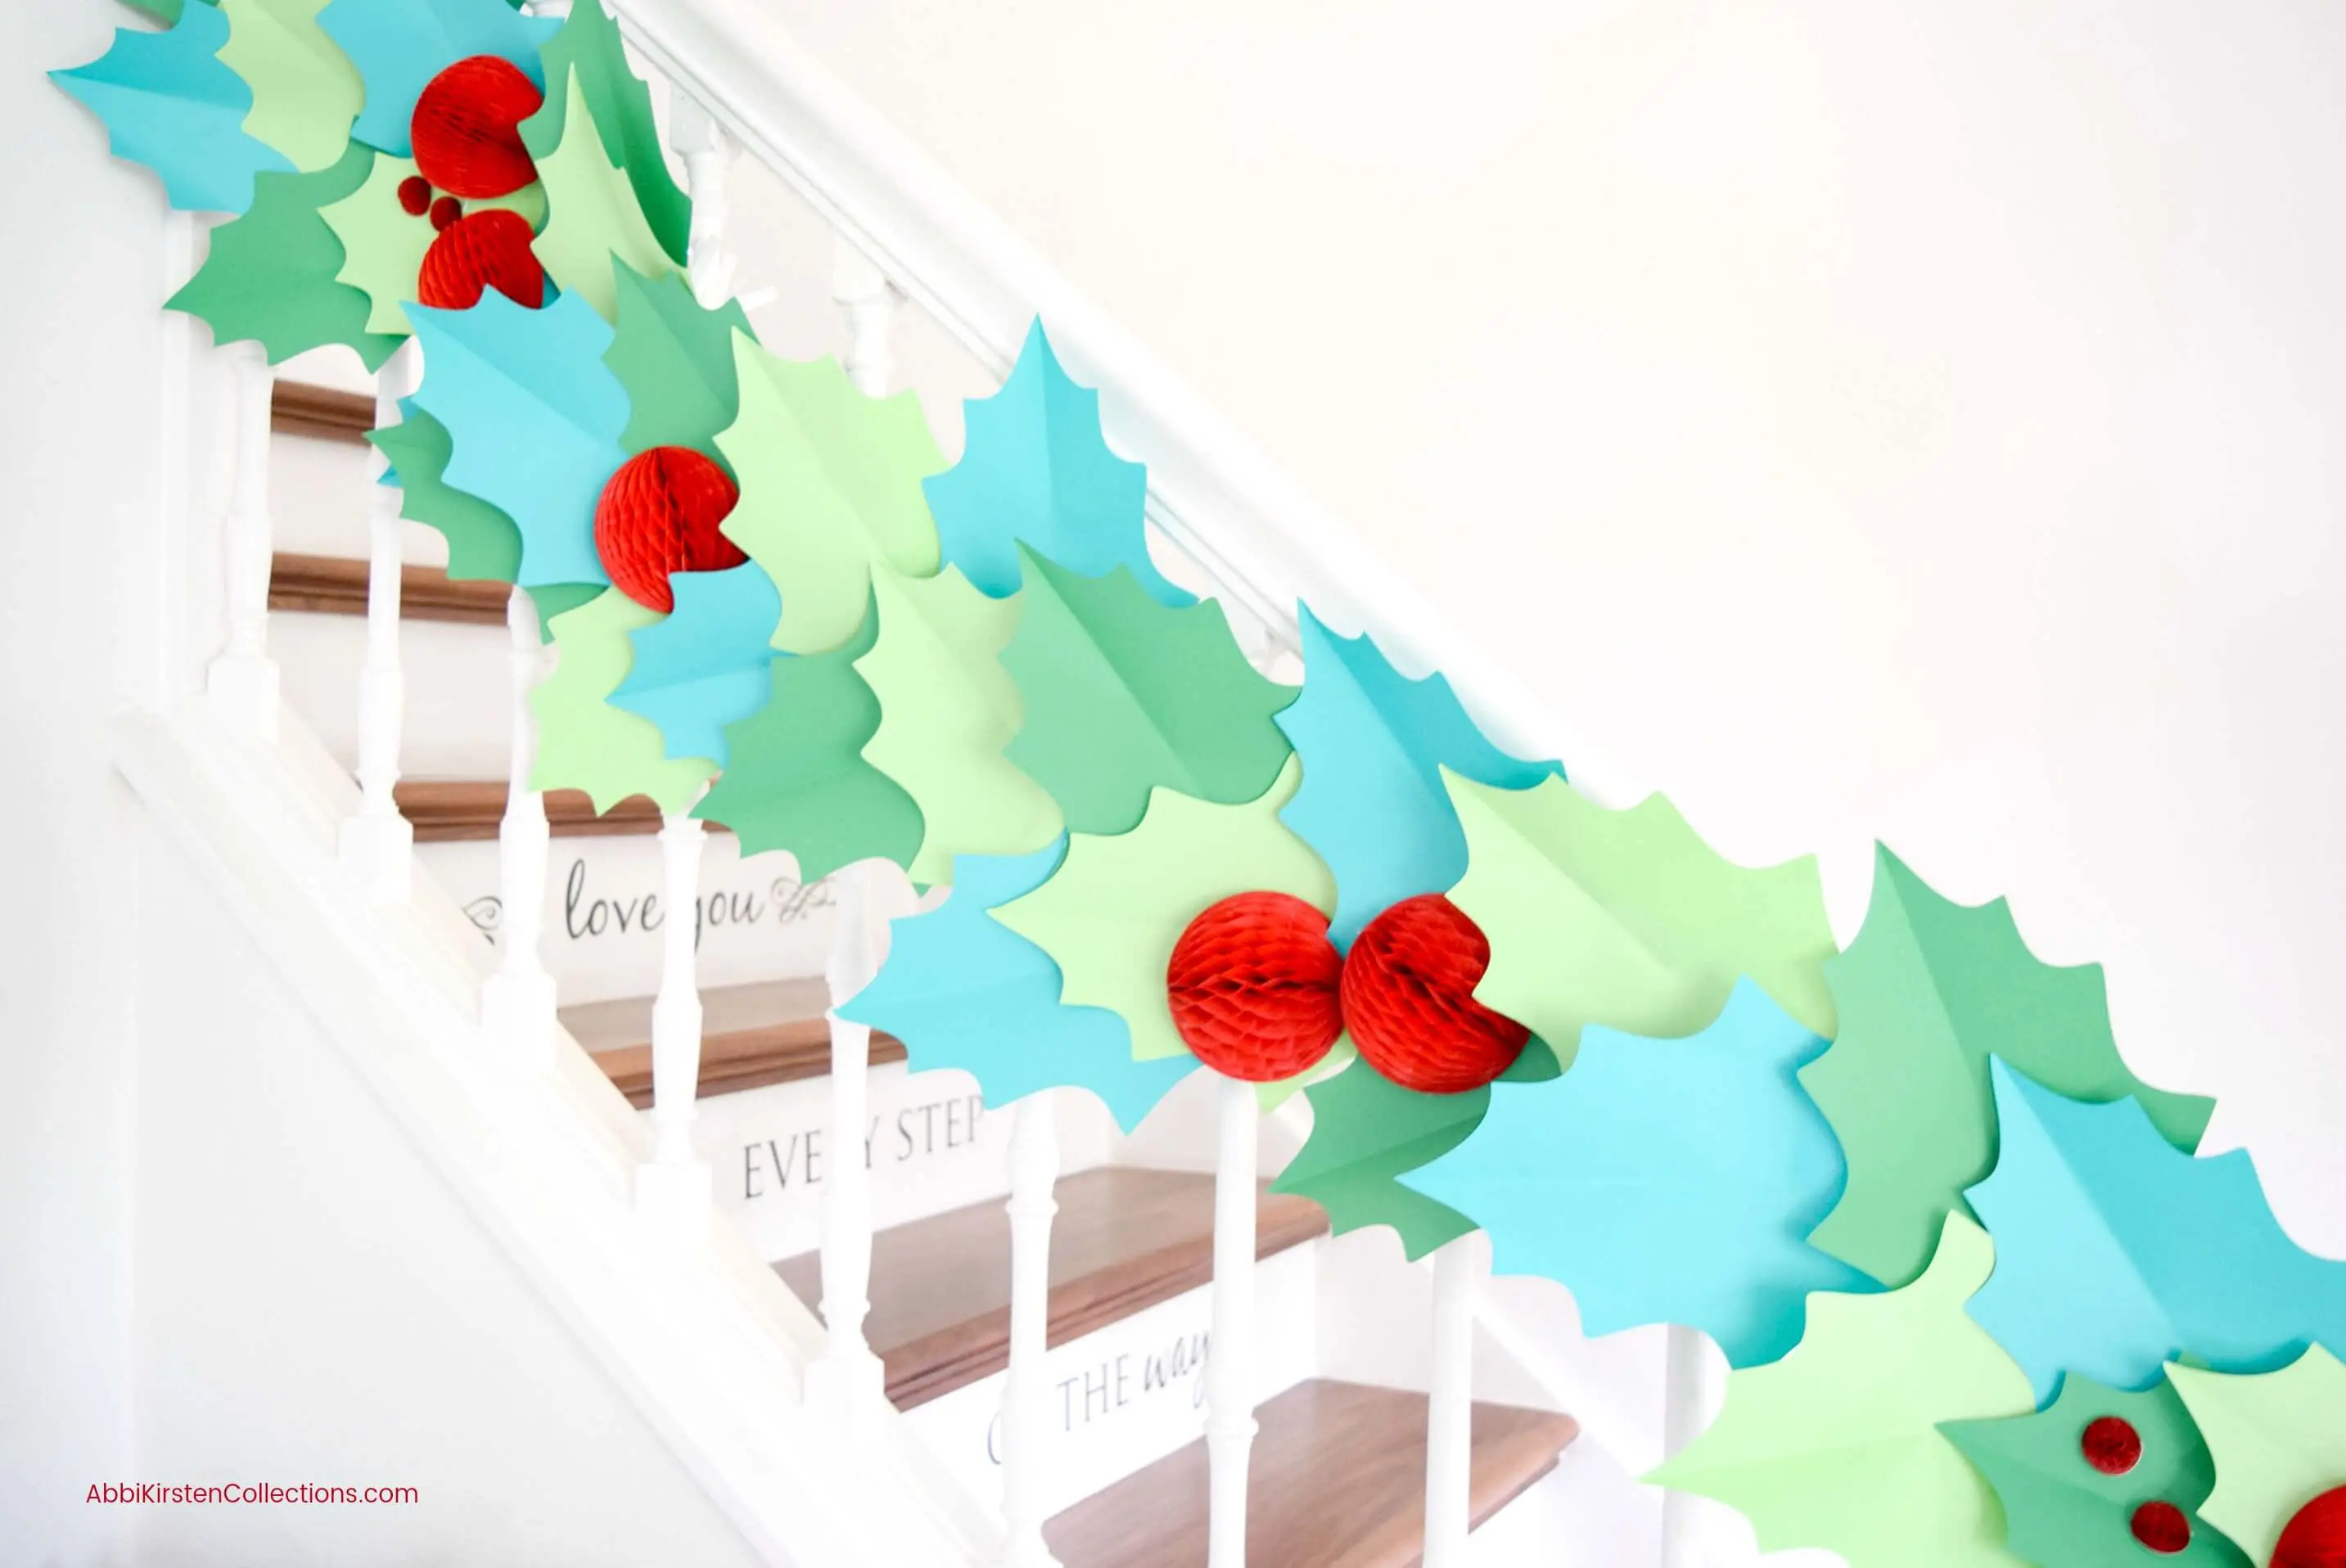
Thanks for this, I’m going to make some decorations with these!
That flower is gorgeous! Such a great craft for kids or adults!
Oh mine this is so cool. I have been planning in getting paper roses for my daughter’s room. We might just have to make it a fun experience and do our own.Awesome post!
Thank you Marianne. I hope you enjoy it!
This is absolutely amazing, I’ve been thinking of ideas to decorate my daughter’s room, I think this is an awesome one.
Hi! This looks awesome and I’m so excited to try it. I have printed out all the templates, but was wondering if you had printer friendly instructions? Thank you in advance for your time! Have a great day 🙂
-Amy
Hi Amy, I don’t have instructions as a printable but you can follow along with this blog post and it will walk you through! 🙂
I clicked the download here, but nothing happened. Is it no longer there?
Hi, it is still there. When you click the pink button you should see a pop up appear. Make sure your pop up blocker is disabled or it may not let you see it. 🙂
Hello, how Many petal should I use to make a small flower with this template?
Hi Mary, Use the same petal count as shown but only use the smallest petal to build out the flower. 🙂
Thank you for the free template and easy to follow tutorial. The flower is beautiful!
My pleasure Kathleen! 🙂
Hello! First off, I LOVE your website and have learned so much from your tutorials! I will be doing a bunch of flowers for our daughters wedding coming up and in looking through your pages i found a brief sentence saying you use rolls of backdrop paper for bigger projects as its more economical. Alas…I lost it and I’ve been searching through your site trying to find the name of the company you purchase your rolls from. Can you please tell me the name? Thank you!!
Hi Bridget, Thank you for your kind compliments! I think you saw the rolls of paper on this post here: https://www.abbikirstencollections.com/2019/02/free-paper-flower-templates.html They are called Savage Universal Paper Rolls. 🙂
What size is the large and XL base supposed to be for the cricut? I see the measurements for the petals but not the base.
Hi Kristina,
I use a 6.5 inch base for the XL and a 5 inch base for the large. 🙂
I love your design!!! I’m trying to download template but when it downloads it stays at 50% and it doesn’t move. I tried letting it download for over an hour and still nothing. Can u send me the direct link please?
Hmm, not sure why its saying that. I would suggest clearing your cache and trying again or perhaps trying a different device. Make sure you also have enough storage on your device that you are downloading it to. 🙂
Hi Abbi, do you have a video available for this rose?
Hi Missy, At this time I just have the picture tutorial in the blog post. 🙂
At what point do you curl the petals with the dowel?
I curl the petals after I cut the slits at the bottom and overlap. 🙂
These roses are beautiful. I love this tutorial and I can’t wait to try them. Thank you for sharing!
Wow… so beautiful. 👍👍
From craft house.
cooool I am so happy xD
I’m making these for my wedding. I started today they are coming out beautifully. I will definitely be sending the final results. Thanks for such beautiful work and easy to follow tutorials.
Do these have to be made flush or can they be made freestanding? Do you have directions for a stand?
Yes! Here is a tutorial! https://www.abbikirstencollections.com/giant-paper-flower-stems/