Make A Bunny Ears Explosion Treat Box with Cricut
This post may contain affiliate links that won’t change your price but will share some commission.
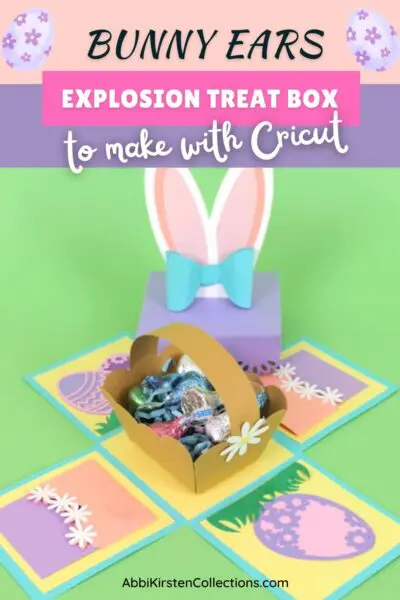
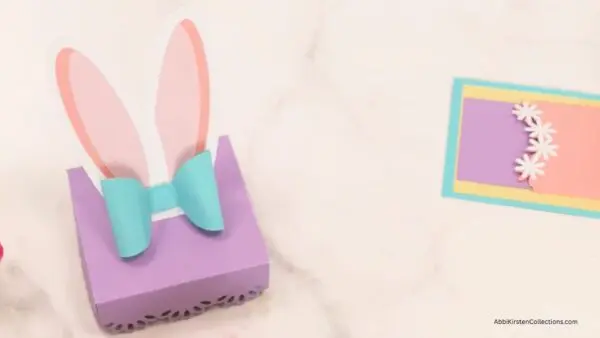
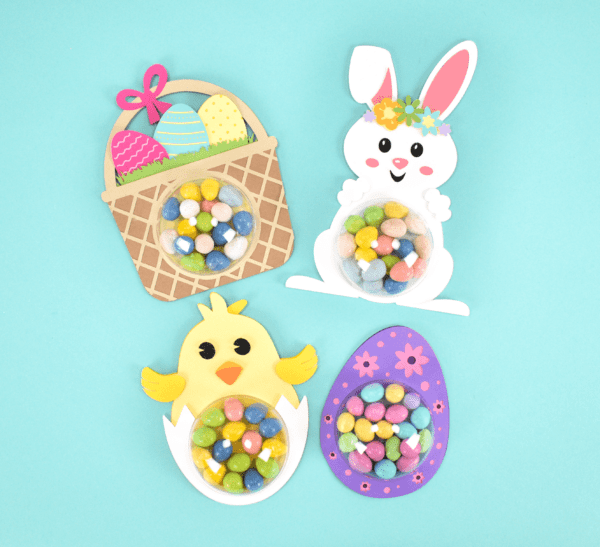
If you love interactive 3D paper crafts, this DIY Bunny Ears Explosion Treat Box is such a fun project to make with your Cricut or cutting machine! This adorable Easter gift box opens to reveal a sweet surprise inside—a tiny basket perfect for holding candy, treats, or a small toy. It’s a wonderful handmade gift idea for Easter baskets, party favors, or spring celebrations. Using your cutting machine and a few pieces of cardstock, you can easily create this charming 3D paper explosion box that’s sure to delight anyone who opens it.
Supplies for Making The Bunny Ears Explosion Treat Box
Here’s everything you’ll need to create this cute Easter bunny gift box.
- Cricut cutting machine
- 65-pound medium-weight cardstock. I recommend 12×12 Cardstock Shop for high-quality cardstock options. (For this project, I used pastel Spring colors.)
- Cutting mat
- Brayer tool
- Scoring stylus or scoring wheel
- Craft glue. I use Bearly Art glue (my favorite), which dries clear and works well with any papercraft projects.
- Small candies or gift items to place inside the box
- Optional: Easter grass for decoration
- Easter Bunny Ears Explosion Treat Box templates
Need Help Uploading SVG Files to Cricut Design Space?
Uploading SVG files to Cricut Design Space does NOT have to be difficult! Check out this easy process for uploading SVGs to Cricut Design Space and get 200 pages of
Design Space Help at your fingertips with my Cricut Confidence Ebook.
Download The Easter Bunny Ears Gift Box Templates
- If you’re an existing A-Star Crafter, log in to access and download the Bunny Ears Treat Box templates here.
- If you haven’t yet joined A-Star Crafters, click JOIN A-STAR CRAFTERS below, create your account, log in, and go directly to the collection here! Join to get access to the templates for this fun Cricut paper project and so much more!
Get This And Hundreds More Craft Templates By
Becoming an A-Star Crafter!
How to Make The Easter Bunny Ears Gift Box: Video Tutorial
Once you’ve gathered your supplies and downloaded the bunny explosion treat box templates, watch the video below for hands-on visual instruction and/or follow the step-by-step tutorial below the video.
Steps for Making the Easter Bunny Ears Explosion Box
Read on to follow each step in creating the gift box.
1. Upload And Prepare the Files In Cricut Design Space.
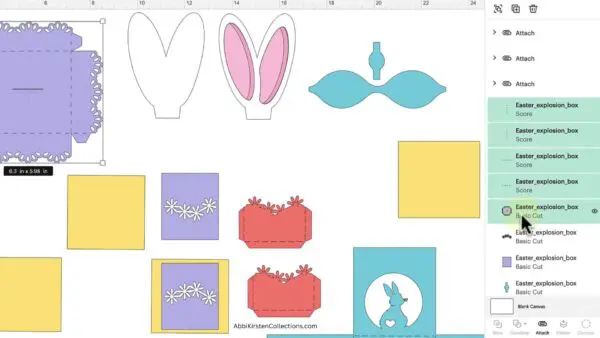
After downloading the SVG files, upload them to Cricut Design Space. Before cutting, there are several important setup steps. First, you will need to set all the black lines to score lines, then attach the lines to the object being scored. And, optionally, resize if preferred.
- Change the box guide lines to score lines. To change the solid guide lines to score lines in Design Space, click on one of the lines, then go to the Layers panel and select each black line for the box in the Layers panel (shown below). Now, select Operation > Score from your menu options.
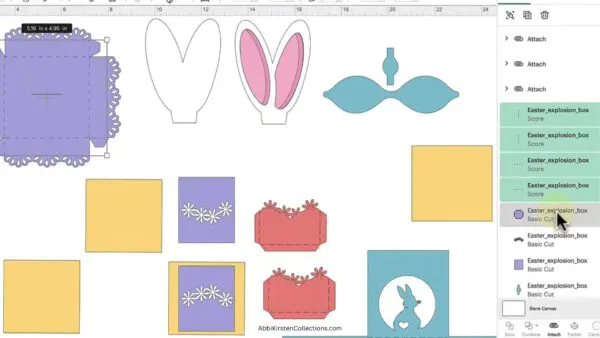
- Attach the base. So the score lines stay where we want them when we cut the design, we need to attach them to the base of the box. With the score lines still selected, hold the Shift key and from the Layers panel, select the base of the box (shown below). With these five layers selected, click the Attach function at the bottom right of the screen.
- Repeat for other objects with guide lines. Do this “score and attach” process for the pockets, lid, and mini-basket.
- Optionally, you may want to resize the objects, but keep in mind that you should scale the items as a group to keep all the pieces proportional. Avoid resizing individual pieces separately, or the box may not assemble correctly. Also, I recommend not decreasing the size much so you can still easily work with those smaller pieces.
Pro Tip: Be sure to save your work throughout your project!
2. Cut Out The Design.
Now you’re ready to cut the design on your cutting machine. You’ll cut several colors depending on your design choices (white, peach, brown, yellow, blue, etc.).
- Load your cardstock onto the cutting mat.
- Use a brayer tool to press it firmly onto the mat.
- Select the Medium Cardstock setting.
- Allow the machine to cut and score all pieces.
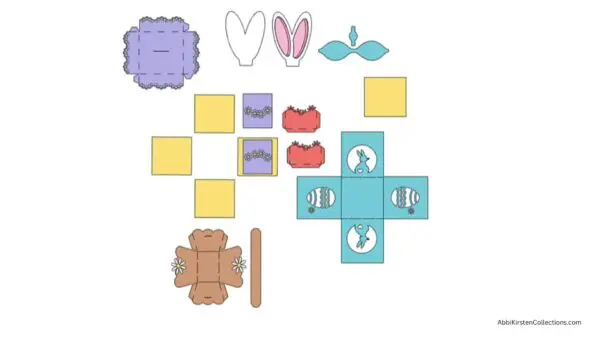
Once cutting is finished, remove the pieces carefully from the mat.
3. Fold All The Score Lines.
Carefully fold along each of the score lines that you set in Design Space.
Pro Tip: Take your time here — crisp folds are key to making sure everything opens and closes smoothly. Good creases make a big difference with these kinds of interactive projects.
4. Assemble The Mini Basket.
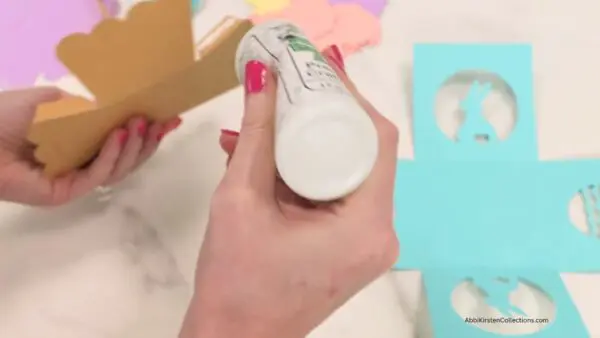
Let’s start assembling our craft by gluing together the small basket that will sit inside the explosion box.
- Apply glue to the side tabs and hold the edges together until the glue sets.
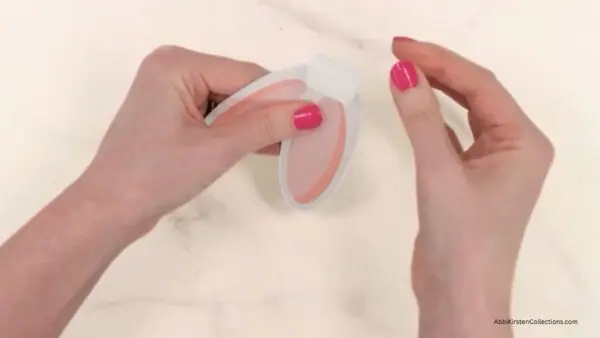
- Next, attach the basket handle. You’ll see a small opening on both sides of the basket to thread the small handle tabs from the outside inward. Add a small amount of glue to secure them.
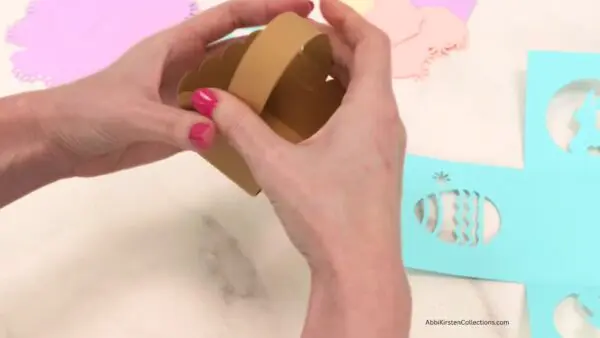
- Set the basket aside for now to allow the glue to dry.
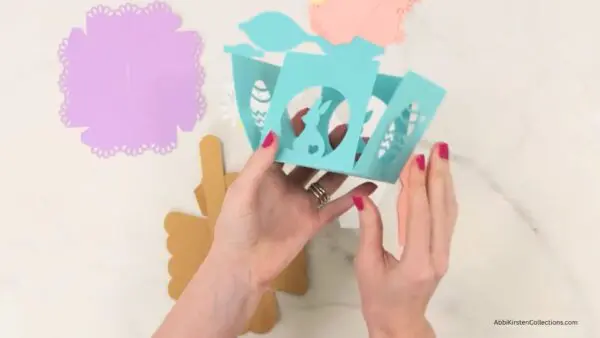
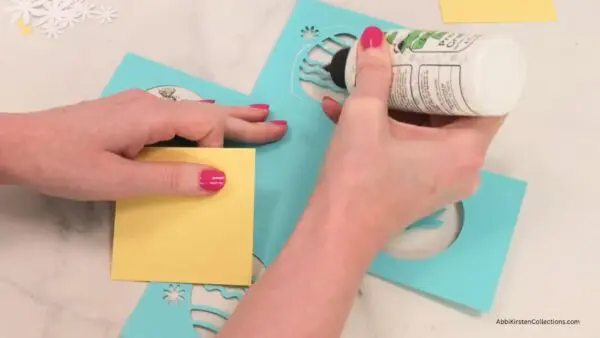
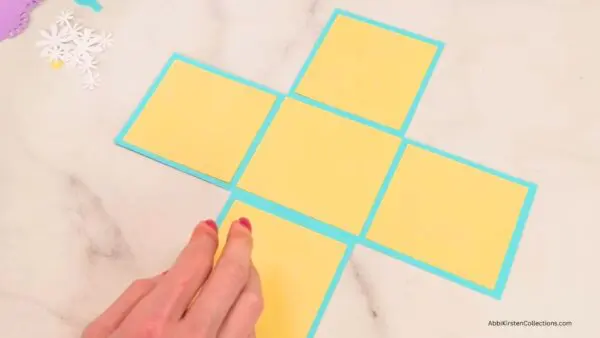
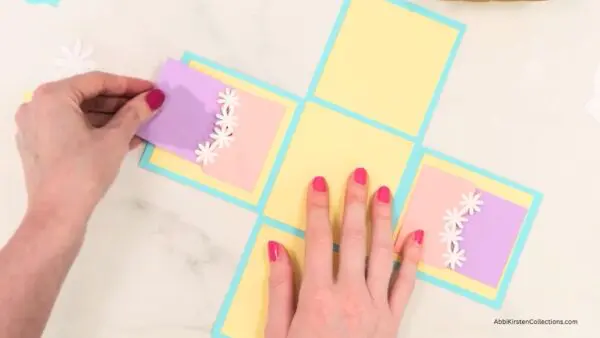
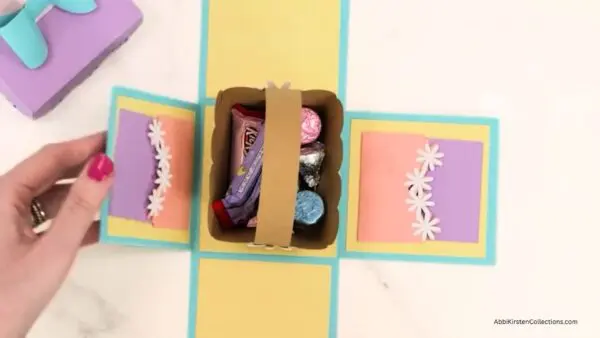
5. Decorate the Inside of the Box.
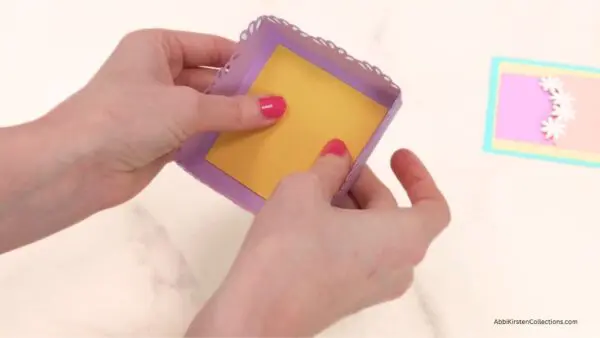
Now, glue the yellow square pieces to the inside of each box panel. This creates a cute layered “peekaboo” effect when you look at the bunny from the outside.
6. Attach the Pockets With Details.
If you haven’t already, fold the score lines for the pockets. These little pockets are perfect for inserting small notes, photos, or written messages.
- To attach the pockets to the two sides of the box, apply glue to the tabs. You can also cut extra pockets if you want them on all four sides.
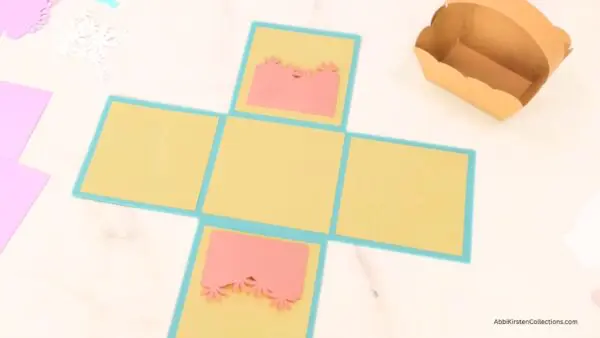
- Finish by gluing the decorative white flowers and centers on top of each pocket.
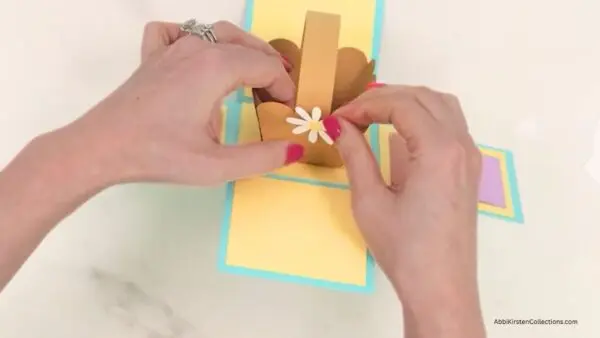
7. Glue the Basket Into the Center of the Box.
Next, glue the finished mini basket in the center of the box, pressing it gently in the center. You’ll want to check that the basket is sitting straight so it doesn’t interfere with the box closing.
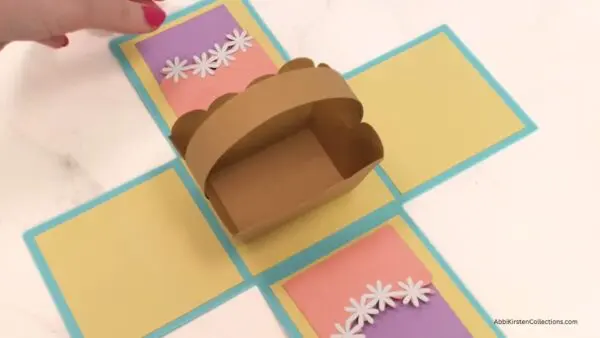
You can also decorate the basket handle with the small white daisy pieces included in the design.
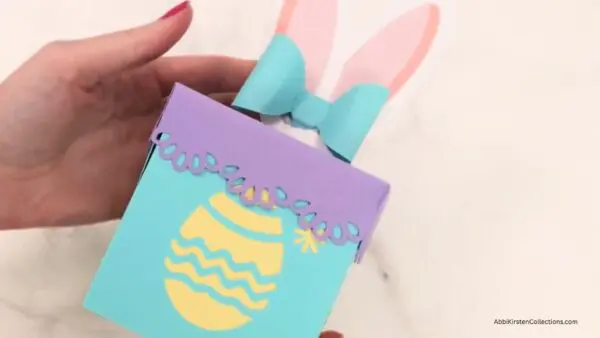
8 Assemble the Box Lid.
Next, let’s assemble the box lid. As you’ve done with the other pieces, fold along the score lines, apply glue to each tab, and hold the edges together until the glue sets. I love the pretty scalloped edges on this lid, which adds a decorative Springtime touch to the top of the box.
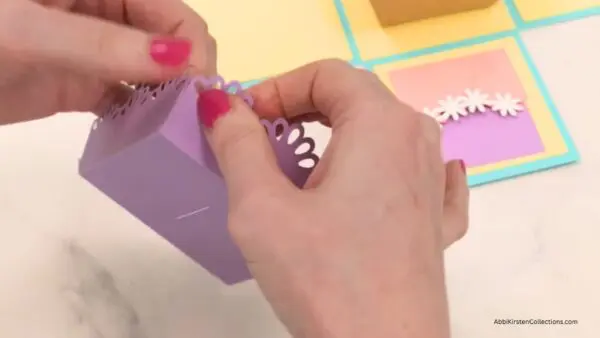
Set the lid aside for now as we work on the bunny details and finish up.
9. Create the Bunny Ears And Bow.
Now let’s assemble the cute bunny ears and add a handsome little bow.
- First, glue the pink inner ear pieces onto one of the white ear layers.
- Then, glue the second white ear layer to the back so the ears are double-sided.
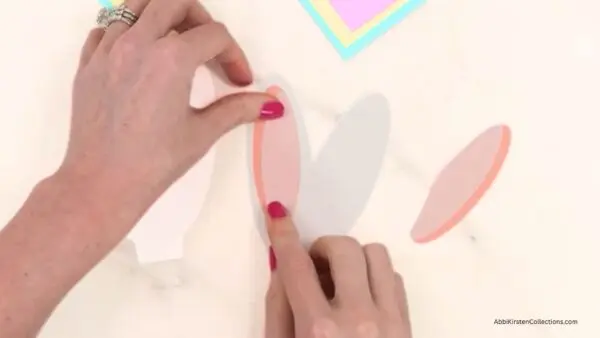
This allows you to create a small folded tab at the bottom that will attach to the lid.
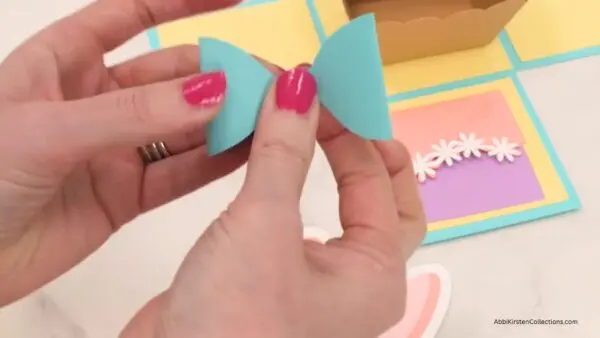
- Next, assemble the bow. First, curl the bow edges slightly and turn the tails inward. Add the small center piece to the bow, then attach the bow to the base of the bunny ears.
10. Attach the Bunny Ears To the Lid.
Notice that the lid includes a small slot for the bunny ears. Insert the ears through the slot, then flip the lid over, fold the ear tabs outward, and glue them down inside the lid. Doing this will hold the ears upright when the lid is placed on the box.
Also, you can glue an extra square piece of cardstock inside the lid to hide the ear tabs and create a clean finish with a little extra color.
Yay, the top of your box is done!
11. Add Treats And Close the Box.
And here’s the fun and final part!
- Fill the mini basket with small candies or a small toy, and if you like, add a little Easter grass.
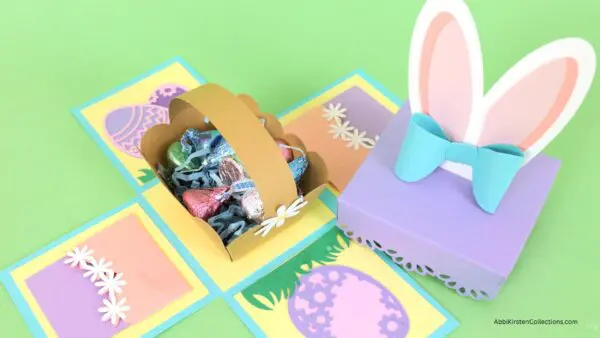
- Fold the box sides upward, carefully sliding the lid over the box. Because of the scalloped edges, the lid may catch slightly at first. Just go slowly and guide it down gently. And you’re done!
Final Thoughts
This Bunny Explosion Treat Box is such a delightful interactive paper craft for an Easter party or to create as a fun Spring craft. You can easily personalize the colors, messages, and treats inside to make each box unique. Once you complete one, you’ll definitely want to create more of these adorable 3D gift boxes for any Spring celebration. As always, happy crafting!
Looking for More Easter And Springtime Craft Tutorials?
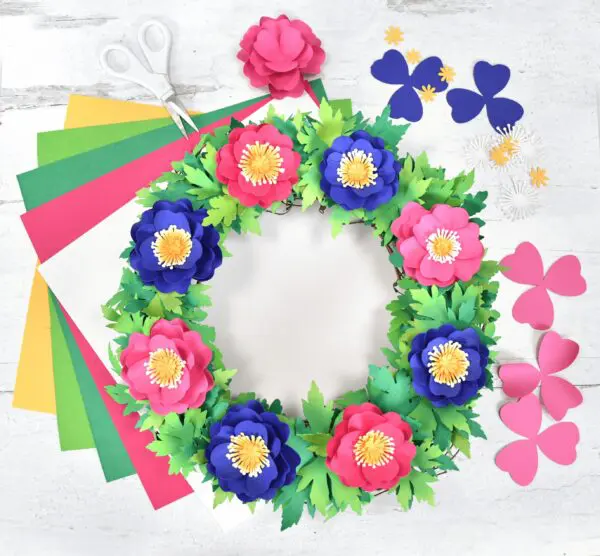
Be sure to check out these other Easter and Springtime crafts, especially the A-Star Crafter favorites below. And don’t miss the best Spring craft projects to make this year, including a variety of Springtime paper flowers, paper butterflies, and shadow boxes.
About Abbi Kirsten
Welcome to my colorful corner of the internet, where we play with vibrant crafts and unlock your creative magic! Hang out with me and get lost in a fun array of projects, tutorials, and products, from stunning papercraft ideas to flower templates, Cricut help for beginners, and endless crafter’s hacks.
Join A-Star Crafters and participate in monthly Craft-Alongs in our community Facebook group!