Easy Method When Building any DIY Giant Paper Flower
This post may contain affiliate links that won’t change your price but will share some commission.

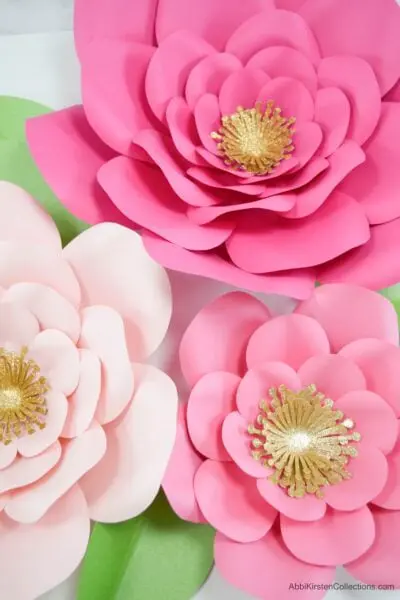
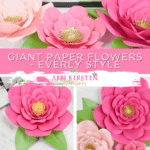
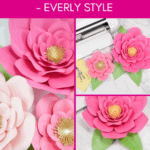
How to Make Large Paper Flowers
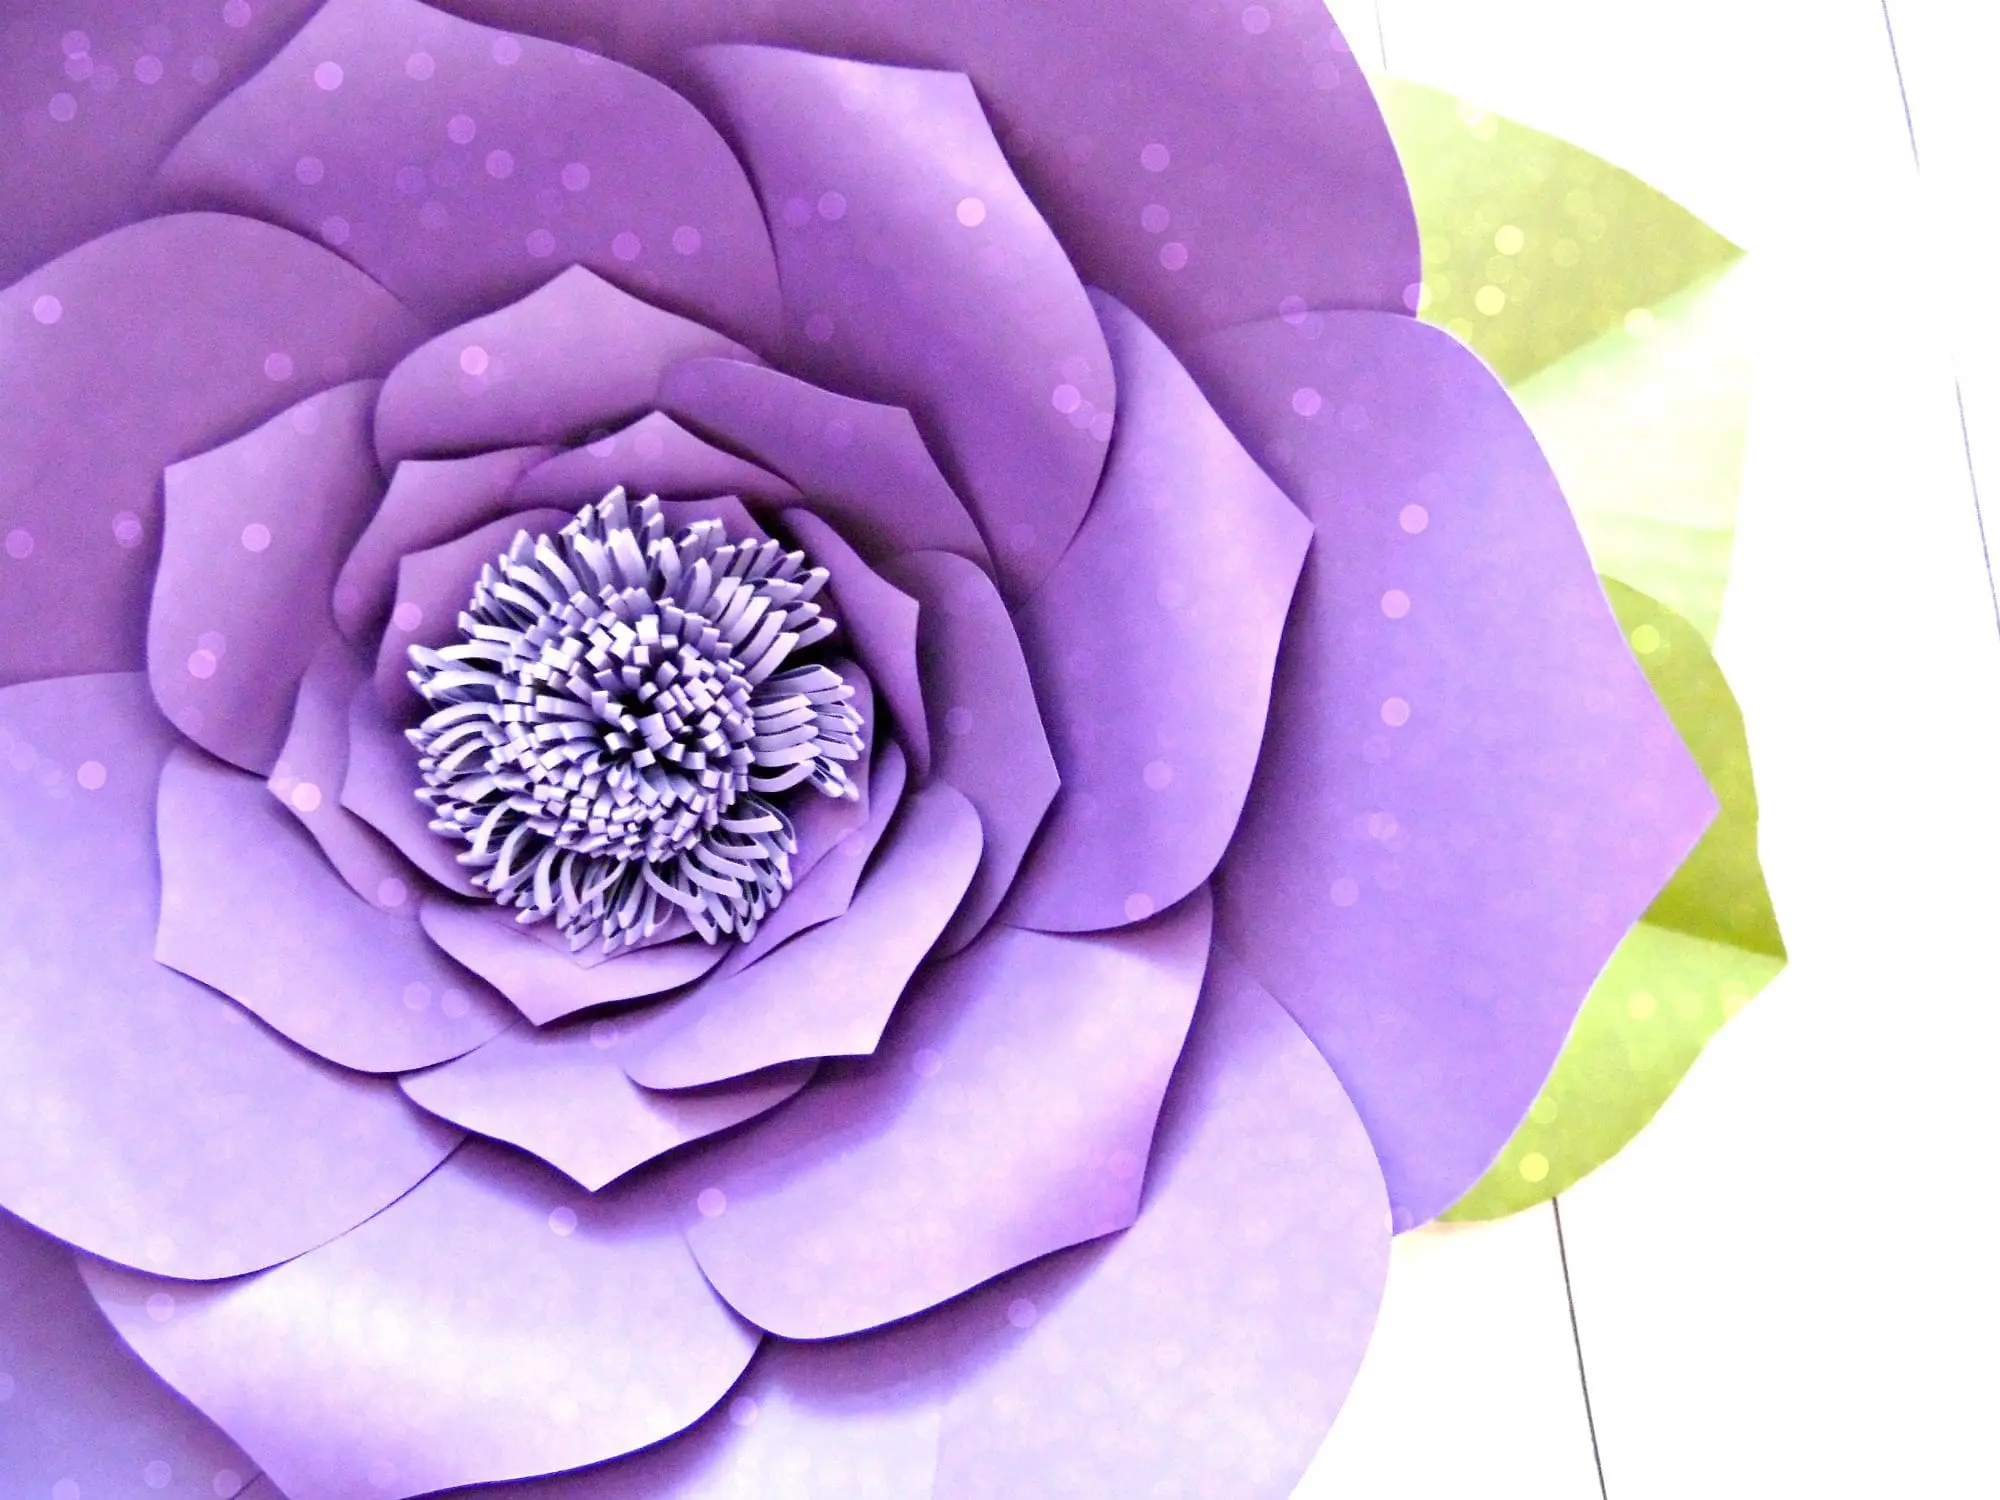
Making paper flowers is so fun, and there are so many wonderful tutorials out there! I want to share the simplest method I’ve found for easily learning How to Make Large Paper Flowers.
The method I am about to share makes crafting paper flowers easy for anyone, even beginners. If you are wondering how to make large paper flowers with your Cricut, check out my post here!
Today’s flower tutorial will show a very simple process that can be applied to successfully create any giant flower template, no matter the petal shape. To change up the look of a flower, try out these Petal Curling Variations.
How to Use Giant Paper Flowers
Over the past 12+ years, I have seen thousands of you create these blooms and received plenty of questions on how to display your papercraft.
There’s no doubt that people want to DIY for their events like never before these days, and this is a wonderful way to accomplish that! These large, easy paper flowers are perfect for backdrops to use as a photo spot or just to make a big statement at a special event like weddings or baby showers.
Outside of special events, giant flowers are great to use as home decor – nursery wall decor is a really popular choice for large paper flowers! A lot of people want to know how to do this for themselves and to customize the paper blooms just like they want.
Check out all my resources on how to hang giant paper flowers, create a free-standing backdrop, a tabletop backdrop, or even how to stem a large paper flower!
Supplies For Crafting Giant Paper Flowers
- 65 pound cardstock
- Scissors
- Pencil
- Wood dowel
- Cricut Explore or Cricut Maker machine (optional)
- Glue gun
- Everly style templates (try this template for free inside my Craft Vault!) If you love the pompom SVG file I use in the video below, then you can grab that here!
Download The Free paper Flower Template
Download these free giant paper templates by signing up for a free account below. If you are already a member, then log in right here and find it in the paper flower section, search design #23, or search the keyword “Everly” at the top of the vault. You can also click right over to the download here!
Easy Giant Paper Flowers Video Tutorial
Prefer videos? Me too. Watch how to make large paper flowers here on my YouTube channel, or scroll down for pictures!
I am using my Everly style template in this tutorial, which I am providing for free to you when you sign up for our community!

If you prefer something different, don’t worry, I have over 150 different flower templates! Files are all compatible with cutting machines and easy to use for those who want to hand cut instead, which is the method I will be using here..
When cutting by hand: You will need to print out the templates from your computer onto a heavy cardstock cut the templates once, and use these to trace over the card stock you will use to actually build the flowers from.
How to Hang Giant Paper Flowers
If you’re wondering, how do I hang these big blossoms up? I’ve got you covered with 8 Easy Ways to Hang Giant Paper Flowers!
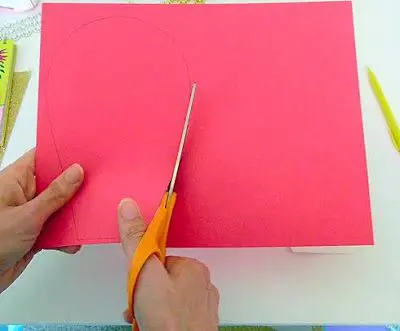
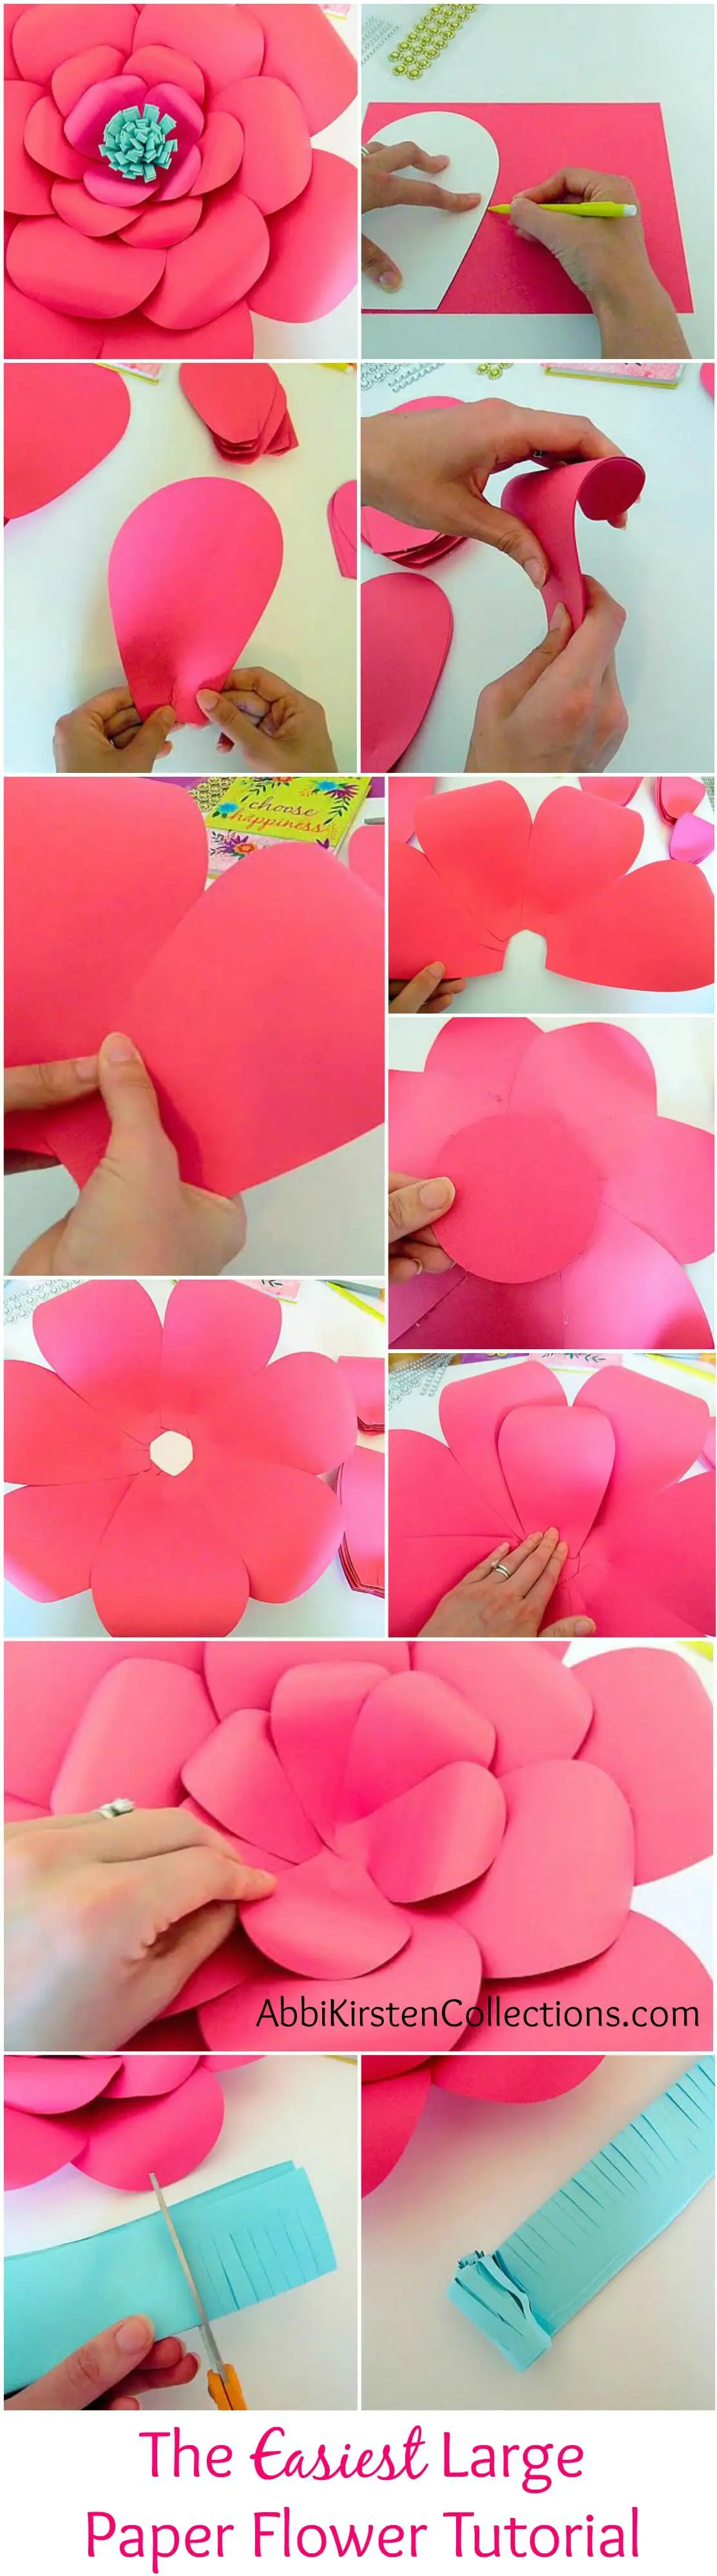
Step 1- How to Make Large Paper Flowers
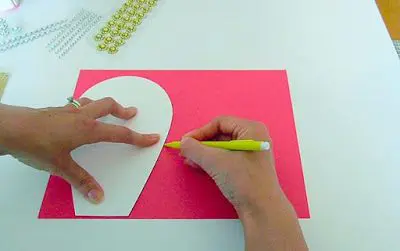
Begin by laying your template on your cardstock of choice and trace your petals.
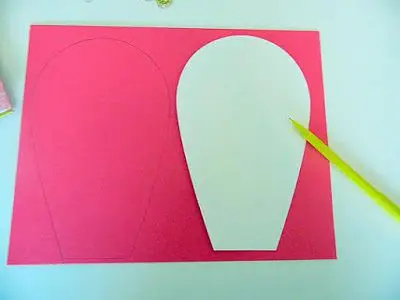
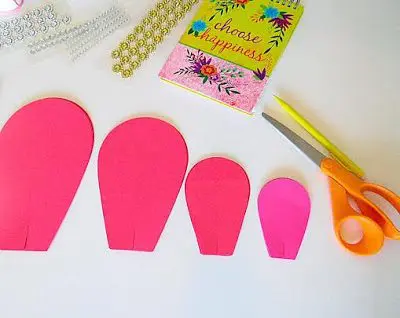
Here are the following number of petals to use. As you will notice you can choose between 5-8 petals per layer depending on how big or overlapped you want your petals.
- Large petal 1st layer– 6-8 cuts
- Medium petal 2nd layer– 6-7 cuts
- Small petal 3rd layer– 6 cuts
- Extra small petal 4th layer– 5-6 cuts
Note: If you are using our extra large Everly design ,you would start with the XL petal as your 1st layer and cut out 7-8 petals.
If you are using a machine skip down to step 3.
Step 2
Once completed these templates make about a 17 inch flower in diameter! The video tutorial below will explain how you can make large, medium and small paper flowers with the same templates!
Cut all your petals out once you have finished tracing.
You can make this process quicker by stacking 2-3 sheets on top of one another and cutting several out at once. Use binder clips to help keep paper from moving.
Notes for cutting machine users: You may need resize your petals if they load too large. Here are the petal measurements.
- Extra large 7.5 x 10.5
- Large 5.5 x 7.7
- Medium 3.9 x 5.3
- Small 3.0 x 4.1
- Extra Small 2.5 x 3.7.
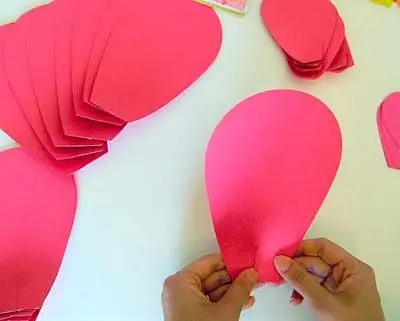
Step 3: Add Petal Depth
Now you want to cut slits at the bottom center of each petal, about an 1 1/2 inches, slightly less on the smaller petals.
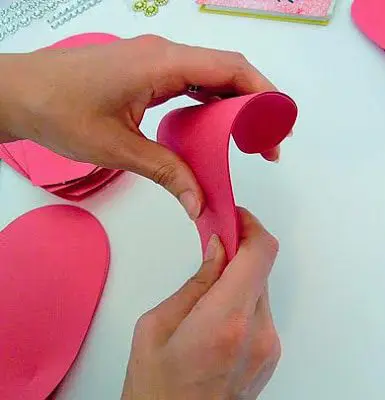
Starting with the 1st layer, put glue on the inside edge and overlap the slit, but not too much, or your petals will be too tight when assembled to get all the smaller layers in. Do this with all the petals. You can overlap a little more on the 3rd & 4th layer.
Step 5: Curl The Flower Petals
Next you will curl all the petals back. You can do this by hand or use a thick wood dowel or a pencil works too.
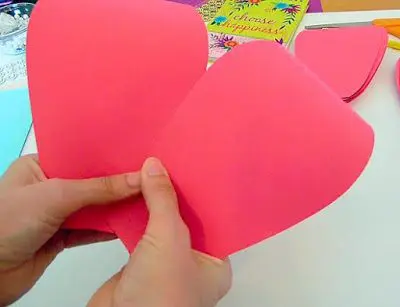
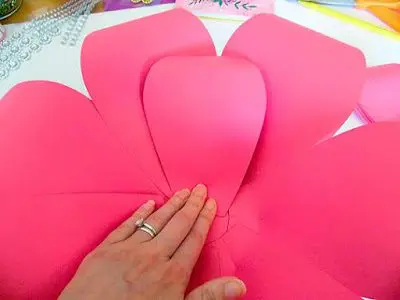
Step 6: Assemble Your First Layer Of Petals
Assembly time. Starting with your 1st layer base petals, you want to add some glue to the outer edge of one petal and proceed to overlap another petal at about a 45`angel and press firmly for a second or two.
Note: this is different than how I teach in the video above with the 6-sided base. My petal perfect bases can be very helpful for beginners. Once you gain confidence you can try the method below.
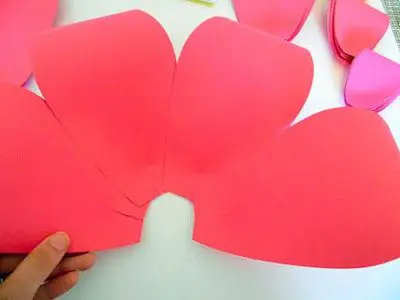
Continue in this fashion until all the base petals meet together forming a circle in the center of the flower. Watch the angle of placement as you go around making sure you leave enough room for the petals to come together evenly at the end of the circle.
Instant Download Ebook For Paper Flowers and More!

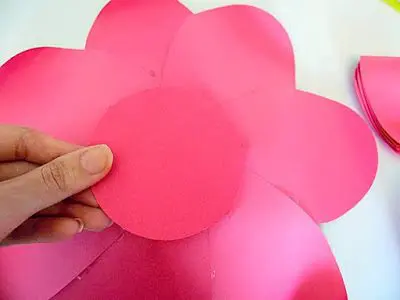
Step 7: Cover the back
Use a circle punch or cut out a small square if you don’t have one to glue over the open bottom.
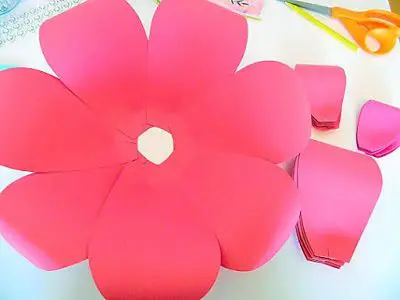
Step 8: Keep adding layers of petals
Start the 2nd layer of petals alternating between the base petals as shown above.
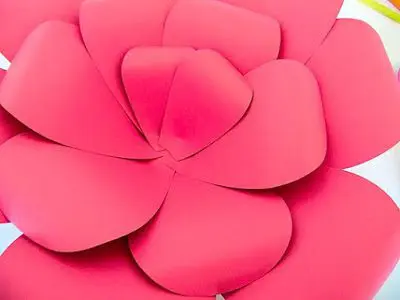
Continue alternating petals adding the 3rd layer.
Continue alternating petals adding the 4th layer.
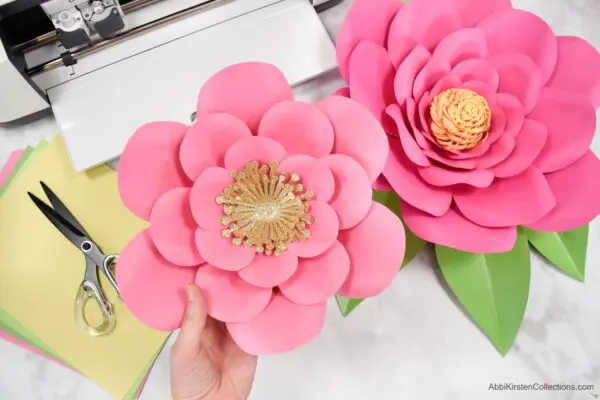
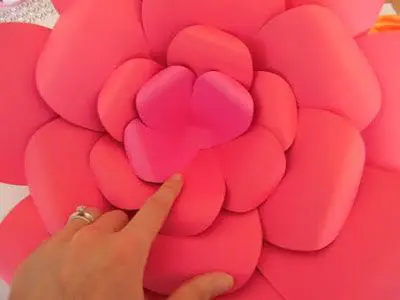
Creating a Pompom Center for Giant Paper Flowers – No cutting machine
The pompom center below is a simple approach to creating a center without having a cutting machine. If you do own a Cricut machine then be sure to grab the pompom center svg templates here so you machine can do the work for you!
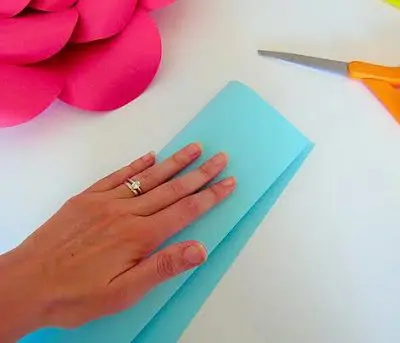
To create the rolled center fold a piece of cardstock in half lengthwise, cut the paper down the middle. Lay the 2 pieces on top one another and fold in half again
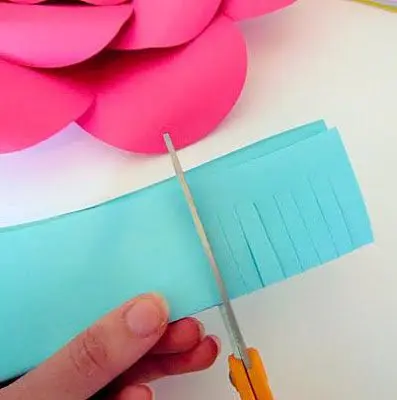
Begin cutting slits all the way down the paper. You can do this with regular scissors and if you want to make the process easier you can always grab this super nifty fringe scissors here!
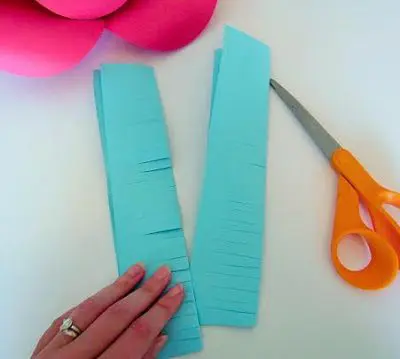
Separate the two pieces after you are through cutting all the slits.
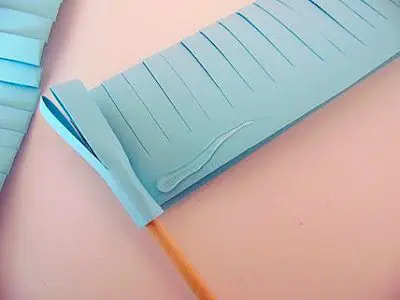
Roll up your pompom Center
Starting rolling the first piece adding glue along the edge as you go. Optional—you can use the dowel to make the rolling easier.
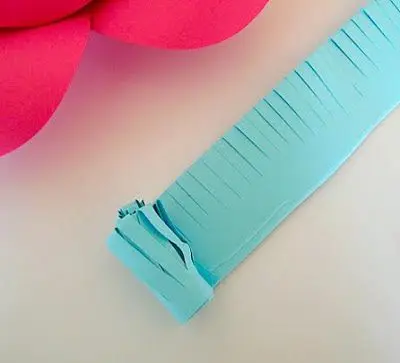
After you finish rolling up the first piece continue by adding on the next one.
Note: If you are using a cutting machine, you will make the pompom center the same way except you won’t have to cut the slits by hand. Your machine will do the work for you!
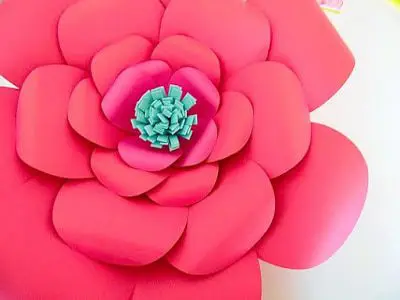
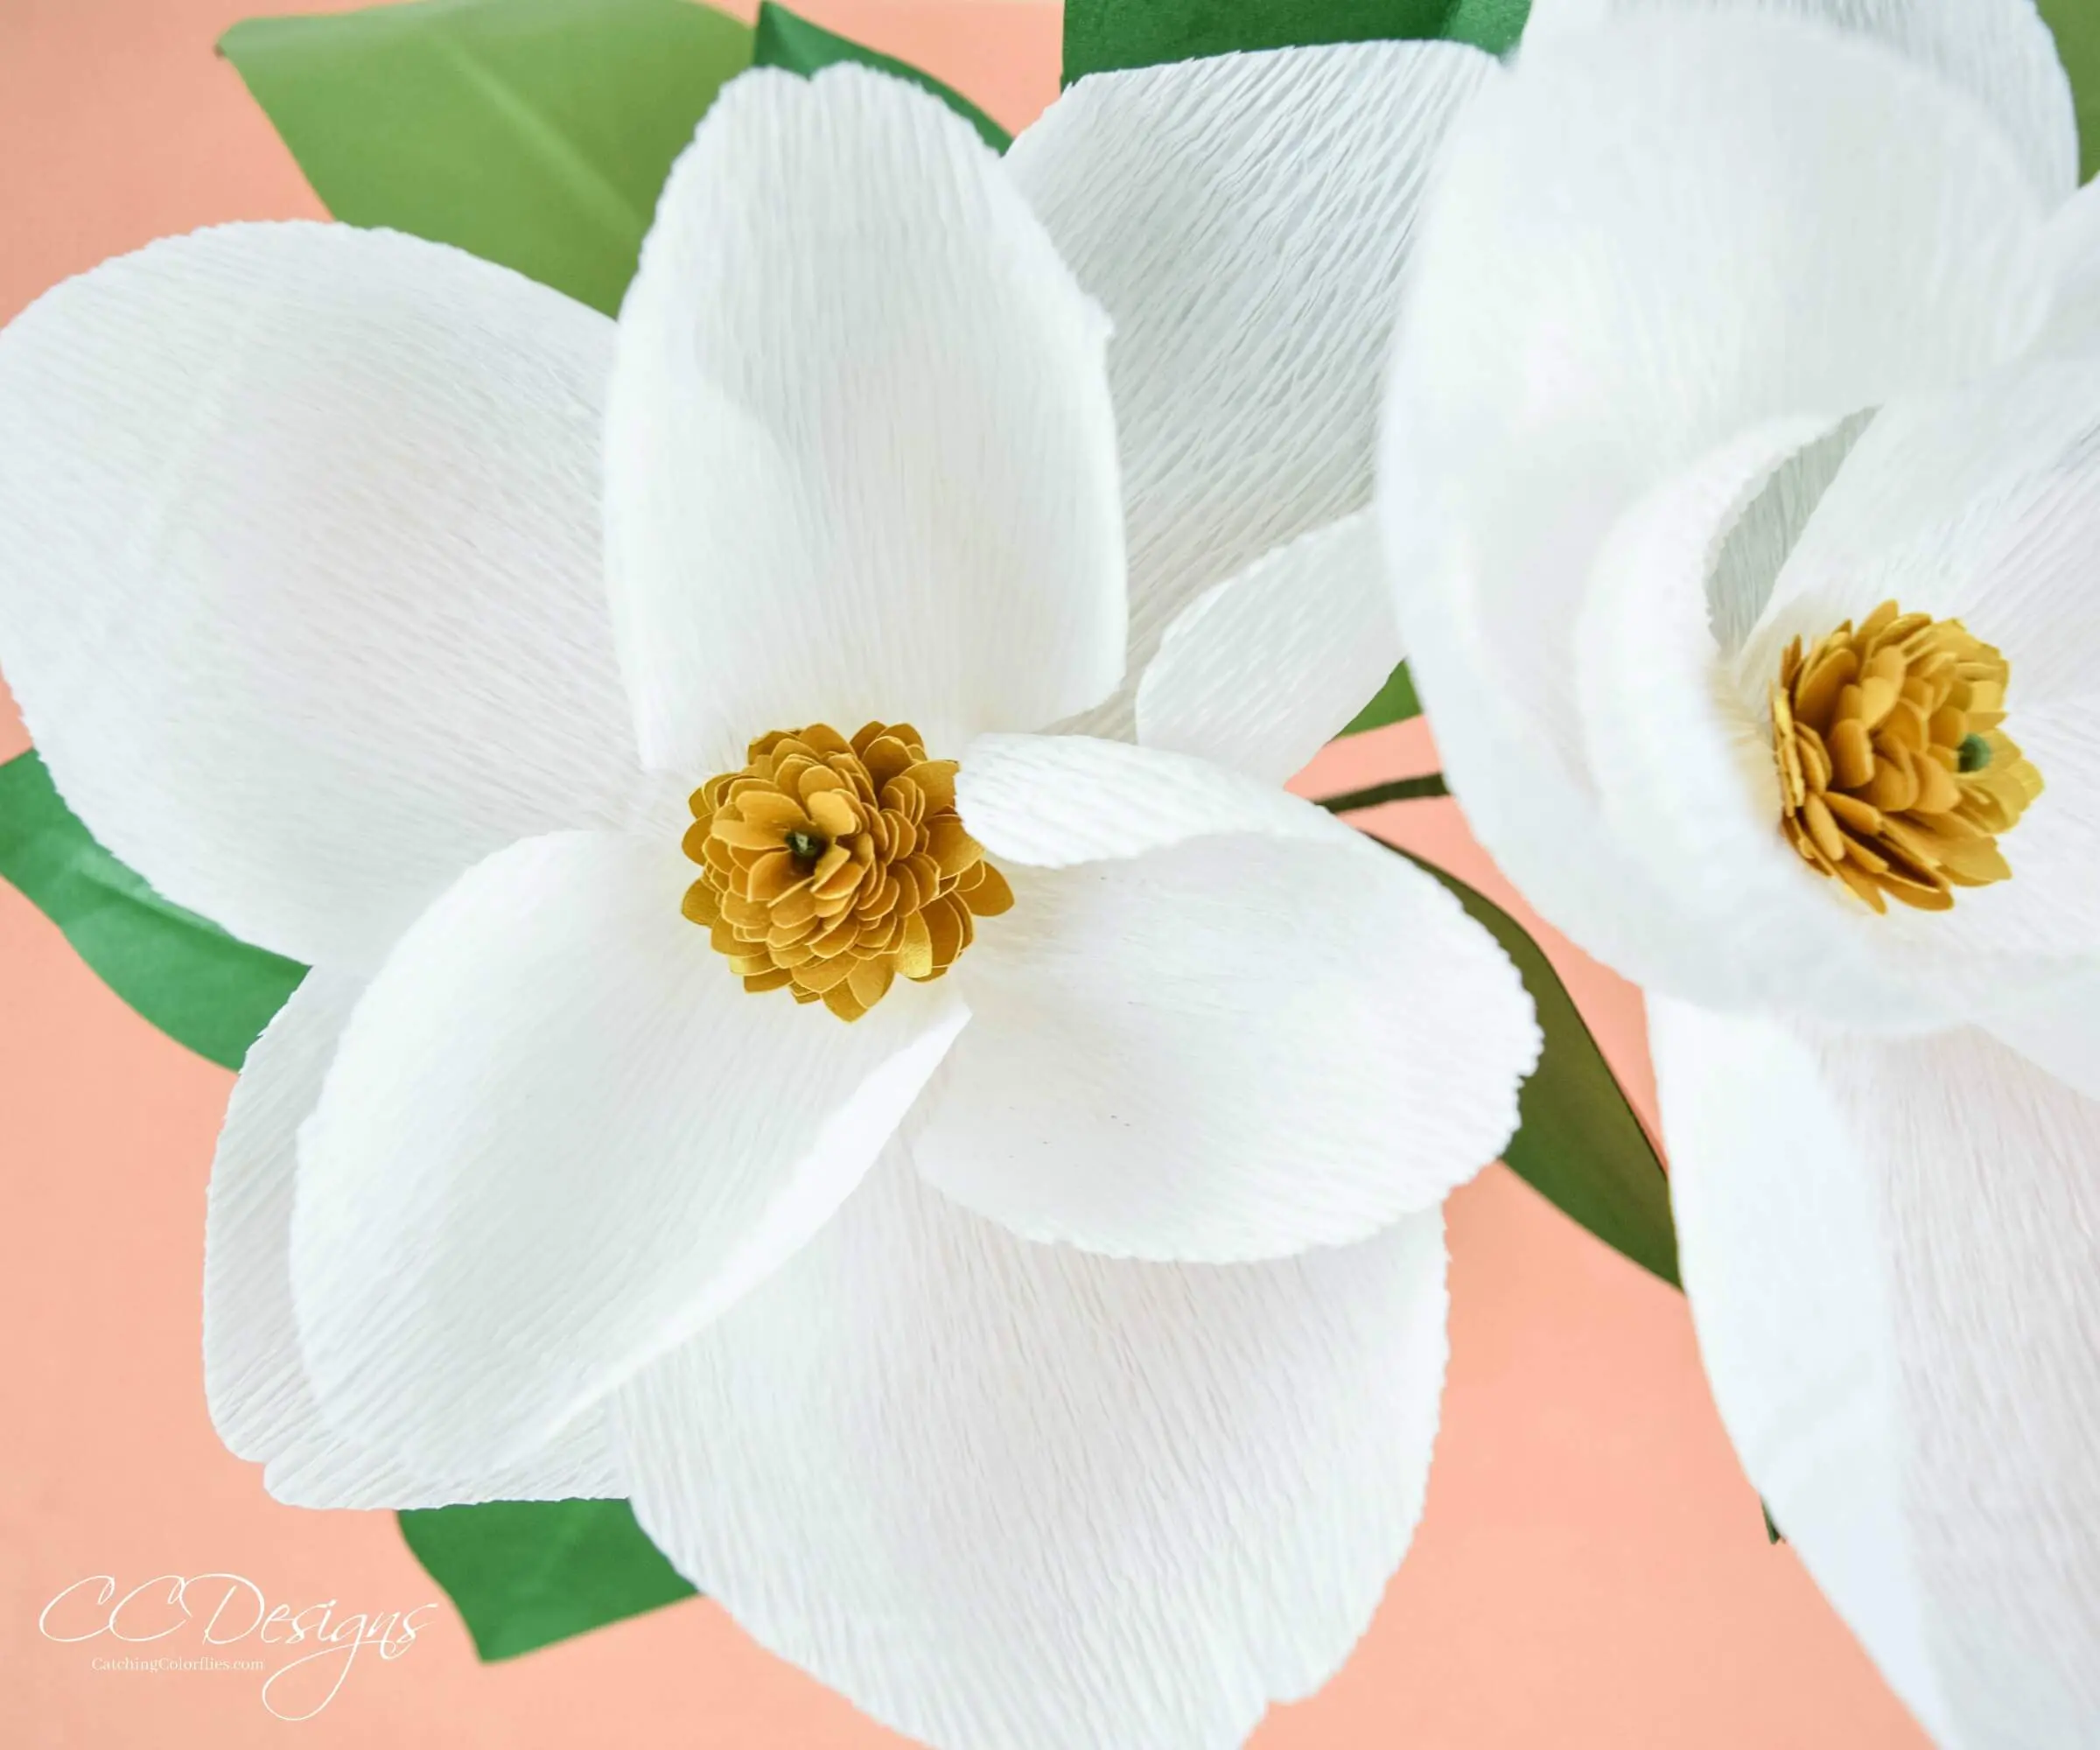
Glue the center in and admire you pretty flower! I hope you have enjoy this tutorial to help you learn how to make large paper flowers!
I have a huge passion for paper crafting and flowers. If you want to view more signature flower templates click here to shop all my designs!
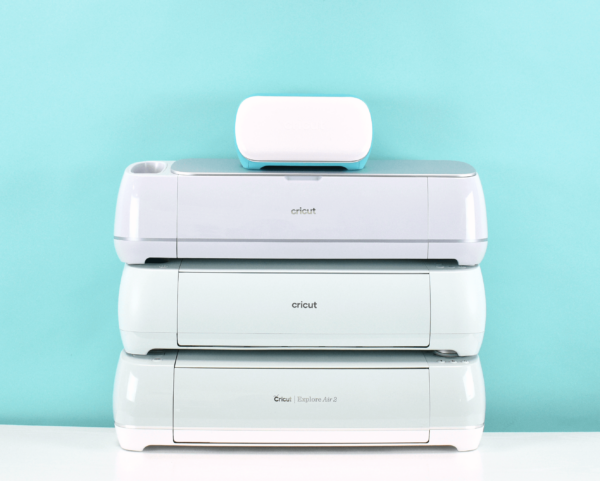
Curious About Cricut?
Check out our in-depth posts that will help you decide if a Cricut is right for you!

How to Make a Giant Paper Leaf
Adding a giant leaf can be the perfect finishing touch. If you are more into delicate paper vines then take at look at how to make that happen here!
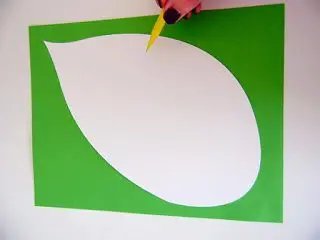
Use your leaf template to trace onto card stock like we did with the petals.
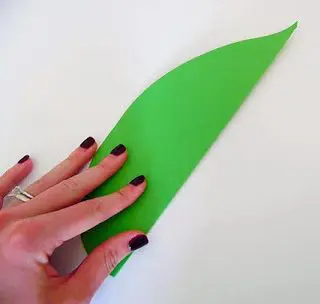
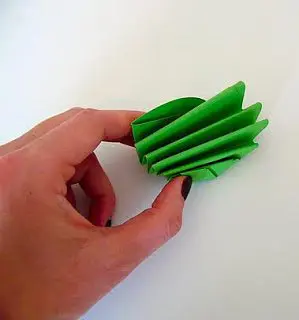
Fold your leaf in half down the middle.
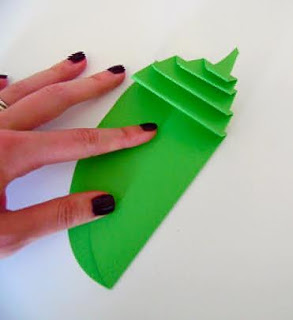
Begin folding back and forth like you were making a paper fan.
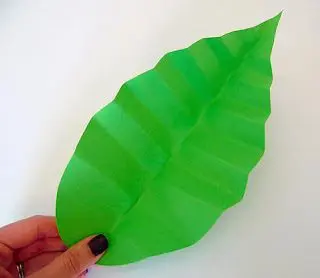
Open the leaf up and add it to your pretty flower. Give yourself a pat on the back for being so smart and learning to make your own DIY giant flowers!
About Abbi Kirsten
Welcome to my colorful corner of the internet, where we play with vibrant crafts and unlock your creative magic! Hang out with me and get lost in a fun array of projects, tutorials, and products, from stunning papercraft ideas to flower templates, Cricut help for beginners, and endless crafter’s hacks.
To access all the magic, join the Member Vault and participate in my monthly Craft-Alongs in my Facebook group!

Want to join my Facebook community to share your crafts and learn from the best? Click here to request access to my group, Crafters and Cricut Lovers.
For further color crafts and inspiration, join me on Instagram & Facebook.


These are super cute party decor and they don't look hard to make. Great post!
I always try and keep it simple! Glad you enjoyed it. 🙂
This comment has been removed by the author.
What do you think each flower ends up costing with all of the supplies?
What do you think each flower ends up costing with all of the supplies?
It can really depend on where you buy your materials. For large size flowers I use about 10-11 sheets of 8.5×11 paper. If you have a local craft store like Michaels or Hobby Lobby that does regular sales on loose paper or paper packs I'd say the cost per flower would be about $5 per flower. If you can find a place that has paper packs it could be as low as $2 per flower. And all my templates range around $4-$5 for a one time purchase. 🙂
They are beautiful. As soon as I move and get set up I will be contacting you. Great job!
This is exactly what I was looking for. I have a bunch of card stock and never know what to do with it. I will be hand making my daughter’s birthday decorations this year!!
Enjoy! Feel free to tag pictures @abbi_kirsten_collections on IG. 🙂
Do you think these could be made with the foam sheets?
I’ve personally never tried that but I suppose you could give it a shot. It might be nice. 🙂
Hi. The measurements for the small and x-small seem pretty close to the same size. Are these correct?
Yes, there is only about a 1/2 inch or so difference. That is correct.
Thank you. Made my first one, now for ??? many more! lol I’m so excited to get them up for the party. Thank you so much.
SO pretty. I love these! Plan to make them for my daughter’s baby shower!
Excellent post! You make it look so easy!
So beautiful! Plan to make these soon!
Love love love