DIY Easy Easter Bucket: Free Easter Bunny SVG Cut Files For Cricut
This post may contain affiliate links that won’t change your price but will share some commission.

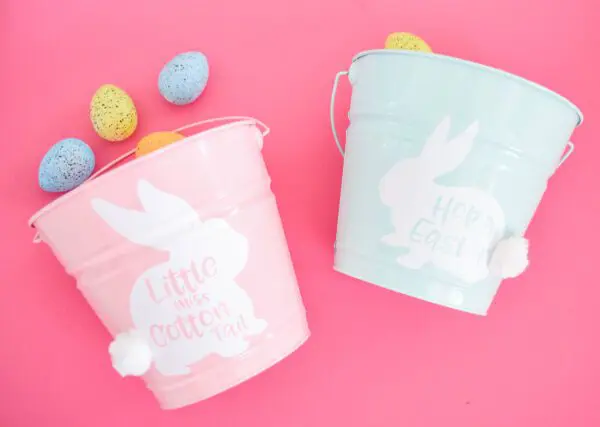
Springtime projects are always fun. Every year in my family, we always let the kids pick out their Easter baskets or buckets. This year I thought it would be fun to create our own with custom designs, and of course, I will be sharing this easy springtime craft tutorial with you! This cute easter craft idea is easiest enough for kids to make too. Today’s easy Easter craft also includes three free easter bunny SVG files. Find more free Easter SVG cut files here!
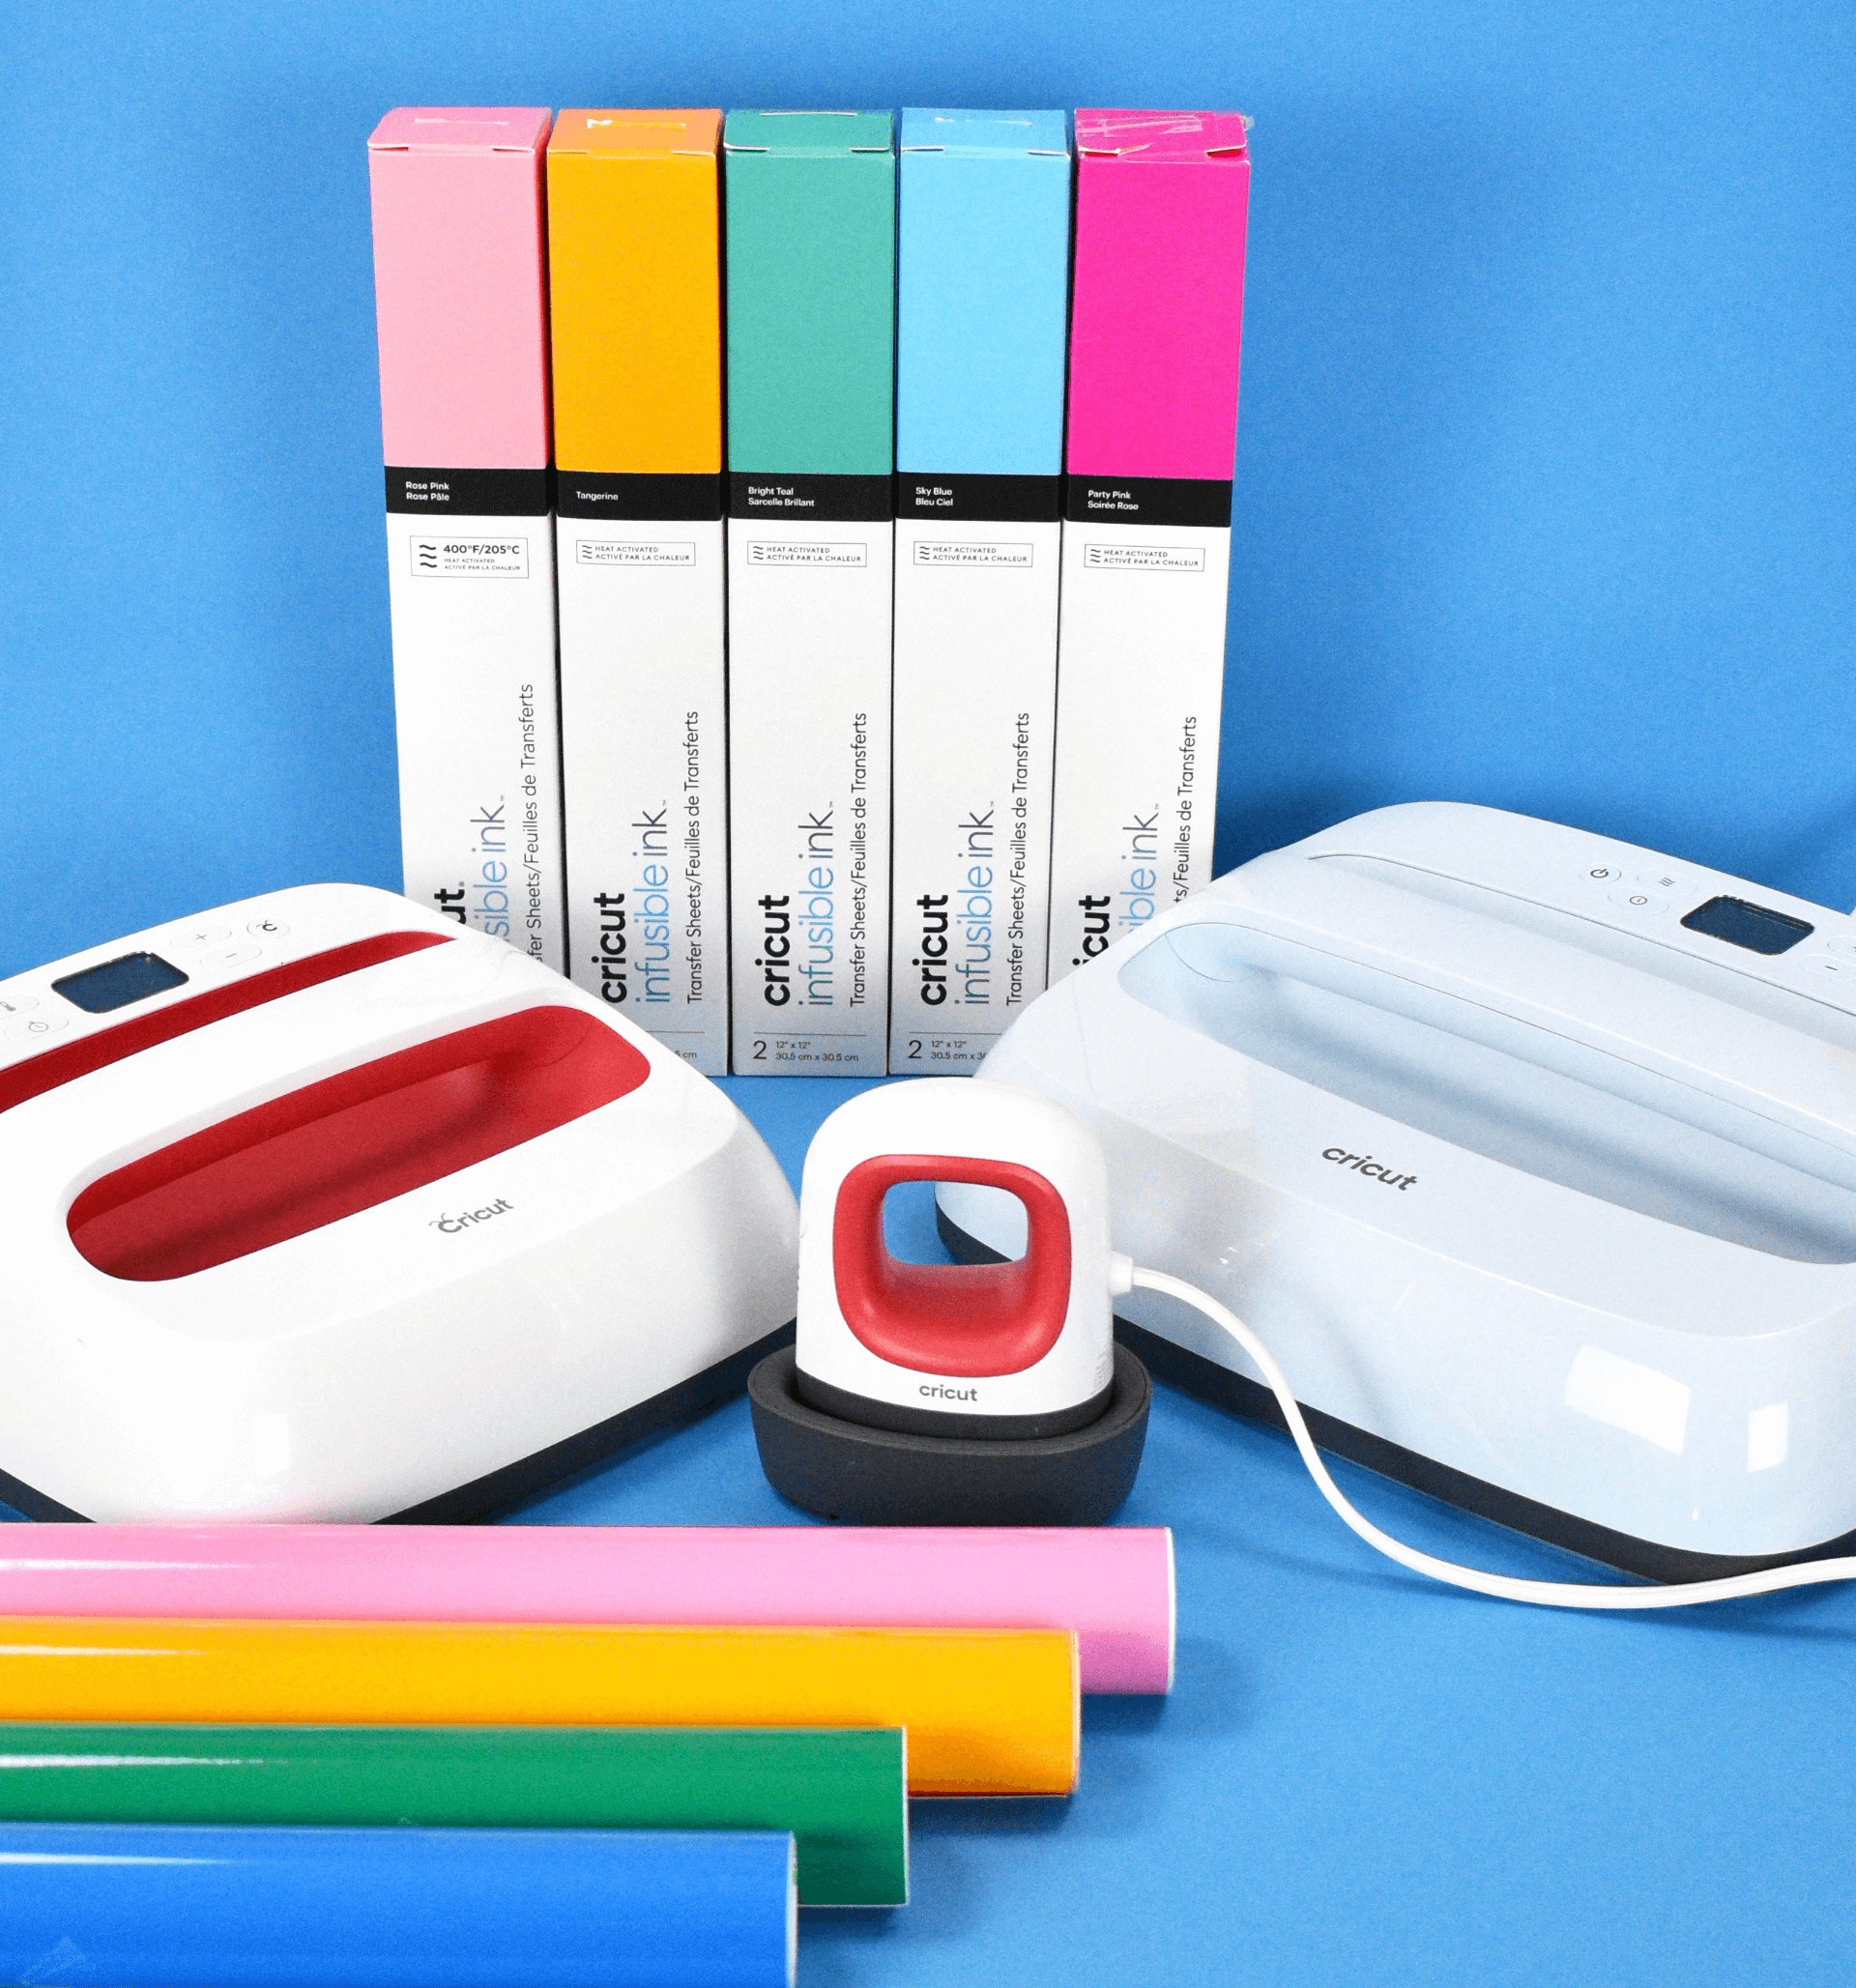
For those new to Cricut, this is a perfect easy beginner vinyl project. Below you will find my supply list for our DIY easter buckets with the free easter bunny SVG files, plus step-by-step directions.
Free Easter Bunny SVG Files

Supplies to Make Customized Easter Buckets:
- Metal or plastic bucket (I bought mine at Hobby Lobby)
- Adhesive vinyl
- Weeding tools
- Cricut bright pad (optional)
- Scraper or credit card
- Cricut cutting machine
- Transfer tape
- 1 white pompom
- Glue gun
- Bunny SVG (find one free in my craft resource library. Click the button below. Or find the full design set here.)
Download the Free Easter Bunny SVG Files
You can grab all three free Easter bunny SVG files in my Freebie Vault. Just pop in your name and email in the form below to set up a free account! Once inside, search the keyword “bunny’ to find these files. Already joined Abbi Kirsten’s community? Log in to the Member Vault here and search the keyword “bunny” to find and download the files.
There are loads more free Easter SVG files for Cricut inside the Vault, so be sure to search the keyword ‘easter’ to discover many more free Easter templates.

DIY Easy Easter Bunny Bucket Video Tutorial
Easter Bucket SVG – How to Add Vinyl To A Easter Bucket
- Download the free Easter bunny SVG files in my Freebie Vault.
- Upload the Easter SVG files to Design Space. Learn how to upload an SVG to Cricut here.
- Scale your free Easter bunny SVG files to the proportional size of your bucket.
- Cut your bunny SVG out. I recommend using permanent adhesive vinyl. In general, you will set the material to permanent vinyl in Design Space.
- Once cut, weed your vinyl. I like to use my Cricut Bright Pad for this. If you do not have, or want one, you can hold your vinyl up to a window to aid the weeding process! Check out my other Cricut vinyl hacks here!
- Make sure your bucket is dust free by wiping it down.
- Using your transfer tape to pick up the design by burnishing (rub) the design onto the transfer tape. Do you struggle with transfering vinyl? Watch my vinyl and Cricut hacks video to pick up my tricks!
- Carefully pick up the vinyl with the transfer tape. If any pieces are not sticking, place the tape back down and burnish again.
- Start in the middle of your design, letting the center touch the bucket first and then the two sides fall down to help minimize wrinkles.
- Burnish the bunny onto the bucket and remove the transfer tape.
- Work out any air bubbles gently with the scraper.
- Add a dot of hot glue to the tail and place the pompom!

You could also cut out your child’s name in vinyl and add it to the bucket as well to personalize it! Learn more about using fonts and text in Design Space here! Did you enjoy making this easy Easter bunny bucket craft? Share this project with a friend! And don’t forget to download the free easter bunny SVG cut files above!

DIY Easter Bucket with Easter Bunny SVG
Easter isn't complete without a fun Easter basket! Make these DIY Easter buckets using your Cricut cutting machine and an Easter Bunny SVG file.
Materials
- Metal or plastic bucket
- Adhesive vinyl
- Weeding tools
- Cricut bright pad (optional)
- Scraper or credit card
- Cricut cutting machine
- Transfer tape
- White pompom
- Glue gun
- Bunny SVG
Instructions
- Download the free Easter bunny SVG files in my Freebie Vault.
- Upload the Easter SVG files to Design Space.
- Scale your free Easter bunny SVG files to the proportional size of your bucket.
- Cut your bunny SVG out. I recommend using permanent adhesive vinyl. In general, you will set the material to permanent vinyl in Design Space.
- Once cut, weed your vinyl. I like to use my Cricut Bright Pad for this.
- Make sure your bucket is dust free by wiping it down.
- Using your transfer tape to pick up the design by burnishing (rub) the design onto the transfer tape.
- Carefully pick up the vinyl with the transfer tape. If any pieces are not sticking, place the tape back down and burnish again.
- Start in the middle of your design, letting the center touch the bucket first and then the two sides fall down to help minimize wrinkles.
- Burnish the bunny onto the bucket and remove the transfer tape.
- Work out any air bubbles gently with the scraper.
- Add a dot of hot glue to the tail and place the pompom!
More Easy Easter Craft Projects
- How to Make A Paper Cactus: Prickly Pear, Aloe Vera, and Ferocactus
- DIY Cali Poppy Paper Flowers
- Make Fruit Pop-Up Cards With Cricut
- Butterfly and Bug Shadow Boxes
- Make A Spring House Explosion Treat Box
About Abbi Kirsten
Welcome to my colorful corner of the internet, where we play with vibrant crafts and unlock your creative magic! Hang out with me and get lost in a fun array of projects, tutorials, and products, from stunning papercraft ideas to flower templates, Cricut help for beginners, and endless crafter’s hacks.
To access all the magic, join the Member Vault and participate in my monthly Craft-Alongs in my Facebook group!