How to Make a Floating Tea Cups with Cascading Paper Flowers
This post may contain affiliate links that won’t change your price but will share some commission.
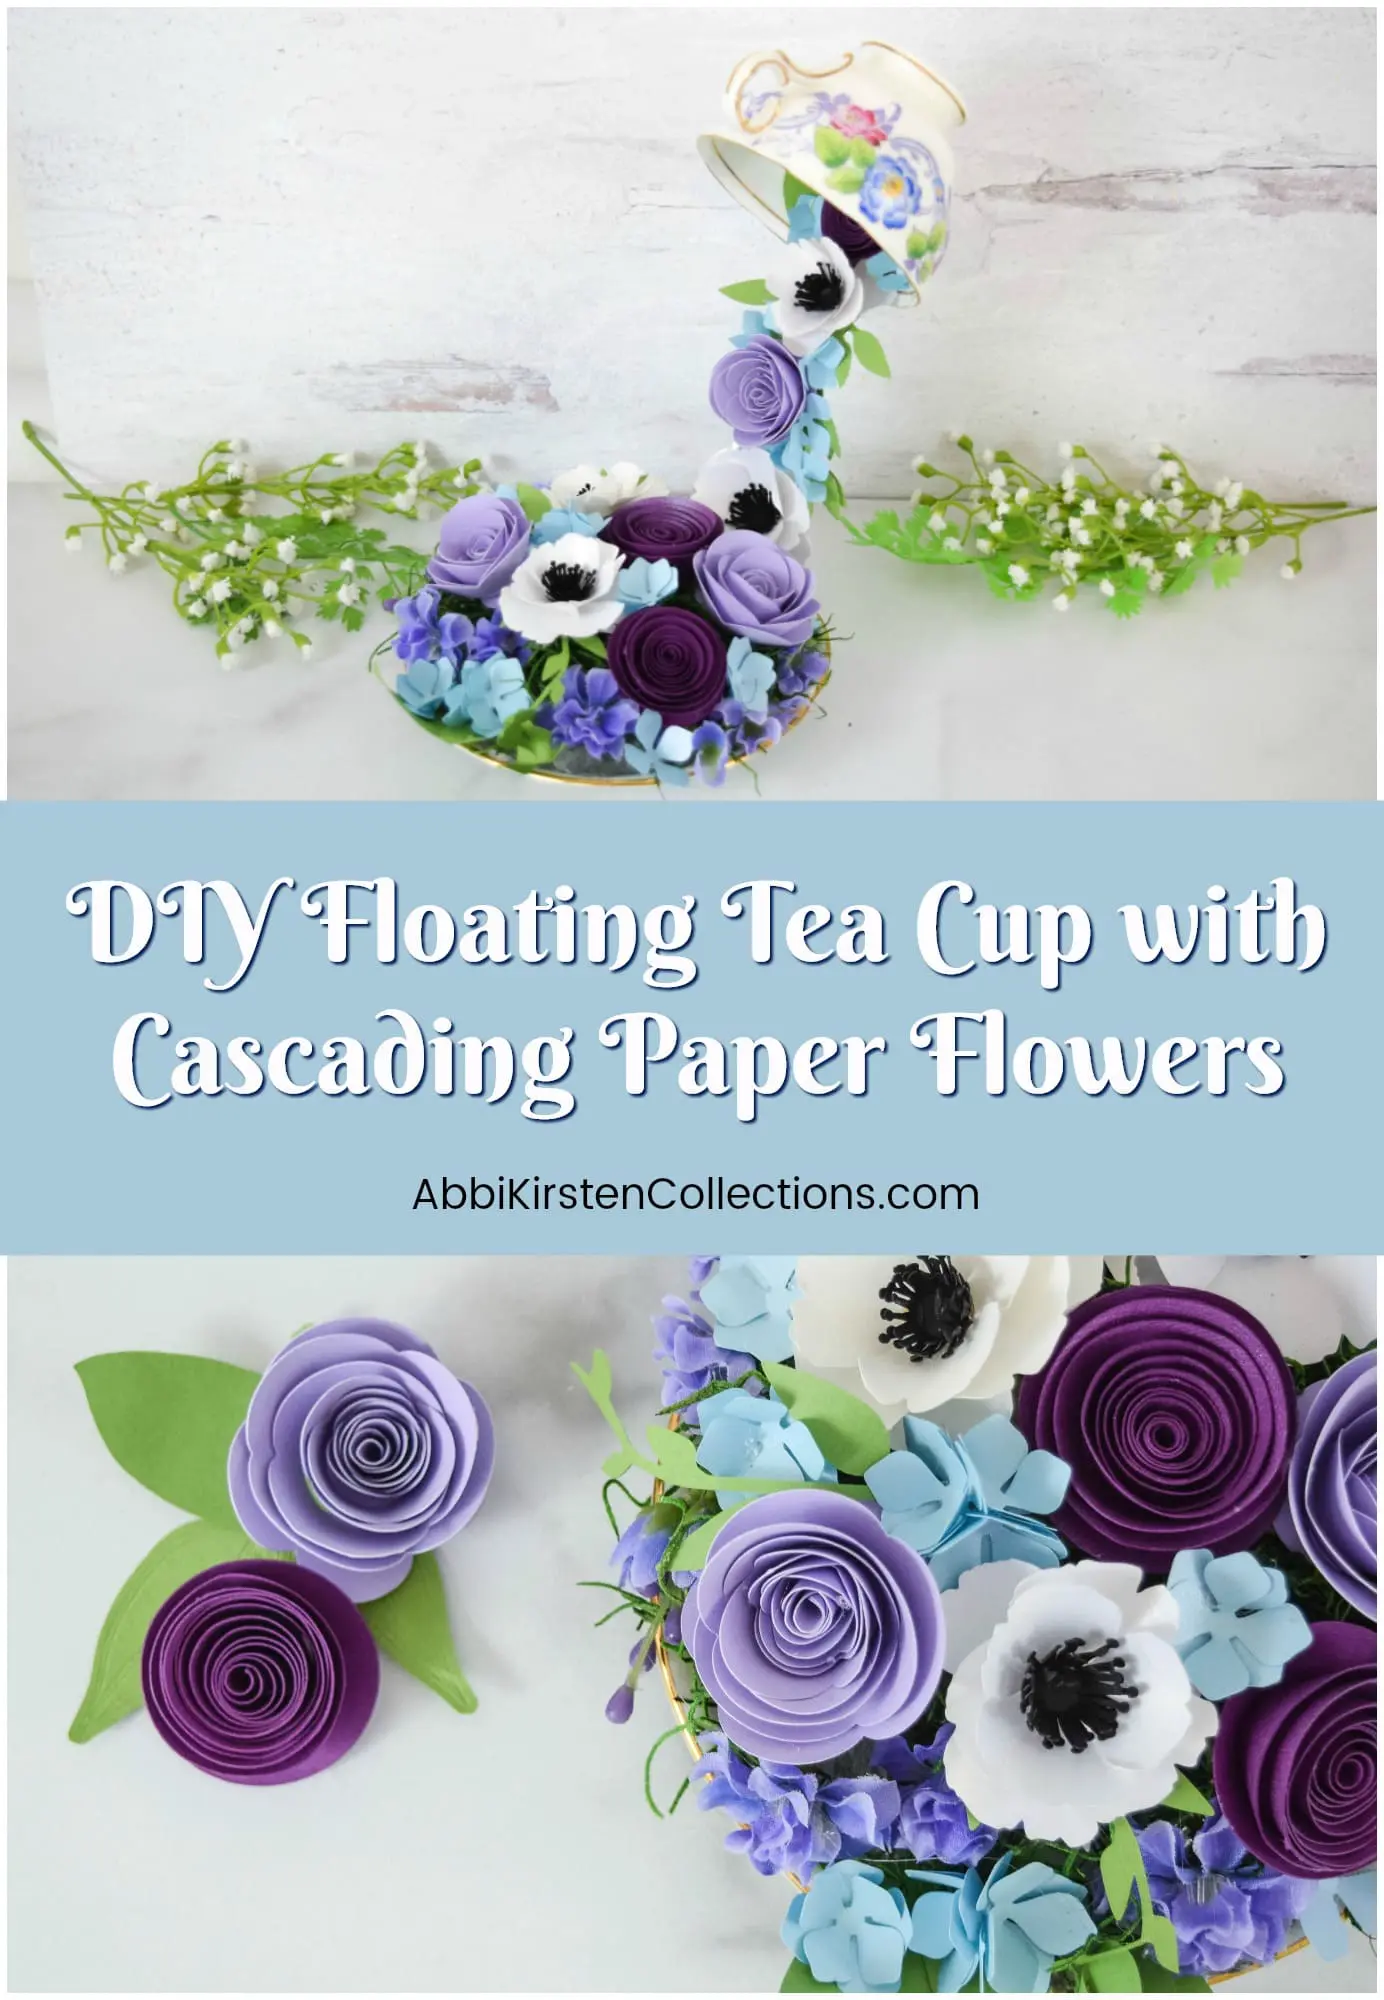
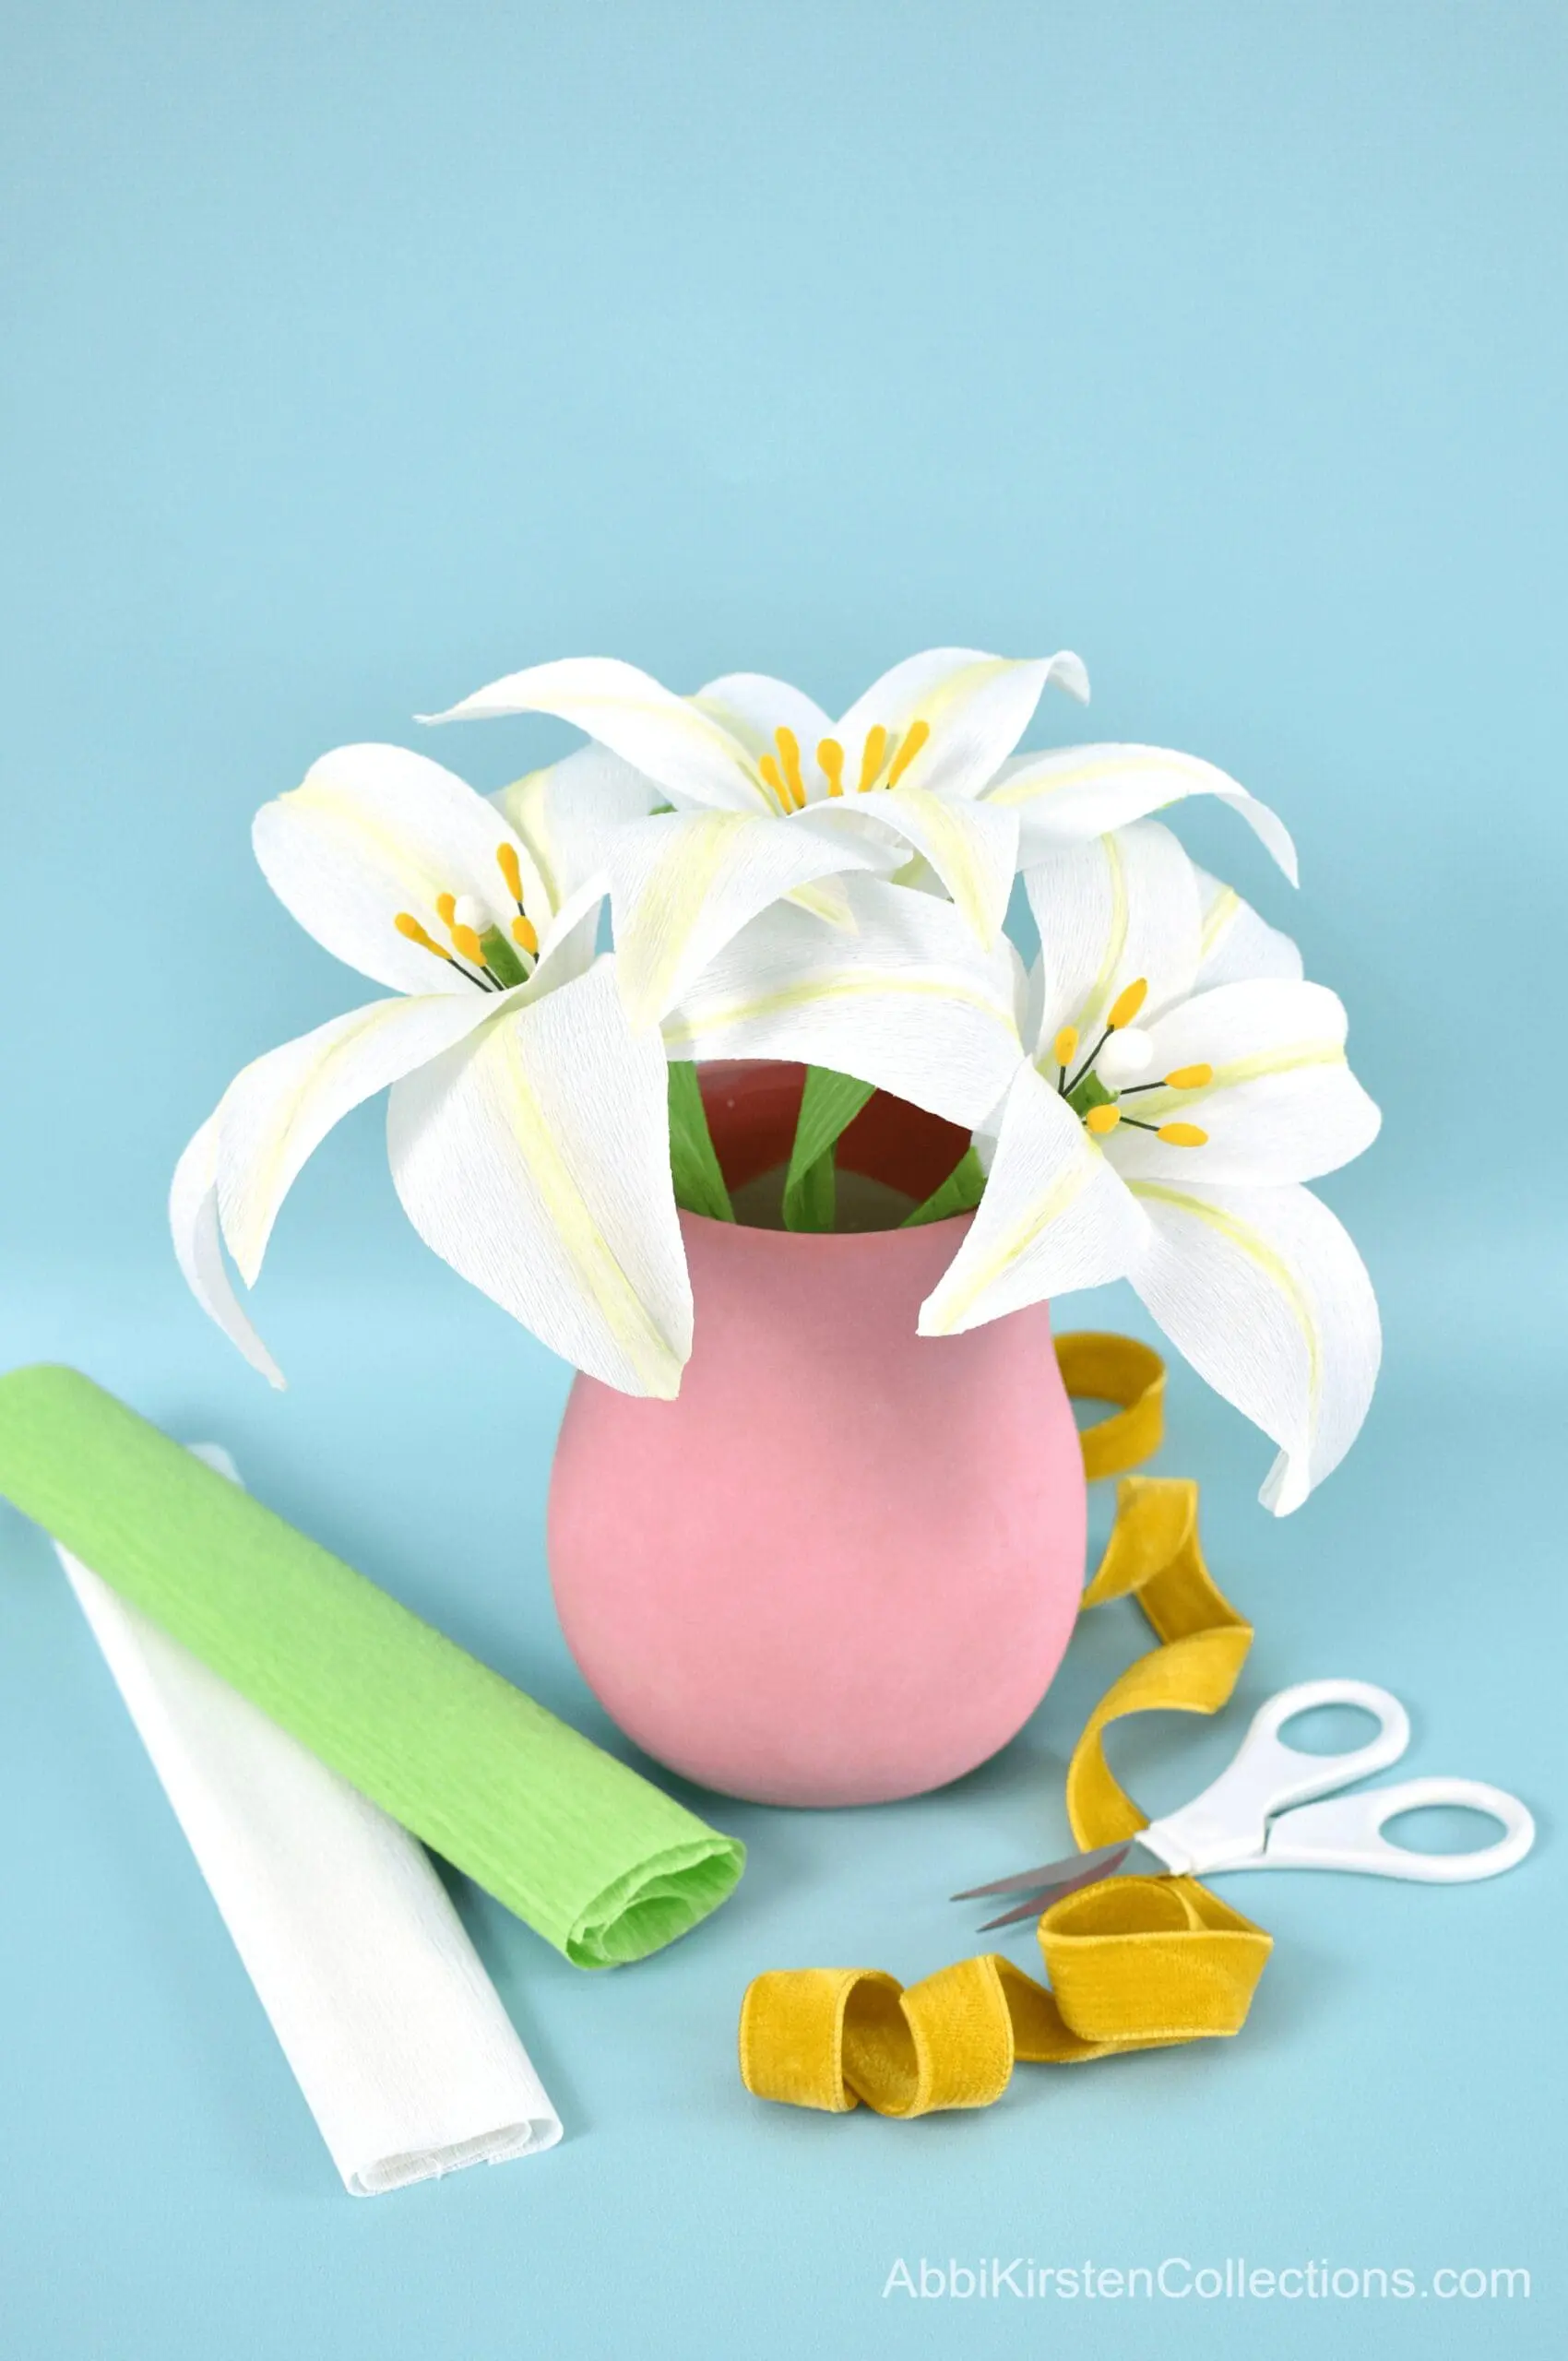
Paper flowers are just as versatile as real blooms, if not more so, because of their longevity. I’m always looking for new ways to decorate and craft with my paper blossoms. In today’s tutorial, I will show you step-by-step how to make floating teacups with cascading paper flowers!
This floating teacup craft is a beautiful handmade gift to give or a way to use a special piece of china in a new way. I think this is an excellent Mother’s Day gift! Your teacup will literally look like it is floating mid-air as if by magic. Let’s start with the supplies you will need for making this whimsical craft below.
Supplies to Make Floating Tea Cups with Paper Flowers
- Teacup and saucer – if you do not have one already, check out eBay for some great options!
- A metal fork
- Hot glue gun
- Gorilla glue
- Paper flowers
- Moss and/ silk flowers
- Vase fillers or small rocks
- Small silicone mat
Choose Your Paper Flower Templates
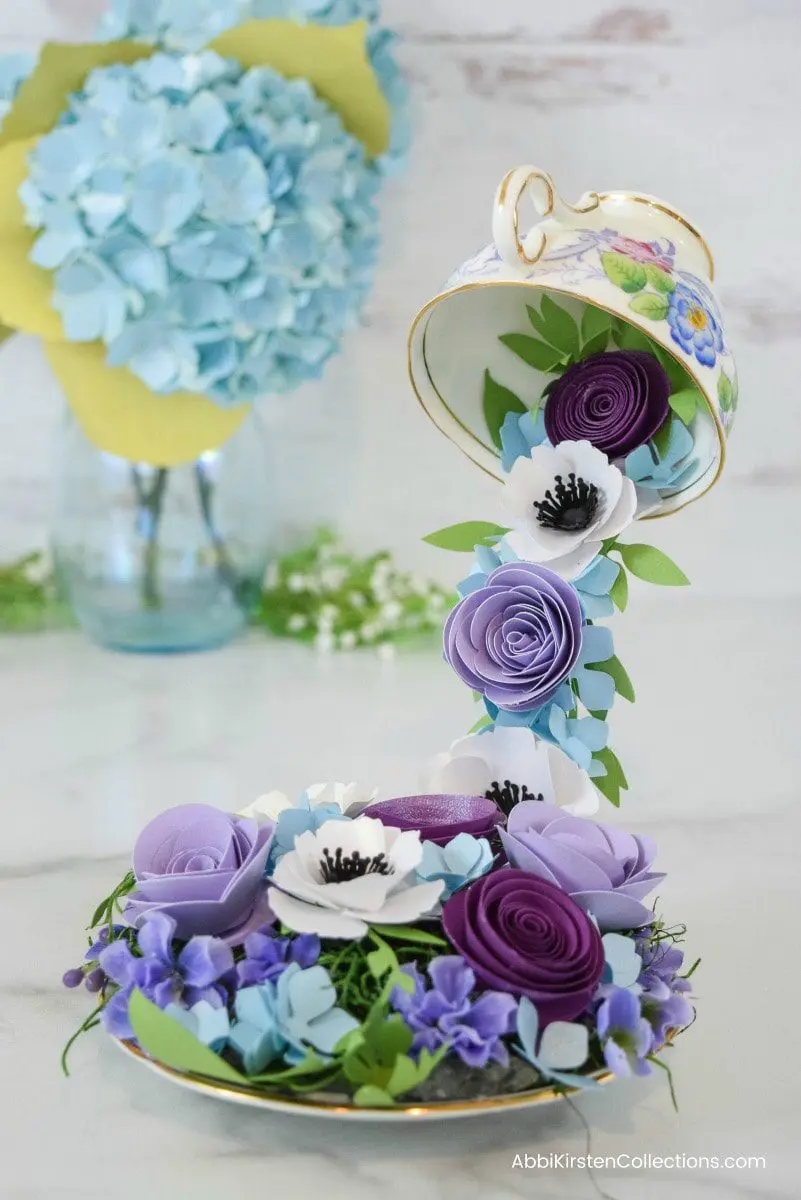
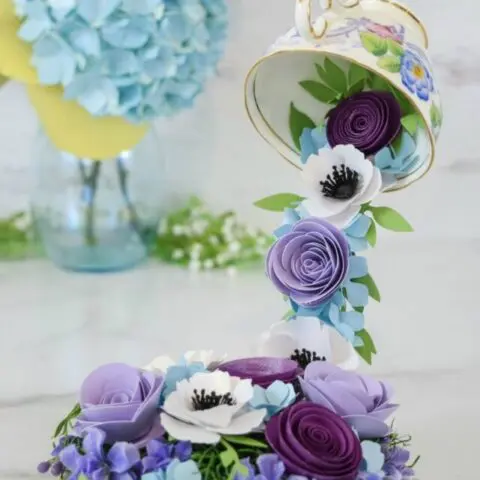
I used a variety of paper flowers to create this look. Specifically, my set of 10 rolled rosettes and my ruby rose template design. I also added in some paper vines to enhance the flowers using my whimsical vine, and leafy vine set. With the blue and purple teacup, I also used my poppy style paper flower.
If you want a large variety of paper flowers to work with, I highly recommend my ebook The Joy of Paper Flowers, which comes with 24 templates and tutorials, including the ones I used in the video. Or, if you prefer to pick and choose, then download as many or as few as you wish here in the Catching Colorflies shop.
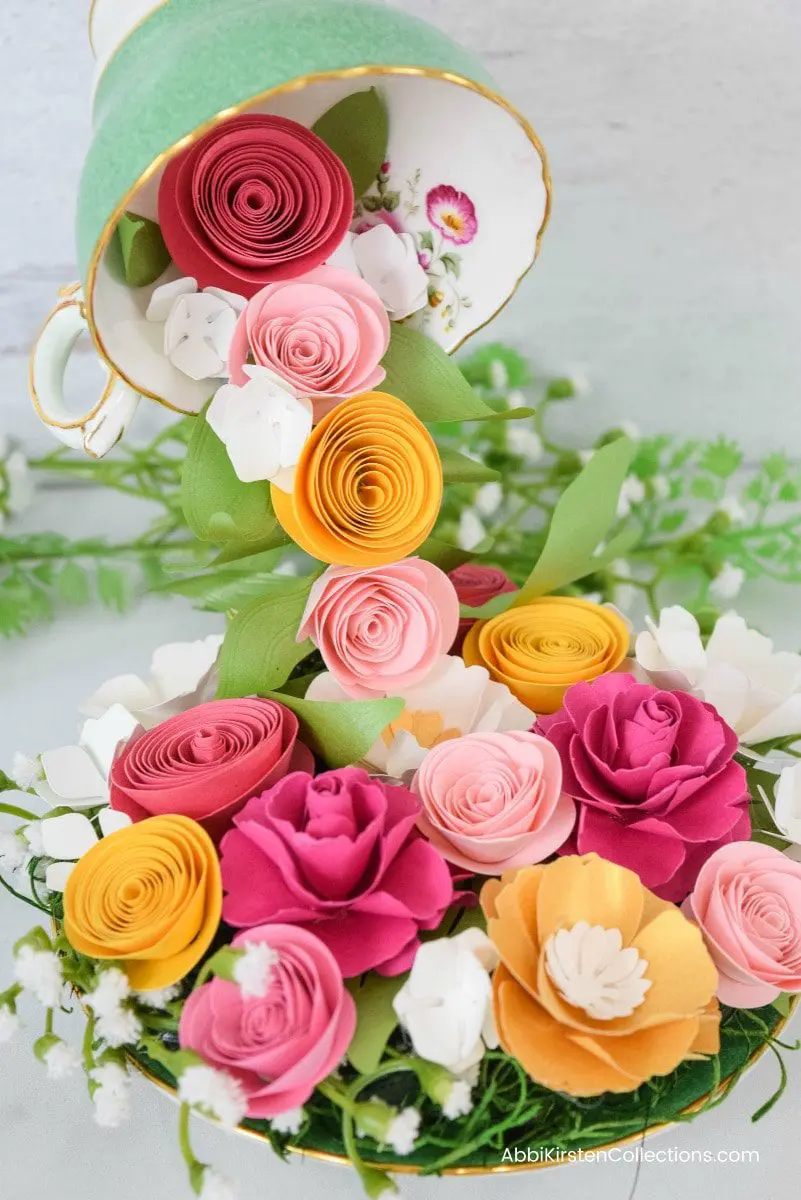
I sized all my paper flowers to make about 1.5 – 2-inch blooms using my Cricut Maker and Cricut Explore machines. The paper rosettes are particularly easy to create and make a lot of them quickly.
JOIN THE COMMUNITY AND ACCESS MY FREEBIES!
Love freebies?! Me too! You can find one wavy rosette for free to try with this tutorial right here when you join my community.
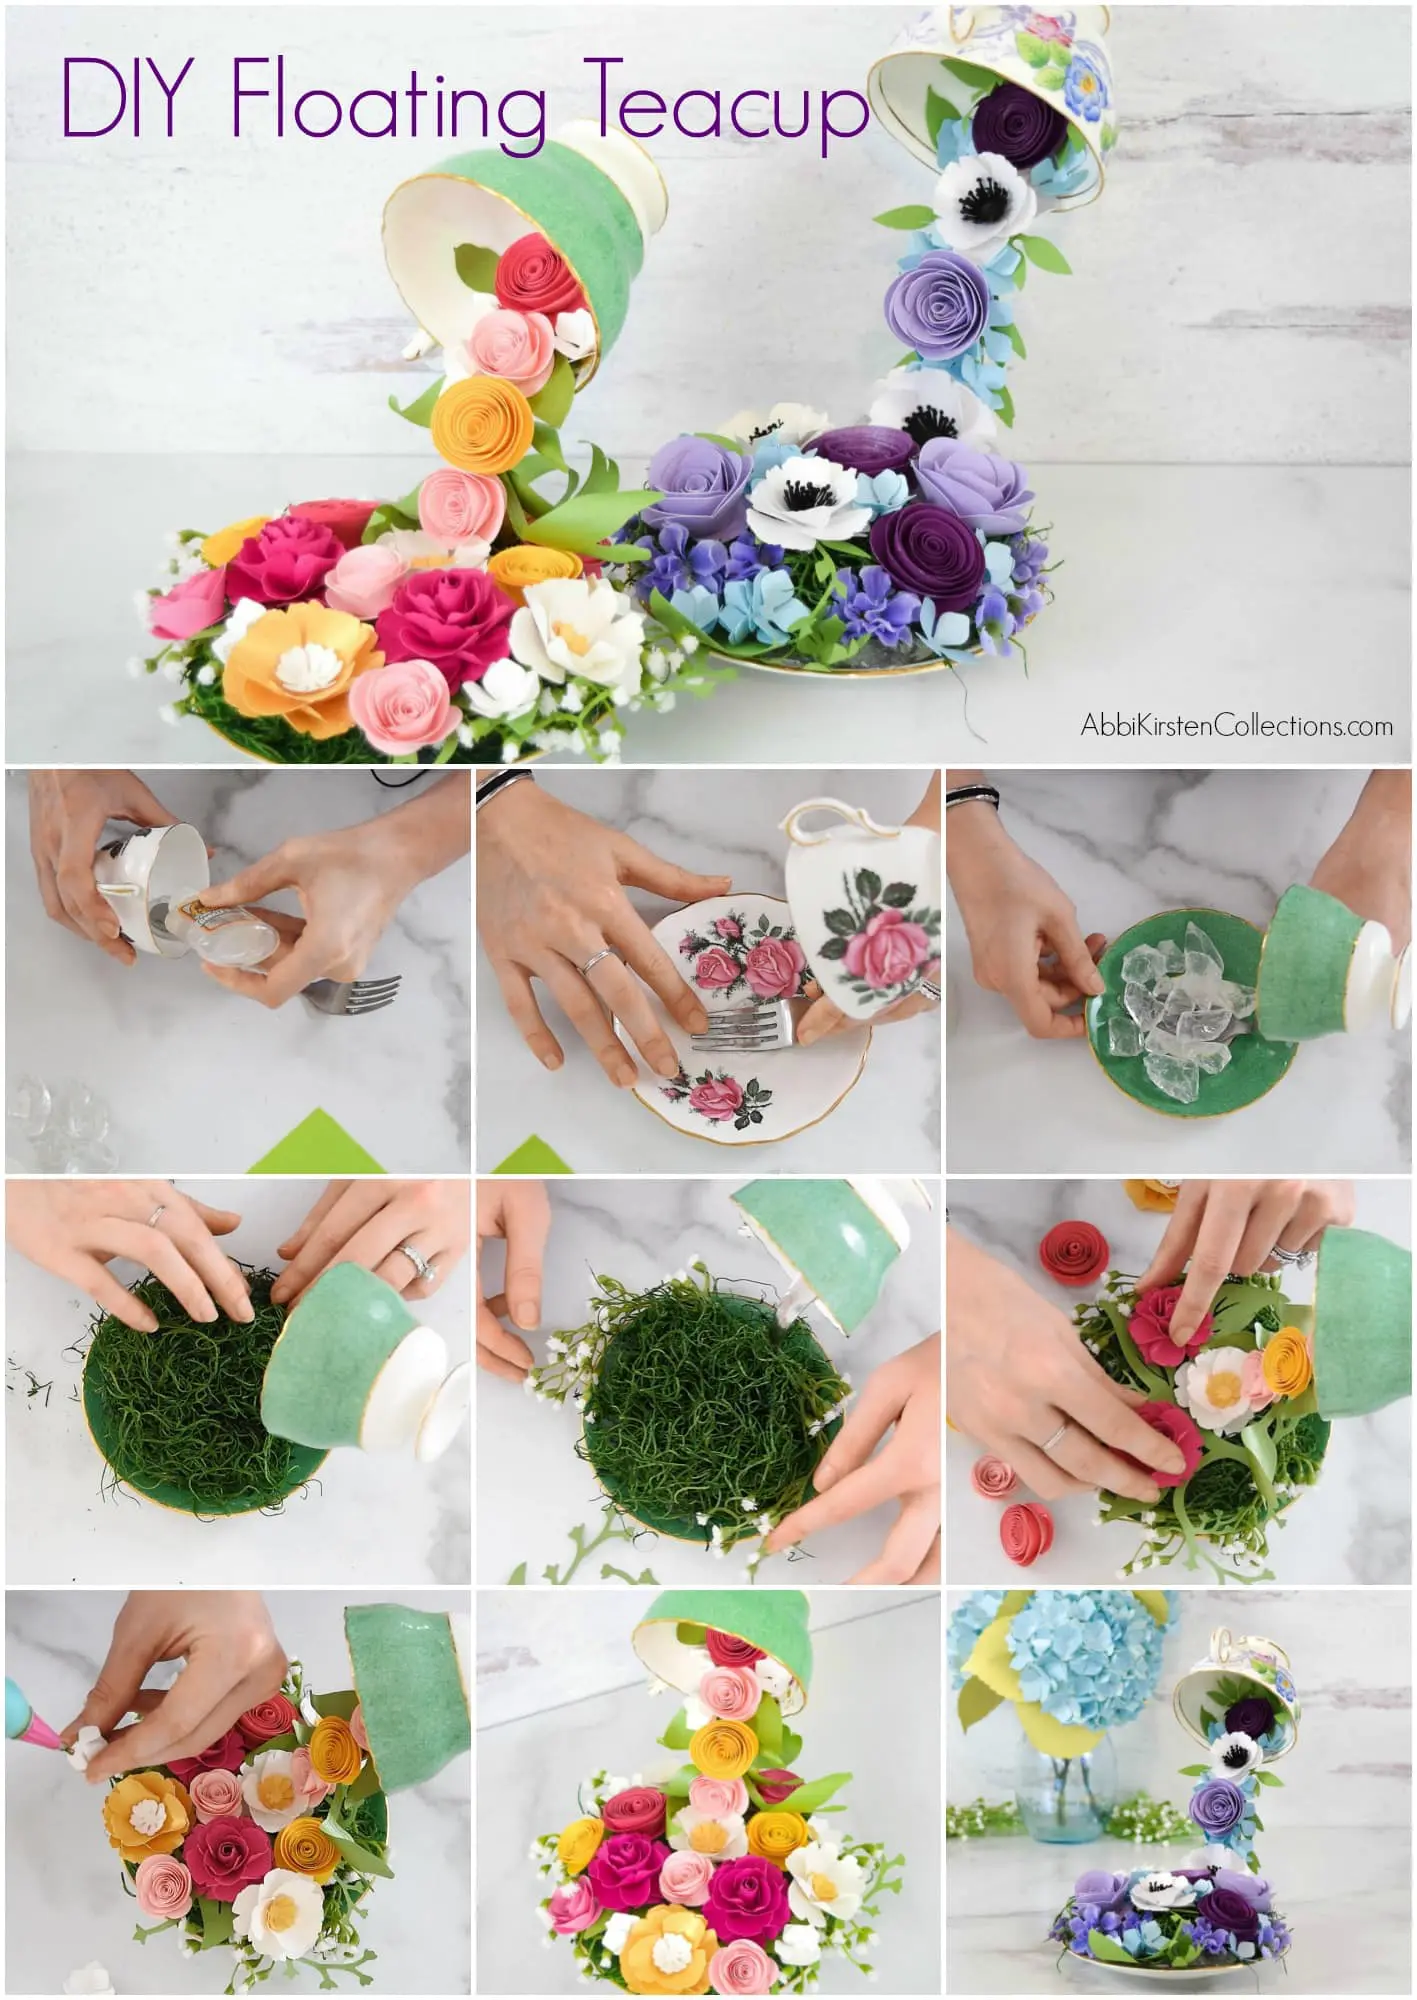
How to Make a Floating Tea Cup with Cascading Paper Flowers
Constructing the Floating Tea Cup
The first phase is to build the teacup structure. In a lot of similar tutorials, I have noticed crafters using only hot glue. When I tried this, my hot glue just peeled away from the glass, so I chose gorilla glue to reinforce the hot glue, and it worked perfectly!
I started bending my fork into a deep curve and then attaching the fork handle to the inside of my teacup with a little hot glue first, then with my gorilla glue. Once I added my gorilla glue, I placed the silicone mat inside with weighted rocks or vase fillers to let it set up.
You will want to repeat the whole process a second time before connecting the folk to the saucers. Watch the full video here to see how I did it.
After your gorilla glue dries (typically 24 hours), you can start addressing the instability of the teacup. I discovered that no matter how I bent my fork the floating teacup was not altogether stable. So I glued down some weighted rocks or vase fillers as a counterweight.
Next, begin adding your moss over the rocks first with a little hot glue and then build up some silk greenery, and paper vines for the base.
Adding the Paper Flowers
Now you are on to the fun part of adding paper flowers! I recommend playing around and laying out your design first before gluing anything down. Once you are happy with the layout, glue down your paper flowers with hot glue.
For the fork handle, I like to cover it will some paper vines first and then add some flowers over the top.
Scroll down to watch me build this step-by-step in the video below!
What do you think of this floating teacup tutorial with paper flowers? I’d love to see how yours turns out. Be sure to join my Facebook group here and show off your crafts!
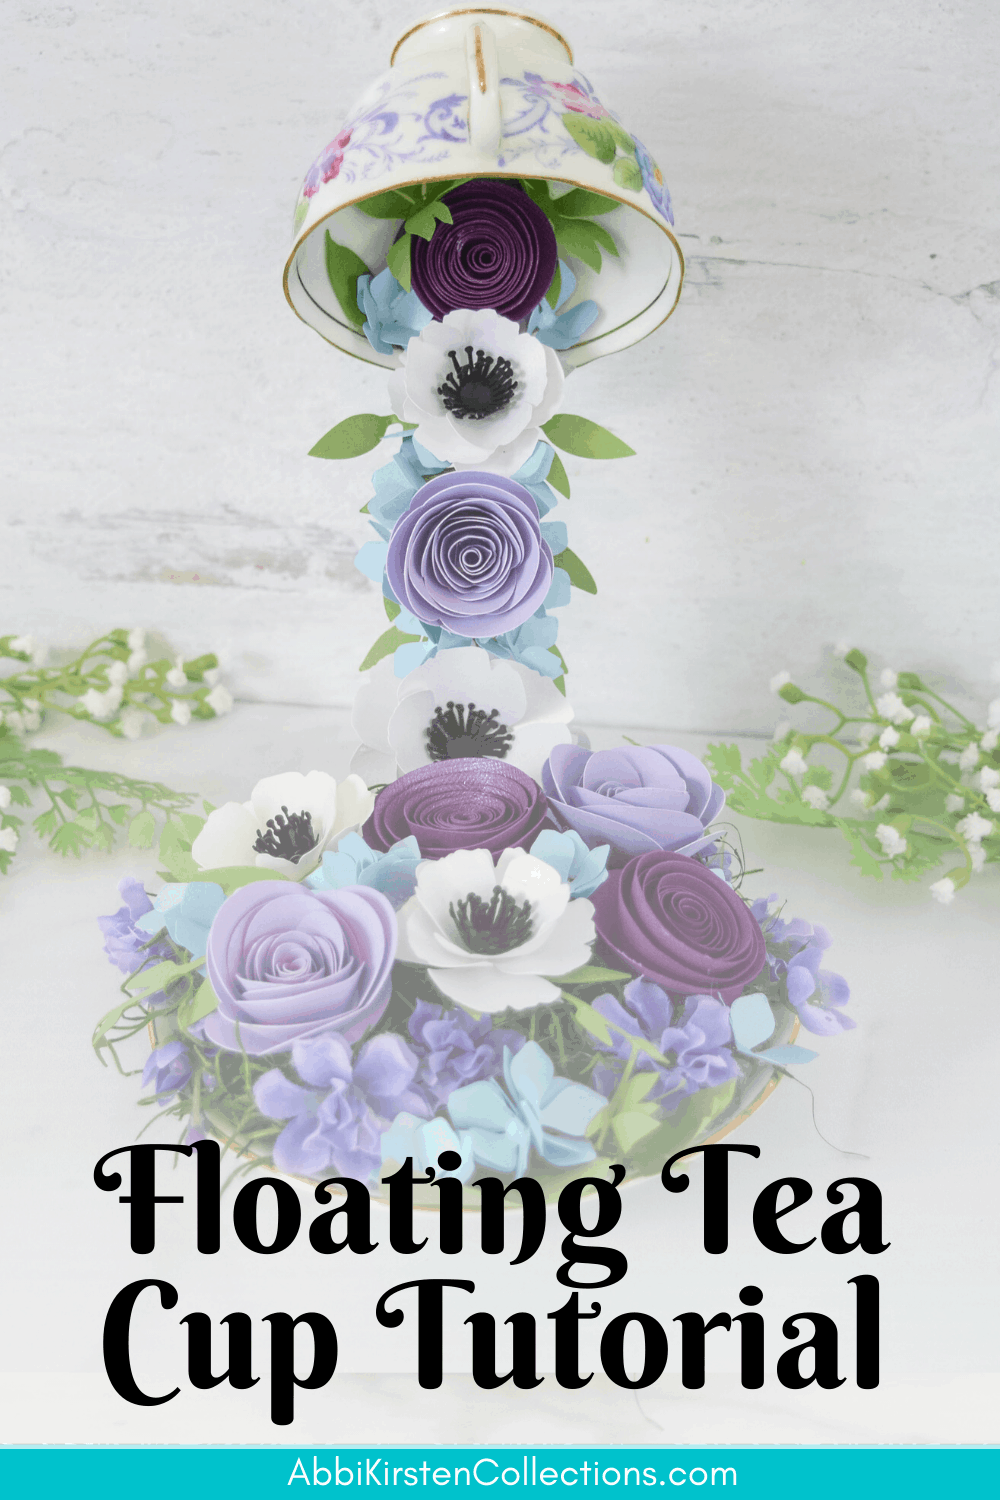
How to Make Floating Teacups – Video Tutorial
The video tutorial below walks you through the whole process visually step by step. Hit play to see how it is done! Be sure to subscribe to my YouTube channel for more videos weekly!
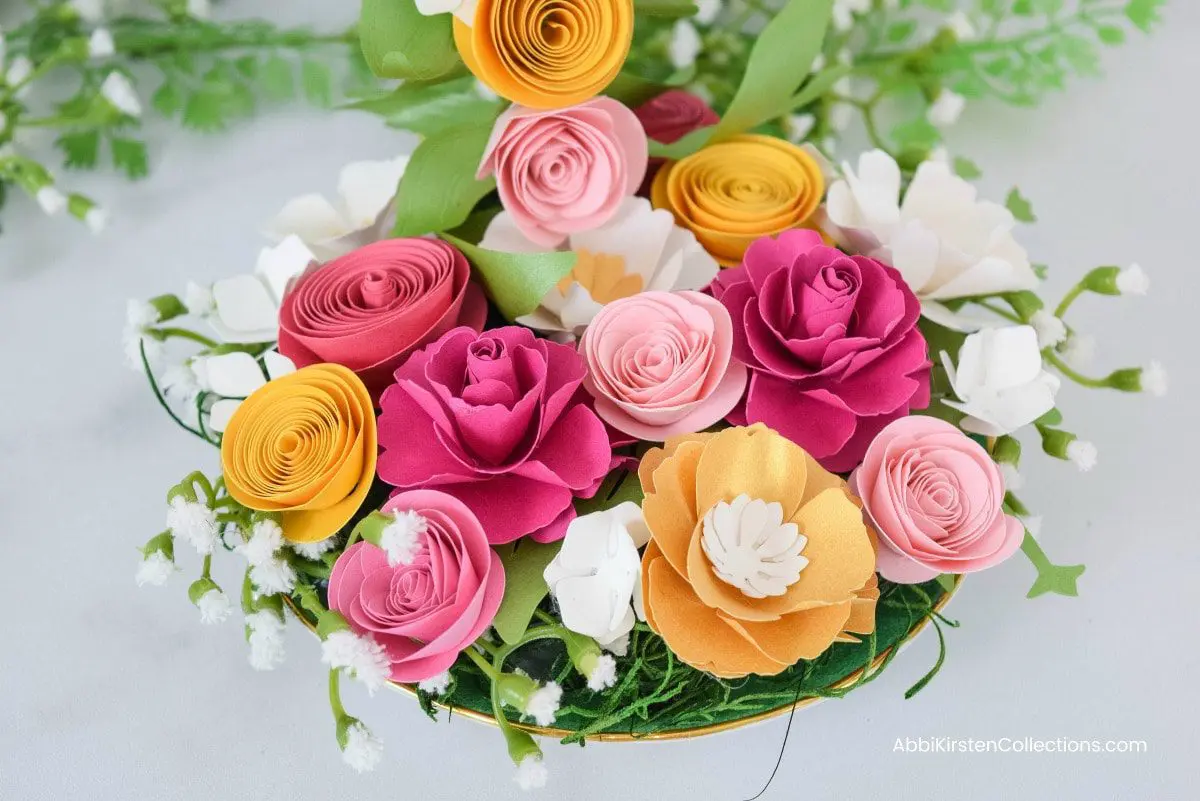
Floating Tea Cups with Cascading Paper Flowers
Learn how to make whimsical floating tea cups with colorful cascading paper flowers! This gorgeous paper flowers craft creates a fantasy illusion with a floating tea cup and a stream of colorful paper flowers - perfect for themed parties!
Materials
- Teacup and saucer
- A metal fork
- Hot glue gun
- Gorilla glue
- Paper flower templates
- Moss and silk flowers
- Vase fillers or small rocks
- Small silicone mat
Instructions
Step 1: Construct the floating tea cup.
- Bend the fork into a deep curve.
- Attach the fork handle to the inside of my teacup with a little hot glue first, then apply the gorilla glue.
- Place the silicone mat over the fork handle, and weigh it down with weighted rocks or vase fillers until completely dry and set.
- Repeat the process a second time.
- To connect the fork to the saucer, glue the fork tongs to the surface of the saucer. Provide counterweight by piling on weighted rocks or vase fillers on top of the fork tongs (glue these down as well).
Step 2: Add Moss and Greenery to the Saucer
- Make the paper vines and greenery. I used my whimsical vine and leafy vine sets.
- Use hot glue to apply the moss over the rocks, then begin building up the base with silk greenery, smaller silk flowers, and paper vines. Allow to dry completely.
Step 3: Make and Add the Cascading Paper Flowers
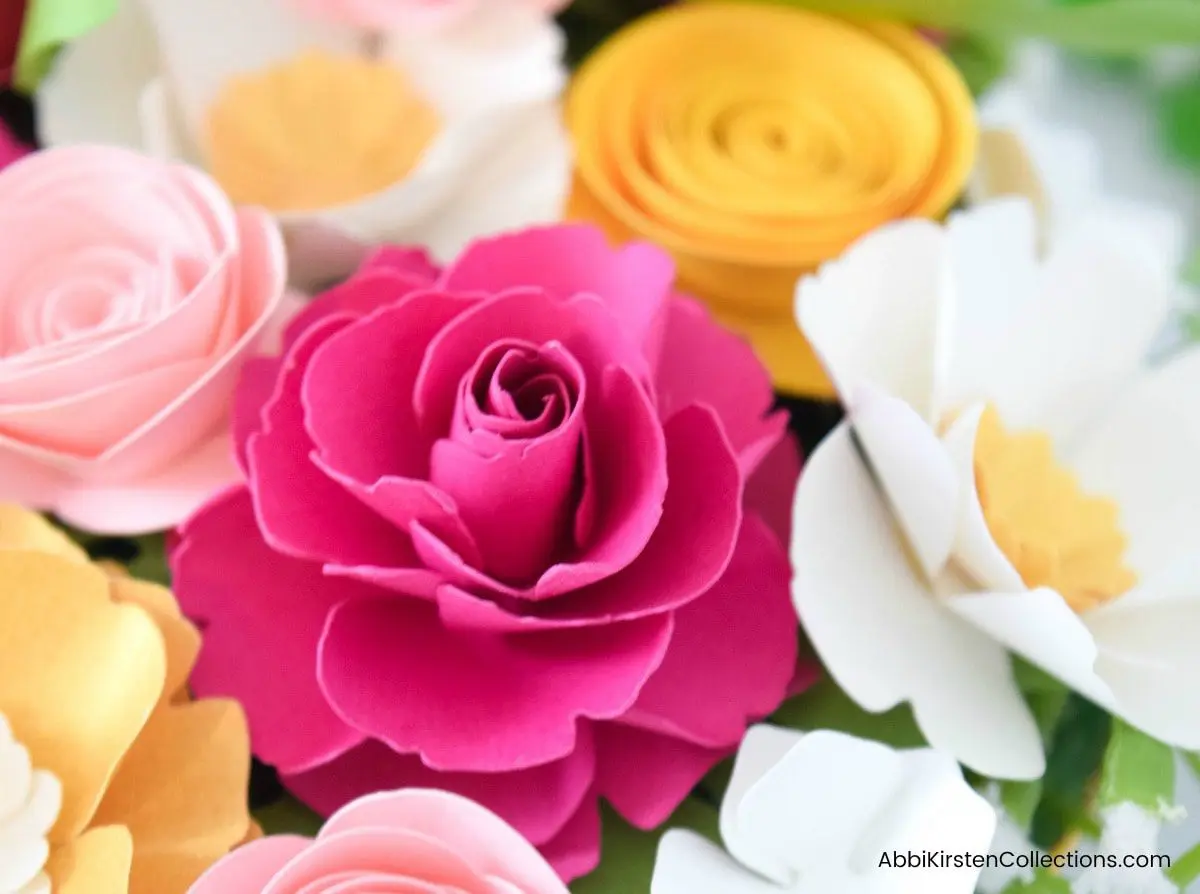
- Make your paper flowers. I made rolled rosettes, paper rosettes, ruby roses, and poppy-style paper flower templates.
- Play around with the design of your cascading flowers before you glue anything down.
- Once you're happy with the design, use hot glue to attach the flowers to the tea cup saucer, the handle of the fork, and inside the tea cup for the overflowing effect.
More Crafts to Love
- How to Make A Paper Cactus: Prickly Pear, Aloe Vera, and Ferocactus
- DIY Cali Poppy Paper Flowers
- Make Fruit Pop-Up Cards With Cricut
- Butterfly and Bug Shadow Boxes
- Make A Spring House Explosion Treat Box
About Abbi Kirsten Collections
I have spent the last 9+ years building my creative skills and sharing them with others. My flower designs are created with simplicity, color and crafty fun in mind. If you haven’t yet, be sure to join the subscriber community to gain access to all my freebies or visit my signature design shop here!
Want to join my Facebook community to share your crafts and learn from the best? Click here to request access to my group, Crafters and Cricut Lovers.
For further color crafts and inspiration, join me on Instagram & Facebook.


Wow! I’d be so worried about that teacup falling. Is it still holding up with the glue after a few days? Love your blog and flower patterns! Thanks for this. It would be perfect for a tea party themed birthday party!
Hi Jen!
Yes, no problems at all. As long as you use gorilla glue and use those weighted rocks you’ll be fine! 🙂
Beautiful, I’ve already found me a teacup and saucer to use for this project for my Mom for Mother’s Day!!! Abbi, do you think that the E-6000 glue along with hot glue would work as well as the gorilla glue? I have that on hand is why I ask.
Thanks, Abbi for the beautiful project,
Teresa
Thanks Teresa! Yes, E-6000 glue should work because it states that it will bond well with glass. 🙂
Hi there … what a beautiful project !! I can’t wait to do this for my mom and aunt for Mother’s Day ! I sat down to watch your video but it keeps stopping at the point where you demonstrate how to bend the spoon … an error message keeps posting up 🙁 not sure what’s happening . Is there another way I can see the video ? … thank you so much for sharing your beautiful talent and love of flowers with all of us!
Hi Sonia,
Try this direct link on my Youtube channel: https://www.youtube.com/watch?v=L07kZbB5cbM
Thank you so much !! that did the trick . I cant wait to make these , have a wonderful day!!!
I love floating tea cups. I made one years ago. I will have to make another one with paper flowers. Thanks for the tutorial!!
I collect Tea cups and mini ones as well. I love this nice job. you’re the best,