How to Make Paper Crafts With Cricut: DIY Thanksgiving Card Tutorial
This post may contain affiliate links that won’t change your price but will share some commission.

Making paper crafts with my Cricut machine is my favorite thing to do! There are endless Cricut paper craft projects to make with your machine, so it’s no wonder why crafters love to use a Cricut for paper crafting. Today I will share some of the best paper craft ideas with you, as well as walk you through an easy DIY Thanksgiving card tutorial, including how to create a card template in Cricut Design Space!
If you have never heard of Cricut before, Cricut makes cutting machines designed to cut paper, vinyl, iron-on, wood, and much more. Cricut machines are a great investment if you wish to expand your crafting capabilities, and Cricut is always coming out with new and exciting equipment for creators.
A Cricut can help you make paper and cardstock projects, just like our Thanksgiving Fall paper card project today. Let’s talk about some of the Cricut paper crafts you can make, and then I will teach you a full DIY Thanksgiving card tutorial!
Easy Cricut Paper Crafts
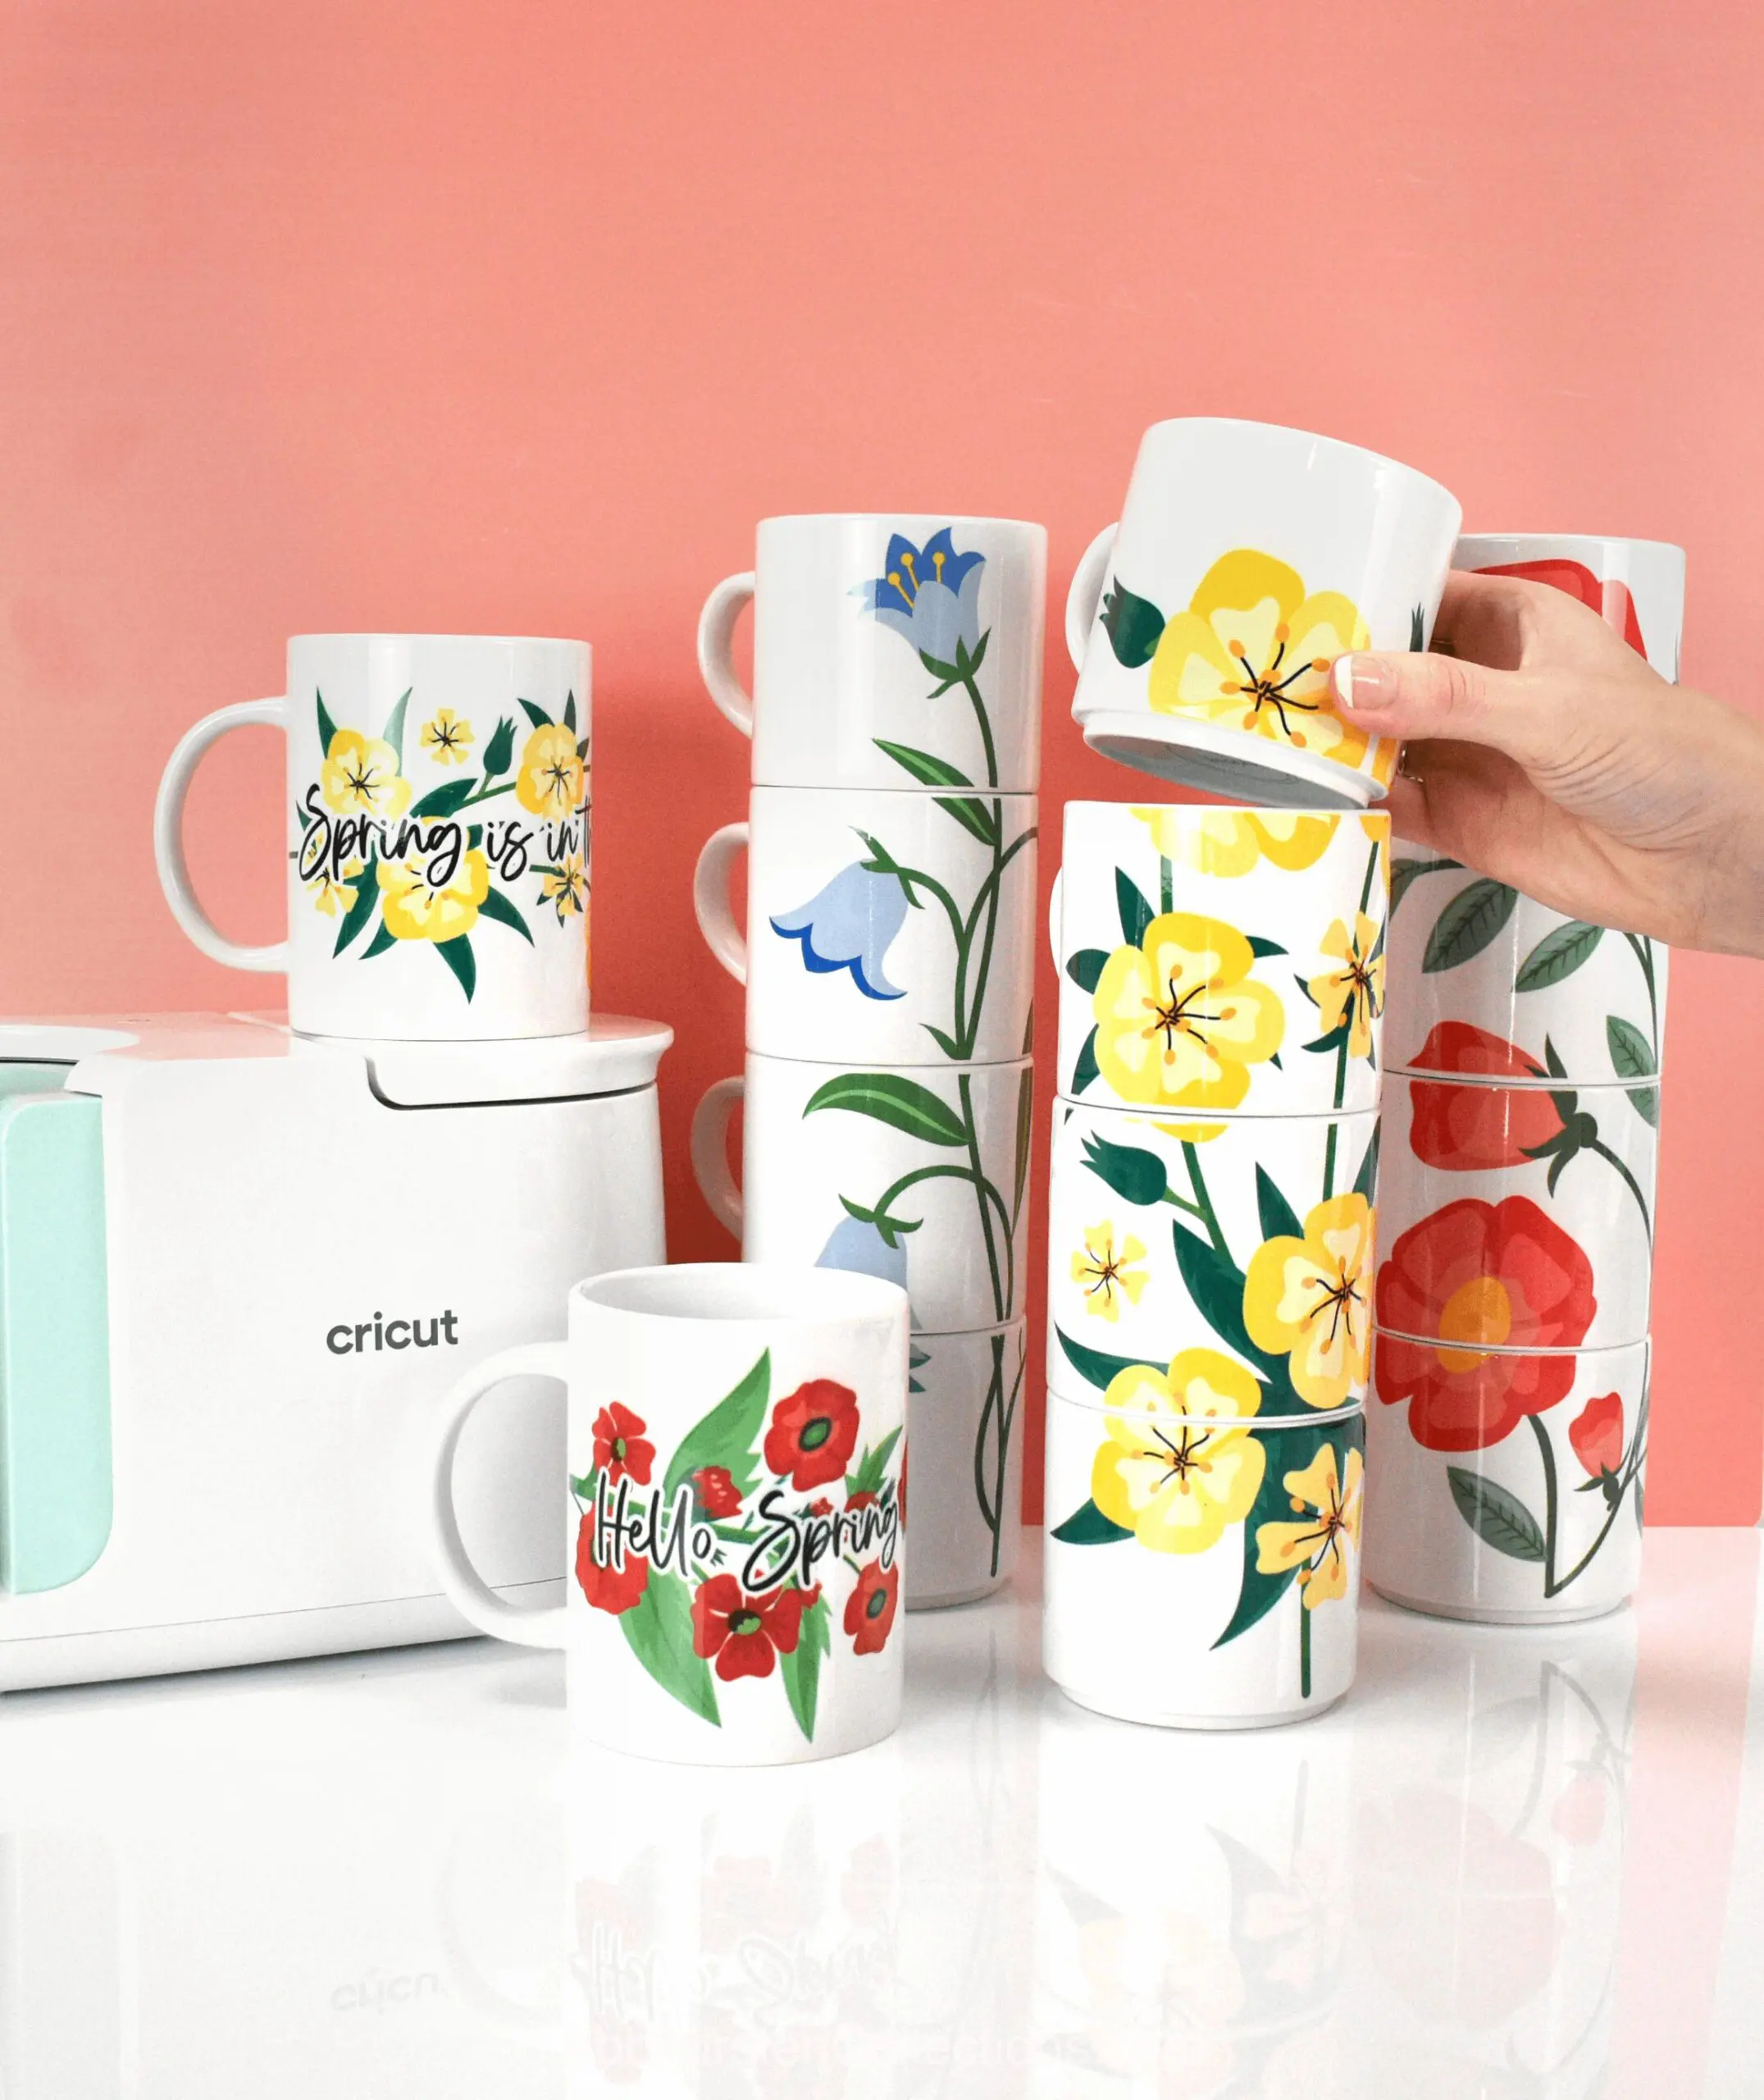
If you are new to Cricut or just looking for fresh inspiration, you may wonder what some easy paper crafts to make with my Cricut machine are. Here are a few ideas below! I am obsessed with paper crafting with my Cricut; so many of these ideas, you will find a full tutorial here on Abbi Kirsten Collections!
- Cards (simple cards, popup cards, print then cut cards, and more!)
- Cake toppers
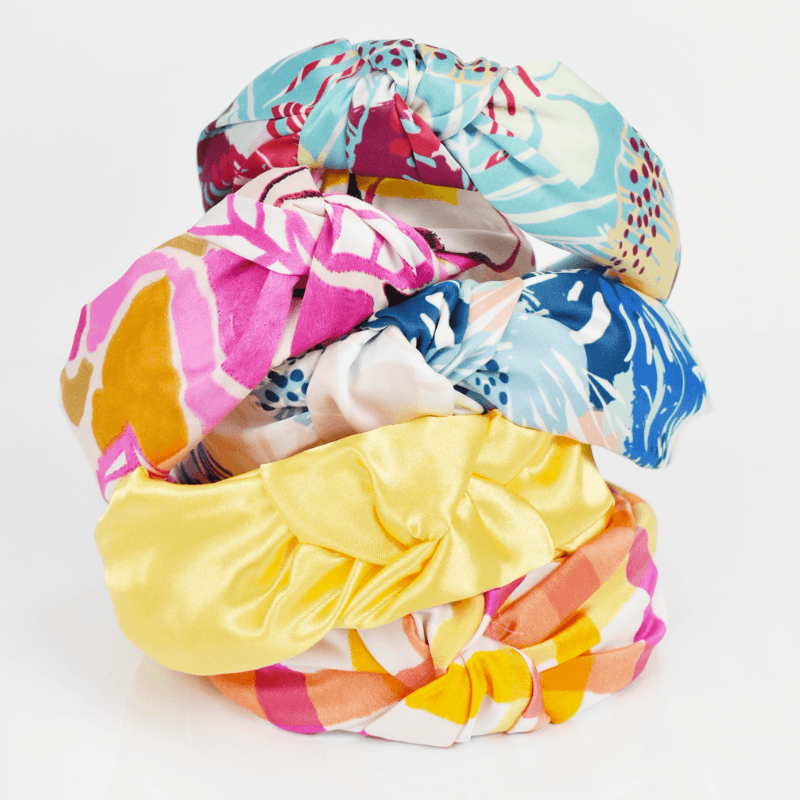
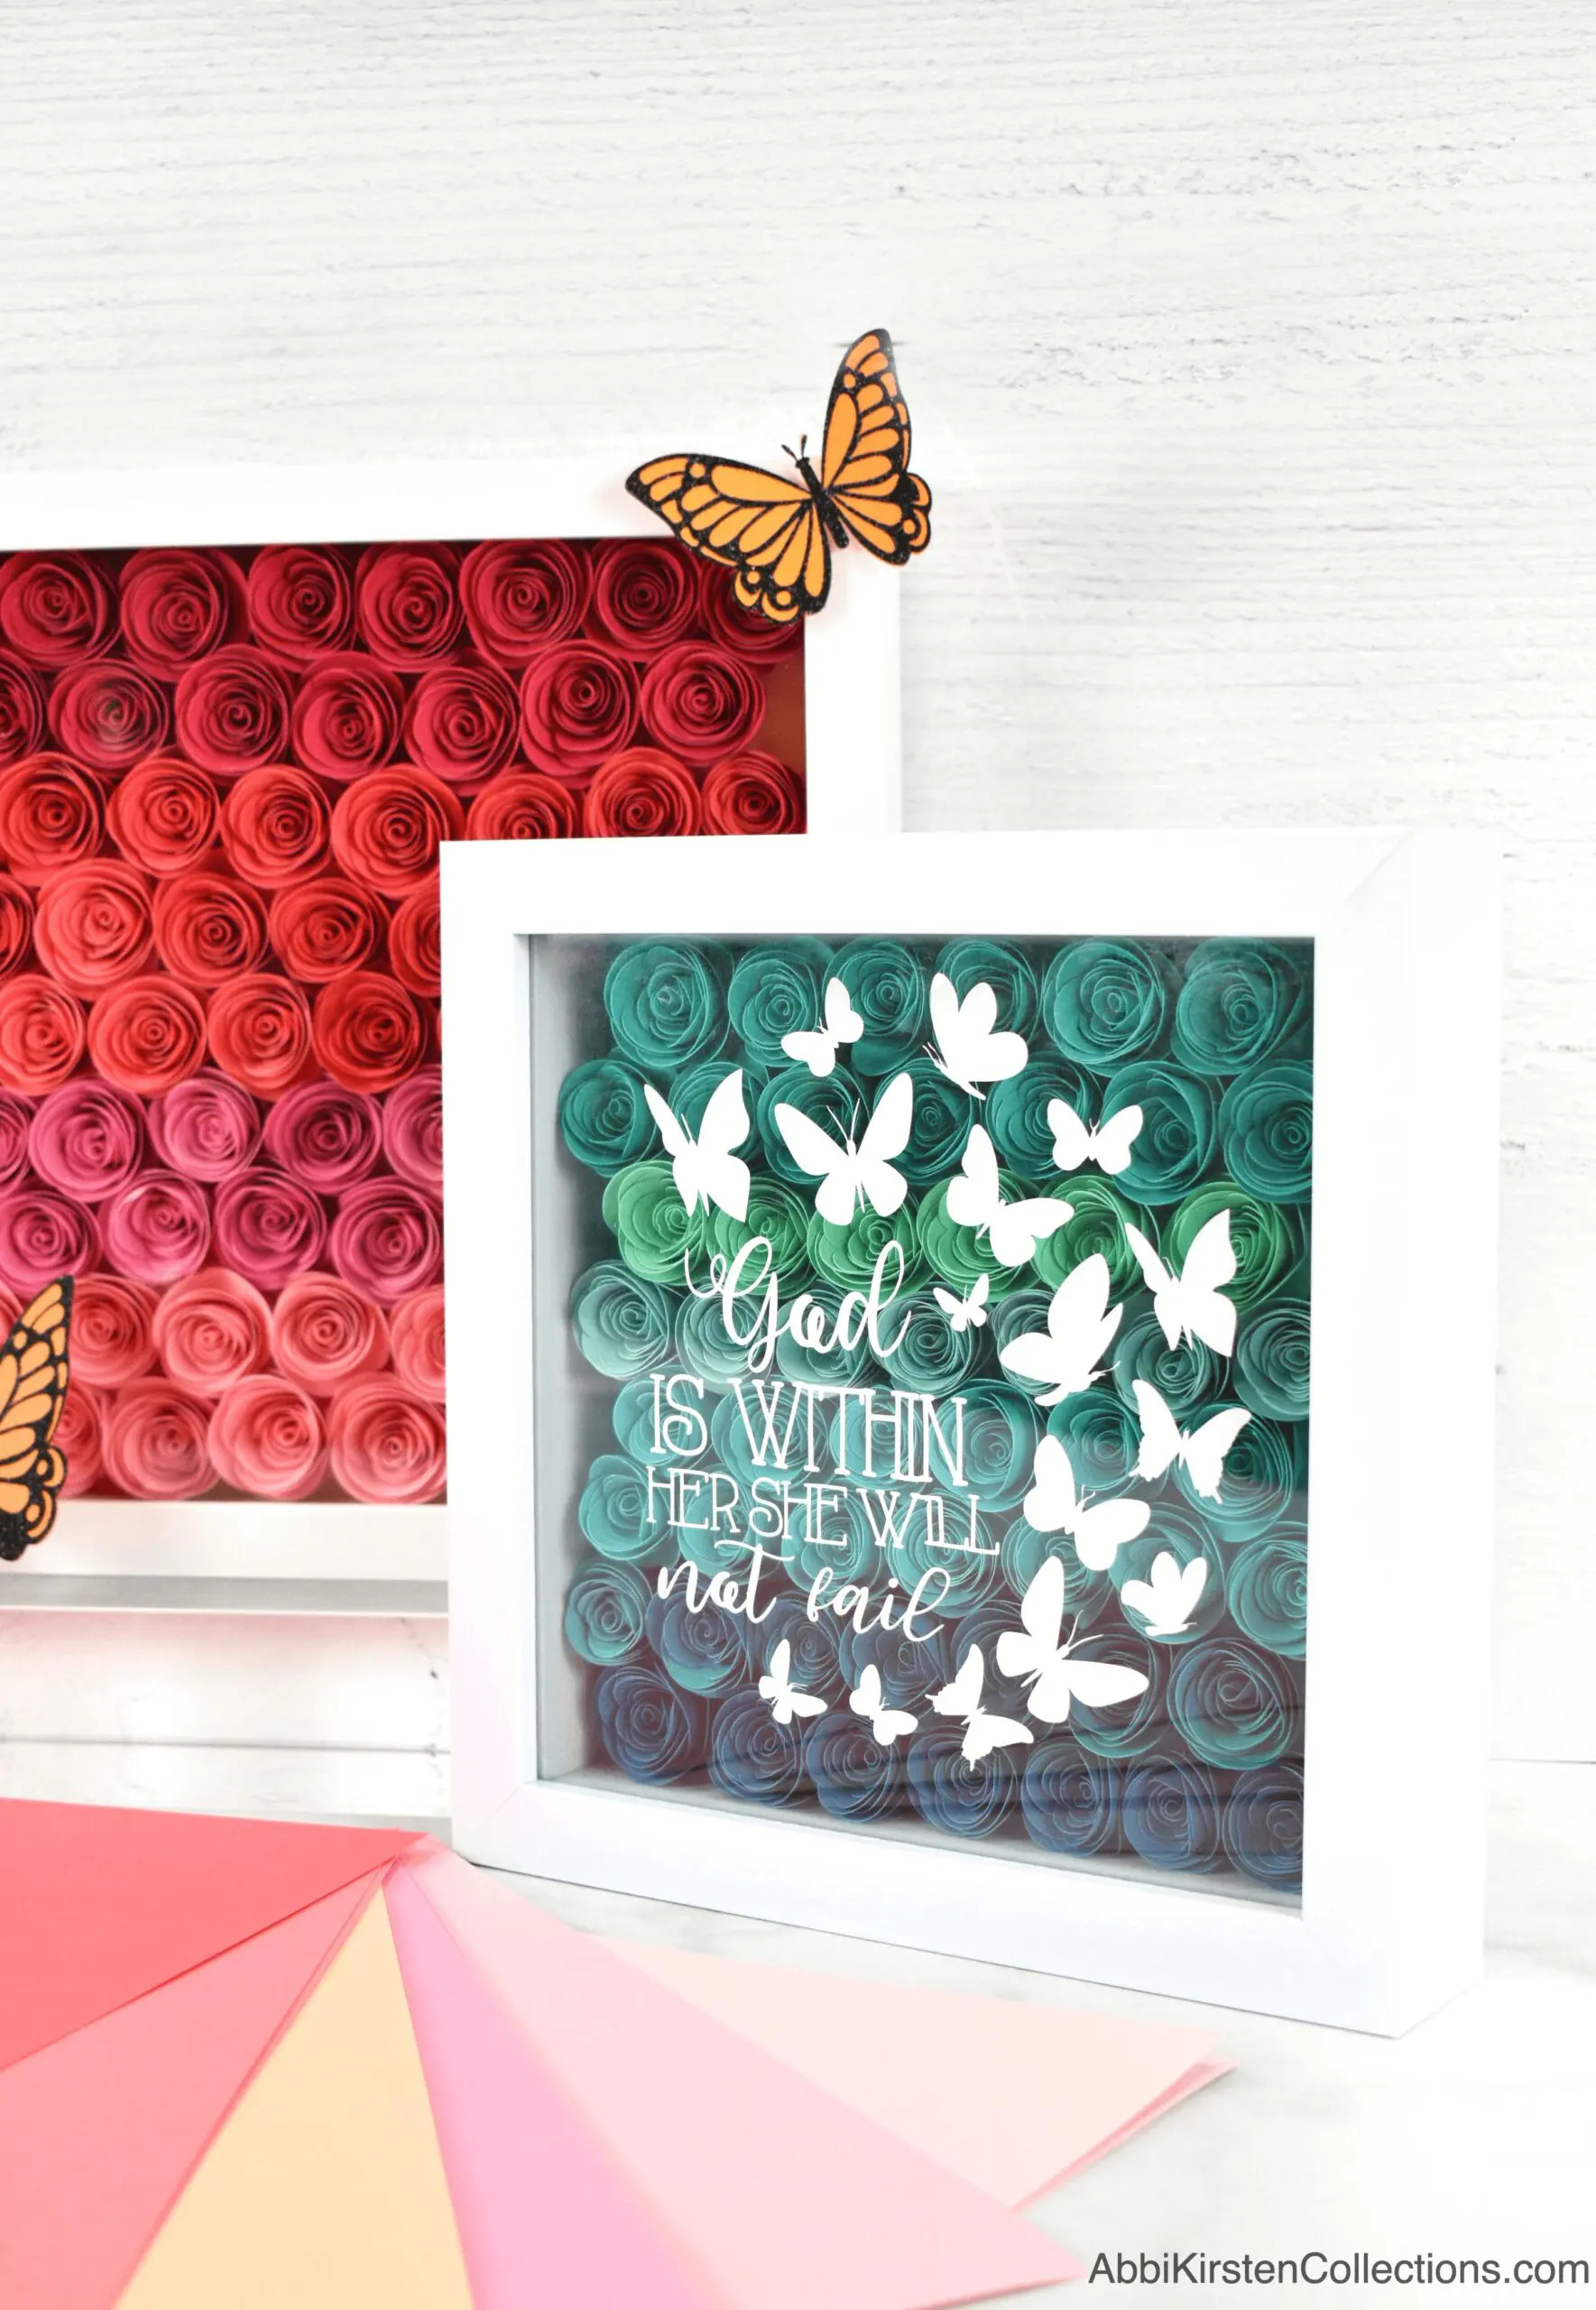
- Layered paper crafts
- Paper flowers
- Bookmarks
- Gift card holders
- Banners
- Candy holders
- Paper boxes
- Stickers
- And so much more! Take a look in Design Space at the Cricut Access images for endless inspiration!
DIY Thanksgiving Card With Cricut Tutorial
Now let’s start making paper crafts with our Cricut! This DIY Thanksgiving Fall card is easy and perfect for beginners. Watch the video below or keep reading for a picture tutorial!

DIY Thanksgiving Fall Card Supply List
- Cricut machine (Any full-size machines such as the Explore or Maker models. The Cricut Joy can also work)
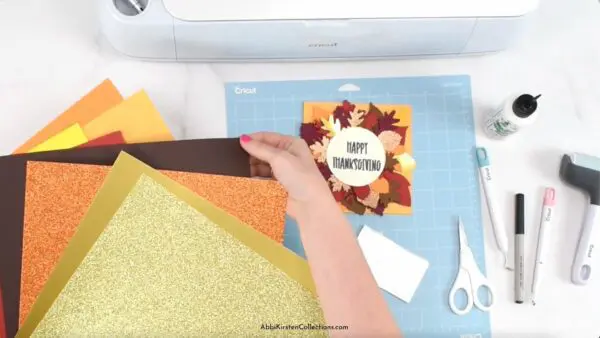
- Cardstock paper, foil poster board, and glitter cardstock
- 3D foam strip tape
- Scissors
- Cricut mat
- Weeding tool
- Cricut pen
- Cricut brayer tool
- Bearly Art glue
How to make a thanksgiving card using a cricut
Making cards with your Cricut is one of the easiest things for a beginner to create. Let’s go over how to set things up in Design Space, where I found my images, and how to cut out this craft with your Cricut machine.
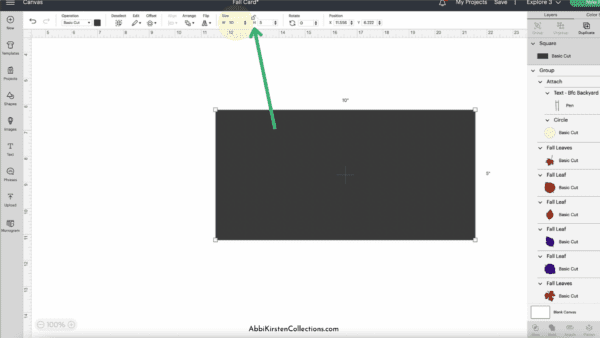
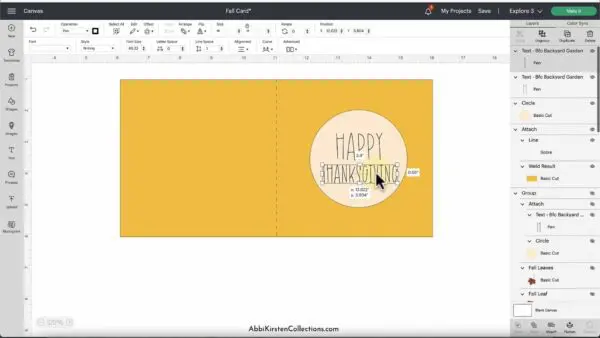
Step 1: Set up your card in Design Space
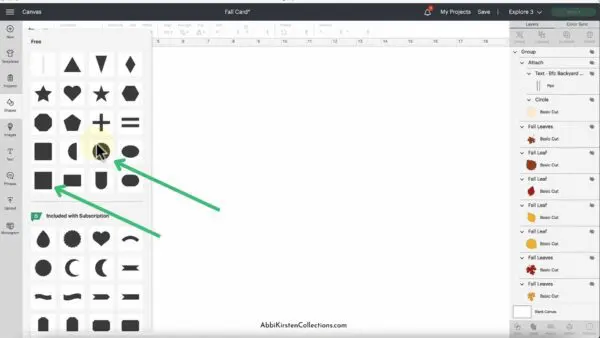
Using the Shapes panel insert a square and stretch it out to the size of the card you prefer. I wanted a 5 x5 inch card, so I set my square to 10 inches wide by 5 inches high. Once folded, it will be 5 x 5 inches. Use the Unlock icon at the top center of the Edit bar to pull at the corners and stretch the square into a rectangle.
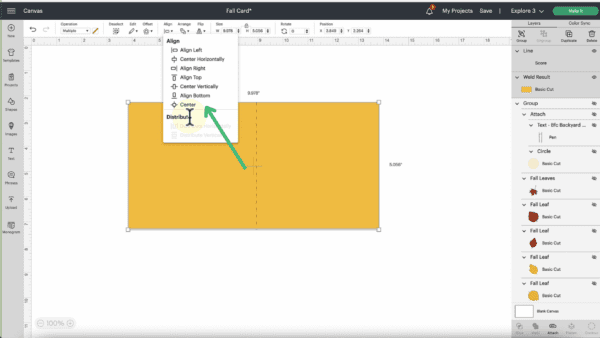
Next, add a scoreline to the center of the card from the Shape’s panel. Click and drag over both the scoreline and the card, use your Align tool, and select Center to ensure everything is aligned properly. Use the Attach tool at the bottom of the Layers panel to the right to hold the scoreline’s placement.
Step 2: Adding Text In Design Space
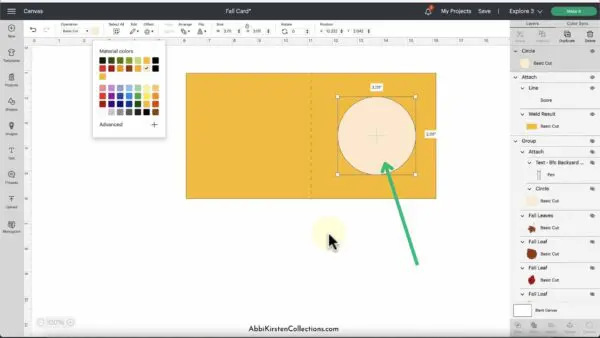
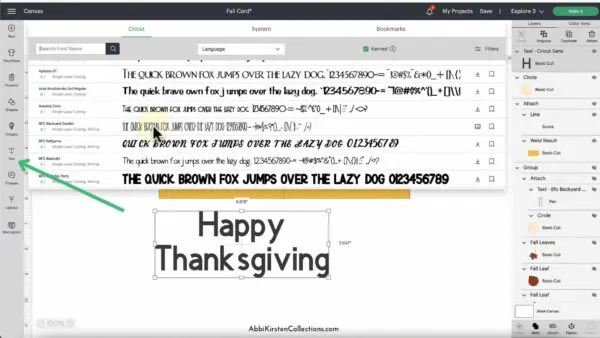
To create the custom message on the card, insert a circle from the Shapes panel and scale it to fit the front of the square card. Type out a message using the Text tool. Change the font under the Font dropdown menu. I used the Backyard Garden font by Cricut.
To change the text operation from basic cut to writing, select the Operation dropdown and click on Pen. With the text selected, click on Style and choose Writing.
Center the words over the circle using the Align tool. Make sure to use your Attach button again to hold the text placement to the circle.
Step 3: Searching Images in Design Space
Next, pick out your fall leaf images from the Design Space Image library. I searched the keyword “fall leaf” to pick out the designs. I used #M3EF8B2D8, #M899F4D4, and #M3CE99974
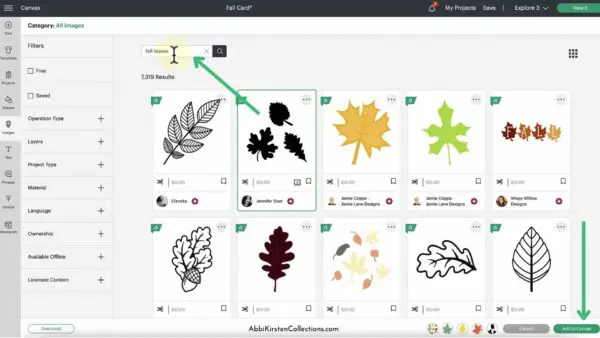
Scale the leaves to fit the card and create size variations. Size them larger or smaller by clicking and dragging at any selected image’s corner. I also like to change the colors to get an idea of what it will look like cut out in my paper colors.
Move to the cut screen by clicking the Make It button at the top. Select the material. I am using medium cardstock, foil cardstock, and glitter cardstock to create my Thanksgiving Fall card.
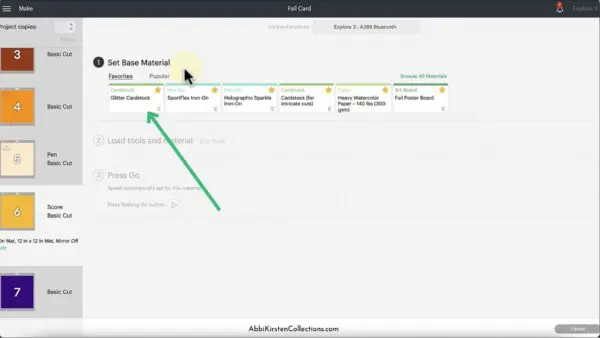
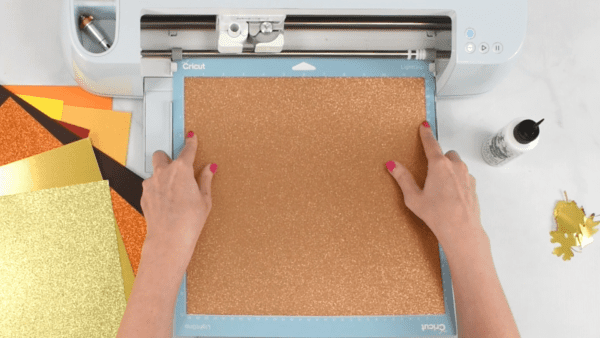
Step 4: Cut out your cardstock
Load the mat with your cardstock and get everything cut out. For the card base, Cricut will tell you to score with a scoring stylus or scoring wheel before it cuts the rectangle out.
Continue to cut out all your leaves in choice cardstock colors.
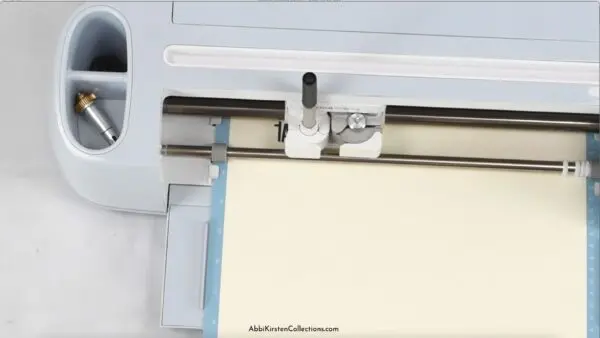
To write your personalized message on the cardstock, insert a Cricut pen into clamp A when Cricut prompts you.
Step 5: Assembling the DIY Thanksgiving Card
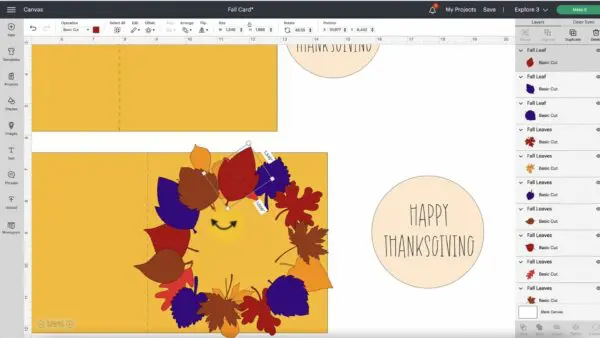
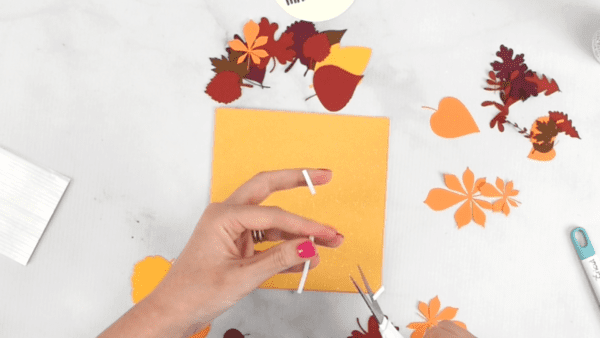
To assemble the Thanksgiving Fall card, start by folding along the scoreline and creasing the card down the center.

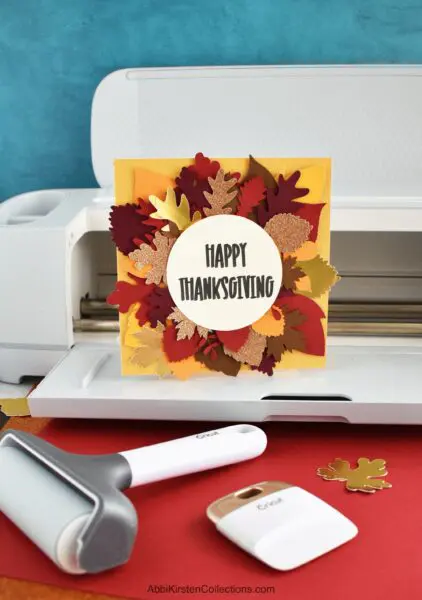
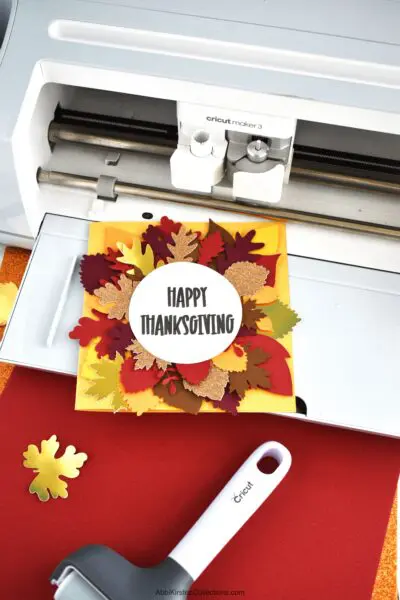
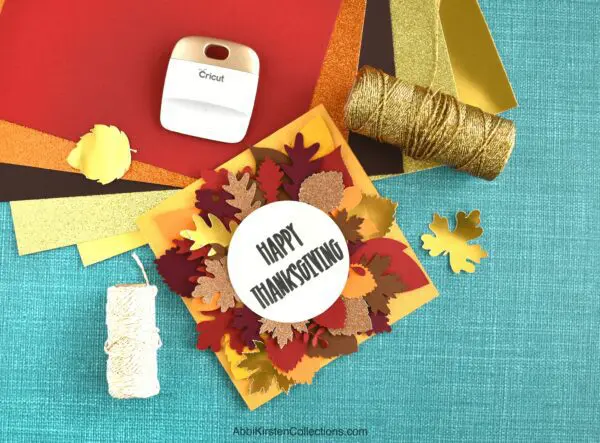
Add your leaves to the front of the circle pattern. I apply my fall leaves with the 3D foam strip tape to add elevation to the front of the card.
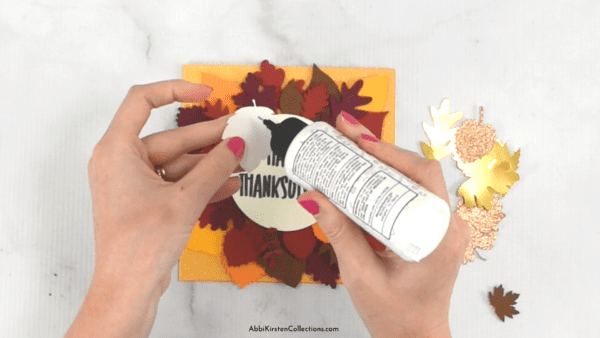
Using the foam strip tape, I also add the Happy Thanksgiving circle message to the center of the card. For my glitter and foil leaf cut-outs, I tuck them in with a little Bearly Art glue to finish off the DIY Thanksgiving card with Cricut.
Do you enjoy making cards with your Cricut? What other Cricut paper crafts do you plan to try? Tell me below in the comments!

DIY Thanksgiving Card with Cricut
Create your own fun Thanksgiving card with this easy-to-follow Cricut tutorial!
Materials
Instructions
How to Make a Thanksgiving Card with Cricut
- Set up your card in Design Space. Using the Shapes panel insert a square and stretch it out to the size of the card you prefer. Use the Unlock icon at the top center of the Edit bar to pull at the corners and stretch the square into a rectangle. Add a scoreline to the center of the card from the Shape's panel. Click and drag over both the scoreline and the card, use your Align tool, and select Center to ensure everything is aligned properly. Use the Attach tool at the bottom of the Layers panel to the right to hold the scoreline's placement.
- Add text in Design Space. To create the custom message on the card, insert a circle from the Shapes panel and scale it to fit the front of the square card. Type out a message using the Text tool. Change the font under the Font dropdown menu. To change the text operation from basic cut to writing, select the Operation dropdown and click on Pen. With the text selected, click on Style and choose Writing. Center the words over the circle using the Align tool. Make sure to use your Attach button again to hold the text placement to the circle.
- Search images in Design Space. Pick out your fall leaf images from the Design Space Image library. Scale the leaves to fit the card and create size variations. Size them larger or smaller by clicking and dragging at any selected image's corner. Move to the cut screen by clicking the Make It button at the top. Select the material.
- Cut out your cardstock. Load the mat with your cardstock and get everything cut out. For the card base, Cricut will tell you to score with a scoring stylus or scoring wheel before it cuts the rectangle out. Continue to cut out all your leaves in choice cardstock colors. To write your personalized message on the cardstock, insert a Cricut pen into clamp A when Cricut prompts you.
- Assemble the DIY Thanksgiving Card. To assemble the Thanksgiving Fall card, start by folding along the scoreline and creasing the card down the center. Add your leaves to the front of the circle pattern. Apply the leaves with the 3D foam strip tape to add elevation to the front of the card. Using the foam strip tape, add the Happy Thanksgiving circle message to the center of the card. For the glitter and foil leaf cut-outs, tuck them in with a little Bearly Art glue to finish off the DIY Thanksgiving card with Cricut.
About Abbi Kirsten
Welcome to my colorful corner of the internet, where we play with vibrant crafts and unlock your creative magic! Hang out with me and get lost in a fun array of projects, tutorials, and products, from stunning papercraft ideas to flower templates, Cricut help for beginners, and endless crafter’s hacks.
Join A-Star Crafters and participate in monthly Craft-Alongs in our community Facebook group!