How To Make DIY Crepe Paper Succulents
This post may contain affiliate links that won’t change your price but will share some commission.
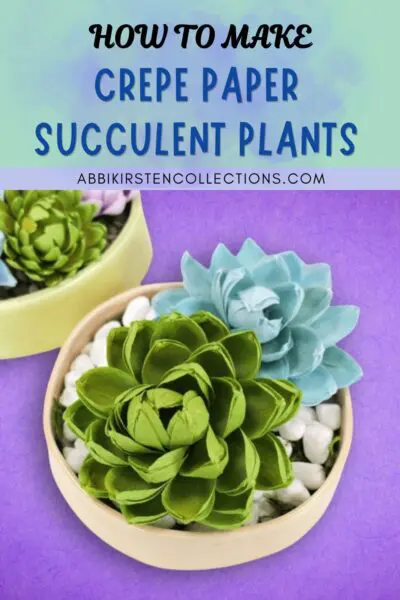
If you love paper flowers but want to try something a little different, these crepe paper succulents are the perfect project. In this tutorial, I’ll show you how to make realistic paper succulent plants in three variations using crepe paper and share my simple shaping and distress shading techniques. Whether you’re decorating your home or making handmade gifts, these paper succulent plants are easy to customize and require zero watering!
A beginner-friendly craft. This project is beginner-friendly and uses just a handful of supplies. Once you make one succulent, you’ll want to create an entire paper succulent garden.
Create Lifelike Crepe Paper Succulents
These realistic Crepe Paper Succulents are part of the Cali Botanical Collection within Abbi Kirsten Collections. When you become an A-Star Crafter, you have access to the design templates for uploading, a follow-along video, and step-by-step instructions to help you create these beautiful crepe paper cactus plants.
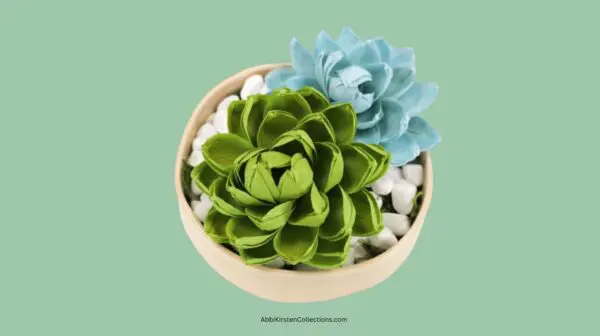
Want to get a full rundown on the best supplies to use when crafting with crepe paper? Check out my Ultimate Guide to Crepe Paper Flower Supplies post to learn my favorite tools and tips for working with this medium.
Access The Crepe Paper Succulent Templates
You can find the templates available for instant download as an A-Star Crafter. The templates are designed to work seamlessly with your cutting machine.
- If you’re an existing A-Star Crafter, log in to access and download the Crepe Paper Succulent templates here.
- If you haven’t yet joined A-Star Crafters, click JOIN A-STAR CRAFTERS below, create your account, log in, and go directly to the Crepe Paper Succulent designs here. Join A-Stars to get access to the templates for this fun project and so much more!
Get This And Hundreds More Craft Templates By
Becoming an A-Star Crafter!
Supplies and Materials
Before getting started, gather the following supplies:
- 90g crepe paper in succulent colors
- Cardstock circles (included with the templates)
- Scissors or a cutting machine
- Hot glue gun
- Liquid craft glue
- Detail scissors
- Thin wood dowel, shaping tool, or pencil
- 18-gauge floral wire for stems and floral wire cutters (optional)
- Floral tape
- Distress oxide with a blending brush
- Needle-nose pliers
- WIre cutters
- Sewing clips
- Additional decorative containers (optional)
- Crepe Paper Succulent Templates
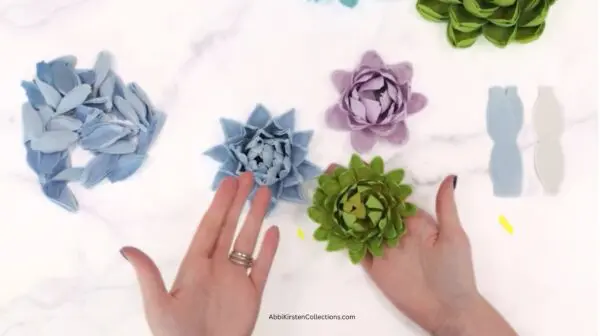
Crepe Paper Succulent Video Instructions
The video below shows how easy it is to create these crepe paper succulents. You can also read on for the step-by-step process in assembling this craft.
Steps for Making The Crepe Paper Succulents
1. Download the Templates.
Download the Crepe Paper Succulent templates from the Craft Vault, then upload them to Cricut Design Space. This craft is part of a collection of botanical designs within Abbi Kirsten’s A-Star Crafters. Whether you’re cutting by machine or with scissors, the templates make this project easy to recreate. The templates for making the crepe paper succulents include:
- SVG files for Cricut or other cutting machine
- Printable PDF templates for hand cutting
- Cardstock base circles
- Multiple succulent styles and sizes
If you’re new to Cricut, read my tutorial on uploading an SVG file to Design Space. I also offer a free Cricut Freedom Workshop on how to master your Cricut with real, actionable steps – but without the tech confusion and overwhelm!
2. Cut Out And Sort Your Succulent Pieces.
- Here’s the petal count I used for the purple, green, and blue succulents. The number of petals needed will vary depending on how much you overlap or angle the petals when assembling.
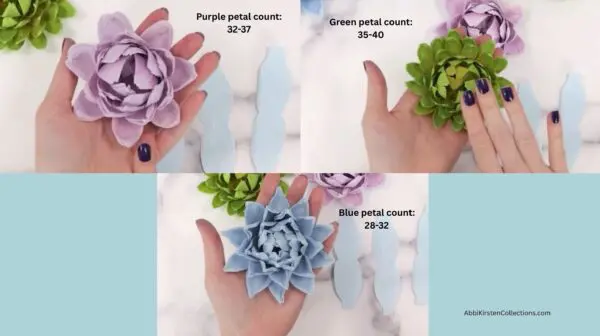
- Begin by cutting all of your crepe paper pieces on your cutting machine or by hand. To speed up the process, I prefer to fold over my crepe paper and cut two petals at a time (but no more than two, to maintain control over the cutting). A sewing clip helps to hold the paper and template in place.
Important: Make sure the grain of your crepe paper is running vertically when you cut out your petals.
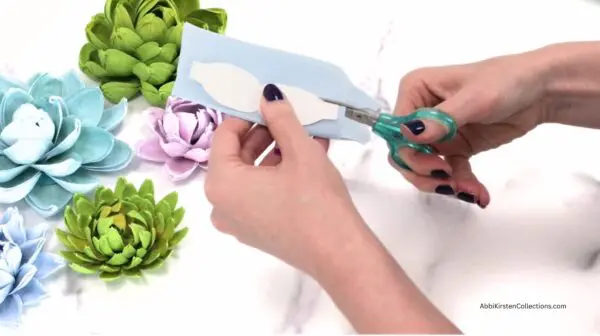
- The templates included in this project have designs for making smaller succulents as well as larger succulents.
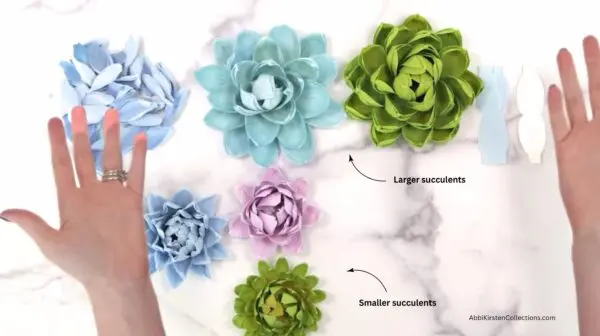
Pro Tip: To help you stay organized, keep the individual succulent petals separated into their own piles by color and size. This makes assembly much quicker and prevents mixing up the different plants.
3. Prep the Petals.
Next, let’s prep the petals with some twisting and gluing before we add the distress color and further shape the petals.
- To begin, gently twist the center of a petal 2 times so that it has a bowtie look.
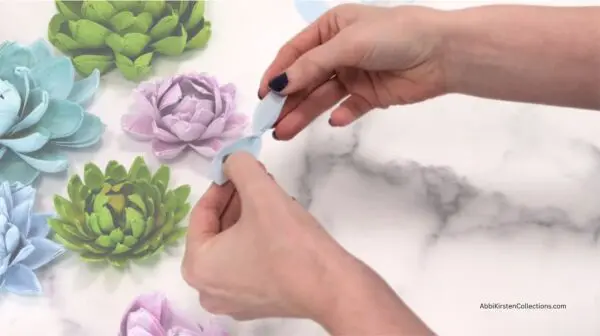
- Next, add a dot of glue at one end of the petal and fold (glue) the two bottom tips together. You’ll see the petal beginning to take on a curved look. Continue to gently curl the tip of each petal, bending the base inward. The aim is to create soft curves rather than sharp folds.
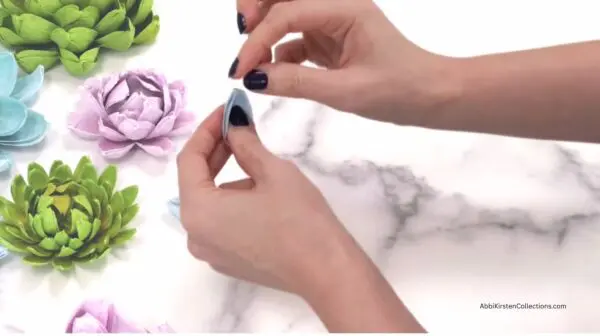
- As you move toward the smaller center petals, curl them more dramatically so they naturally close inward. Don’t worry about making every petal identical. Real succulents are wonderfully imperfect, and those slight differences create a much more lifelike finished plant.
Pro Tip: In shaping the petals, less is more. Small, subtle curves often look more natural than dramatic bends.
4. Add The Distress Ink.
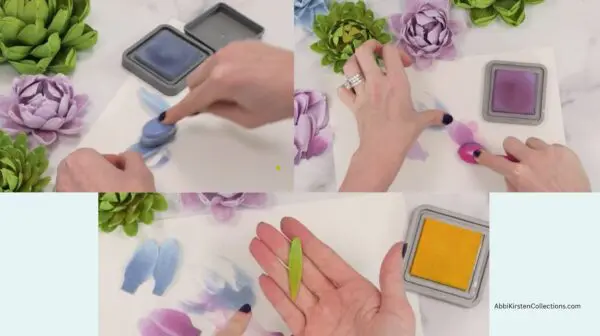
Our next step is to add some distressed color to the petals. Here I’m using distress oxide, my preferred method, but you can also use pan pastels, paint markers, watercolors, etc.
Apply ink to each of the crepe paper succulents with your preferred color. Swirl the ink blending brush on the pad to get some color, then starting from the bottom of the petal and working to the outside tip, begin to add color. You should see the color fading subtly at the end of the petal. (For the blue petals, I used Stormy Sky distress oxide; for the purple petals, Dusty Concord; and for the green petals, Mustard Seed Yellow.)
5. Shape the Crepe Paper Succulents.
Next, we’ll shape the petals, applying various shaping techniques depending on the look you want to achieve.
- Cup the petal for a rounded look. Stretch the petal slightly in the upper-half middle area (not the edges) using your thumbs and bending the tip slightly. This is the basic technique to apply for all the petals so they take on the curvy natural look they have in nature.
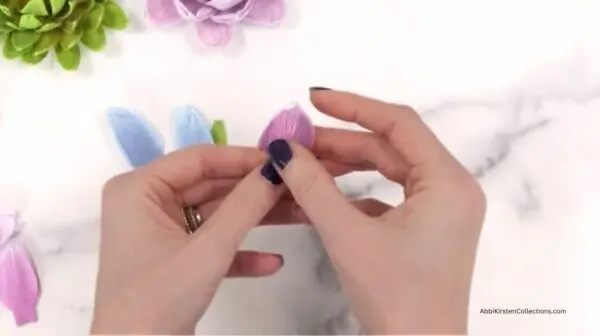
- Give the petal a pointed look at the tip. If you want the tip of your petal to have a point, pinch the tip with your thumb in the center.
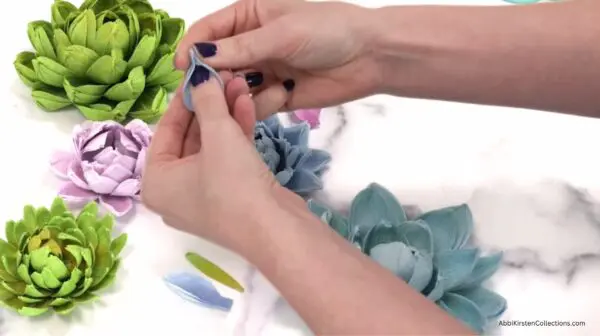
Pro Tip: Add a dot of glue inside that point if you want to secure a more defined point.
- For the skinniest petal (the green color), give it a little curled edge. Cup the petal to round it, shaping it gently since it’s rather thin, then bend the tip forward a bit. Stretching the petal with your thumbs on top of each other rather than side by side helps prevent tearing.
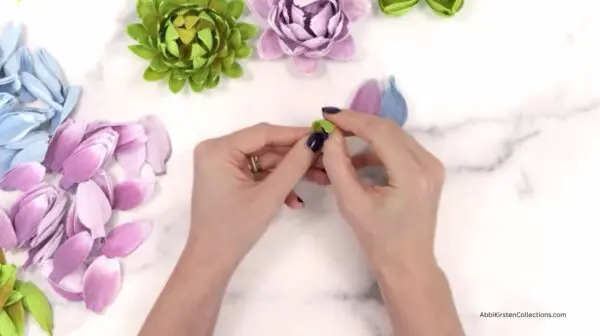
You can see that with just a few simple variations in styling and distress shading, we can create three uniquely shaped petals with lots of options to mix and match your succulent arrangement!
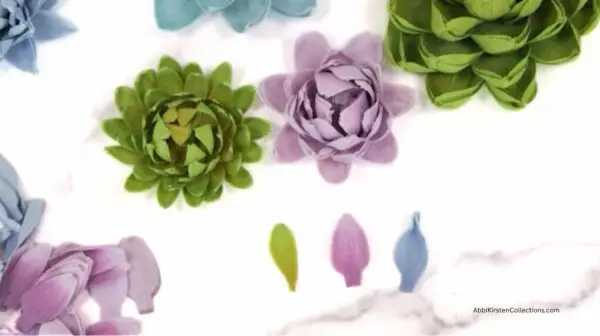
6. Assemble the Succulent Petals.
Using one of the cardstock circles included with the templates, begin building your succulent one layer at a time. If you want to know the exact petal count I used for the flower I’m crafting in the video, it’s:
- Layer 1: 10 petals
- Layer 2: 9 petals
- Layer 3: 7 petals
- Layer 4: 6 petals
- Layer 5: 5 petals
Pro Tip: Before gluing, I recommend bending the petal’s tab up a bit since it makes the petals stand up nicely once finished.
- Layer 1. Apply a small dot of hot glue to the base (the tab) of the petal then attach it to the circle.
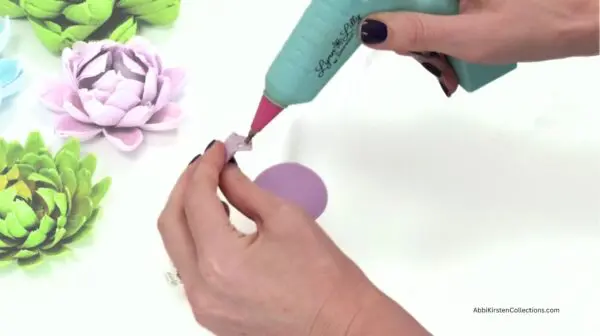
- You want to place the entire tab within the cardstock circle.
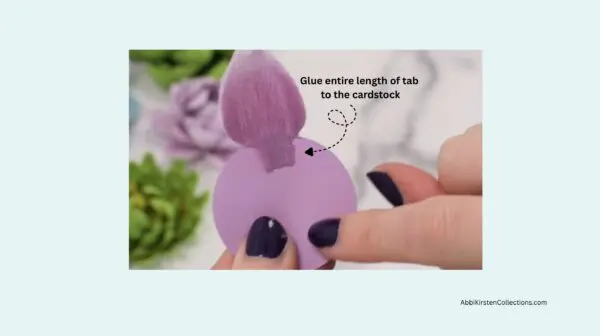
- As you glue and attach the petals to the cardstock, generally keep the petal overlap to a minimum. Overlap about 1/4 of the petal. You can, of course, space the petals for each flower in different degrees so your succulent flowers show a variety of styles.
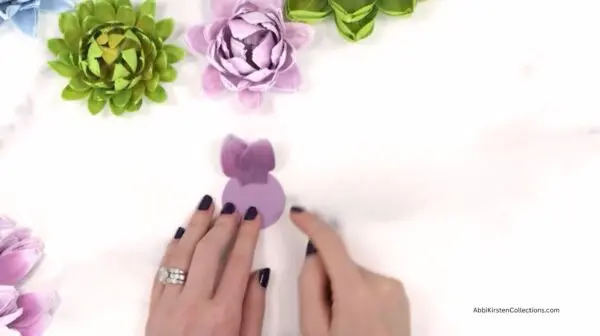
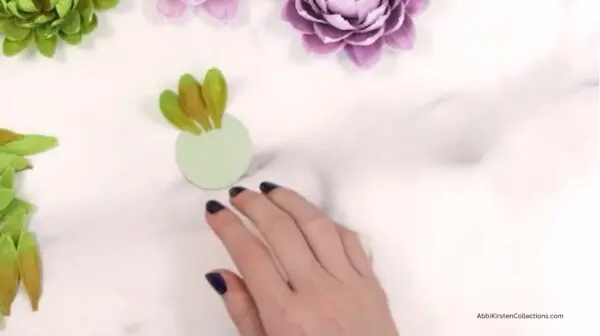
- For the thinner (green) petals, I barely overlapped the petals.
- Continue to close the circle with this first layer of petals, tucking the last petal under the first petal to achieve a more seamless look.
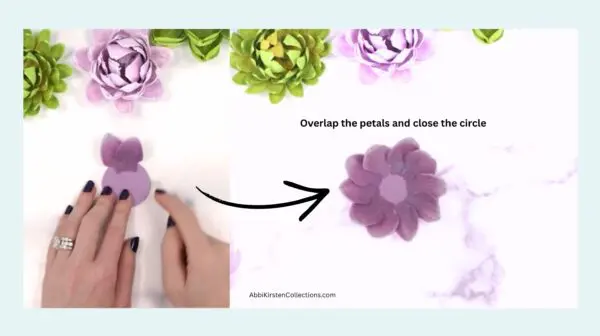
- Layer 2. Once you complete the first layer, begin to add the next layer of petals that will go inside the first layer. Glue each petal between 2 petals in the first layer as shown below. As you work the inside layers, you’ll create more overlap and curving to fit everything in smoothly. Adjust what looks best to your eye as you bring the flower together.
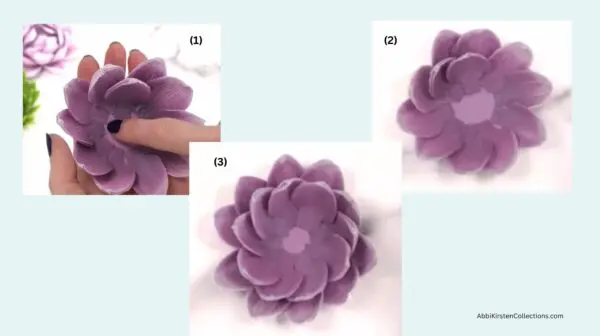
- Layer 3. For the third layer, continue to slightly increase the curl of each petal before gluing so the middle naturally closes together.
- Layer 4. For the fourth layer, repeat the glue/overlap process used in the previous layers.
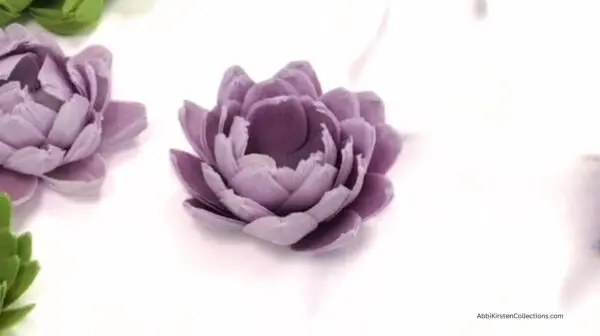
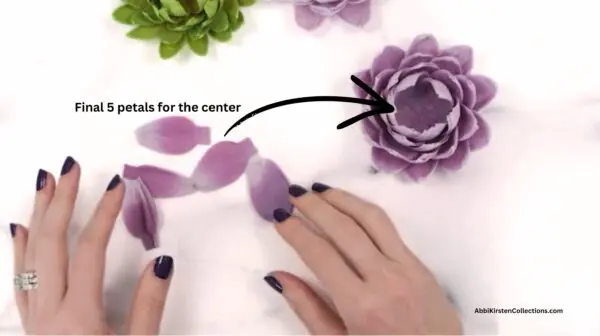
- Layer 5 (innermost layer). I reserved 5 flower petals for this final layer and decided to add distress ink to both sides. Stretch the center of the petal and bend the tips as you did for the other layers. These last petals will require more curling to fit snugly in the center and convey a closed look.
7. Create the Remaining Succulent Designs.
The remaining succulent styles follow the same simple construction method. For each design:
- Shape the petals, then glue them around the cardstock base.
- Alternate the petals between previous layers.
- Work from the largest petals toward the smallest center pieces.
Depending on the look you prefer, you can use the suggested petal count or add a few extra layers for an even fuller succulent.
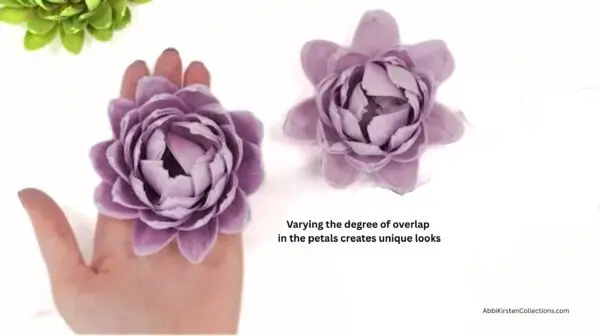
Pro Tip: A few additional petals often make the finished succulent appear even more realistic while still keeping the design simple.
8. Add Wire Stems (Optional).
If you’d like to use your succulents in bouquets, floral arrangements, or wreaths, adding a floral wire stem is a great option. To create a stem:
- First, cut an extra cardstock circle. The cardstock creates a sturdy foundation that securely holds the floral wire in place. Poke a small hole through the center. I recommend having a mat beneath the circle as you make the hole so you don’t mar your surface.
- Then, using your needle-nose pliers, at around 3/4 inch down, bend the end of an 18-gauge floral wire to a 90-degree angle. Continue by forming this end into a small loop, which will be our base for adding glue to.
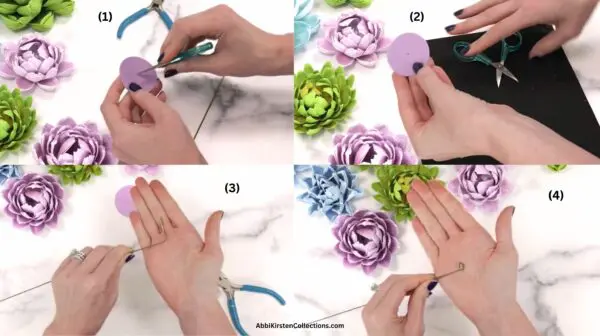
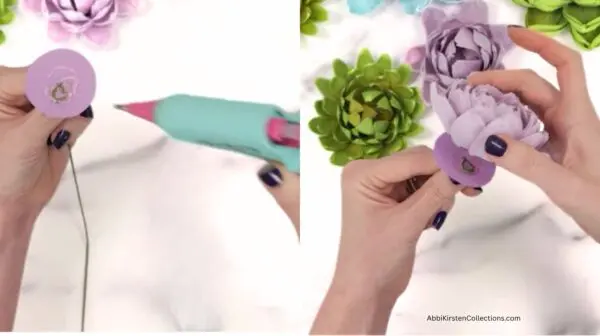
- Next, insert the wire through the cardstock circle, pressing its base against the circle.
- Finally, cover the loop with hot glue and attach the succulent to the cardstock base. Hold firmly for 20–30 seconds while the glue cools.
9. Make A Custom Paper Succulent Arrangement.
Now comes the fun part—displaying your finished succulents! Arrange your paper succulents inside:
- Decorative ceramic pots and shallow bowls
- Wooden containers
- Centerpieces and wreaths
If you’re placing them in a planter, some ideas for filling the container are floral foam, polyester fiberfill, decorative moss, green fabric, pebbles, or small rocks. And if your succulents have stems, simply insert them into the filler. If not, they can rest directly on top of the filler for an equally beautiful display.
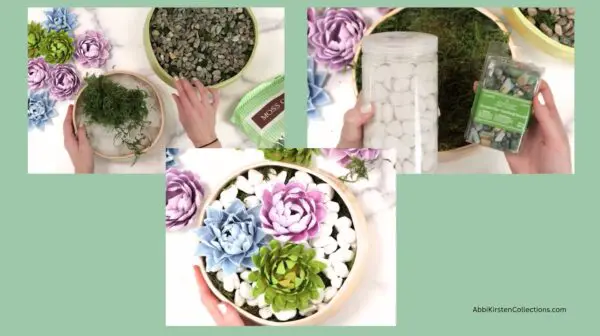
Pro Tip: Grouping three different succulent styles together creates a charming arrangement with lots of texture and visual interest.
Helpful Tips for Realistic Succulents
Keep in mind these small details – they make a difference!
- Curl the center petals more tightly than the outer petals.
- Alternate petal placement to avoid visible gaps.
- No need to strive for perfect symmetry!
- Mix several succulent styles together.
- Experiment with different crepe paper colors.
- Display them in natural containers with moss and stones for a finished botanical look.
Remember, every succulent in nature is unique—and your paper versions should be too!
Other Botanicals and Succulent Plants
These DIY crepe paper succulents are proof that you don’t need a green thumb to enjoy beautiful plants. They also look lovely next to the other designs in the Cali Botanical Collection, which includes the Cali paper poppies and the paper agave plant.
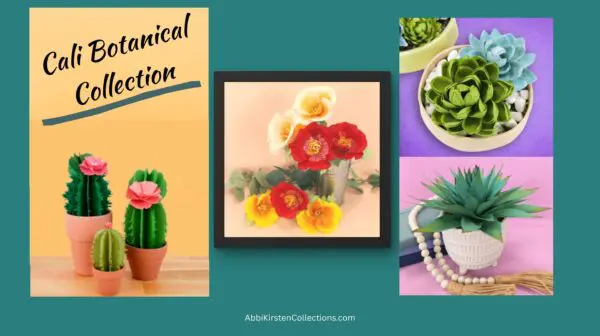
When you finish your succulents, I’d love to see your creations! Be sure to share your finished project and inspire fellow paper crafters with your own unique succulent arrangements.
Looking for More Creative Crafting?
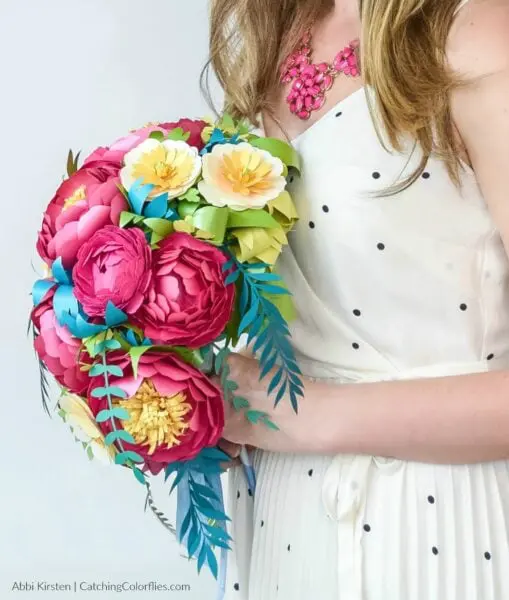
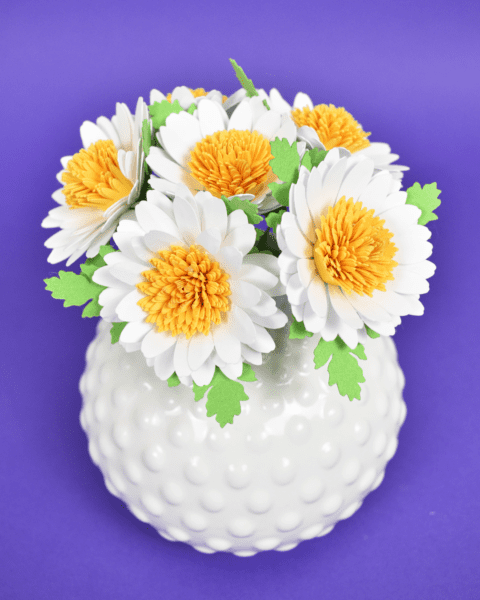
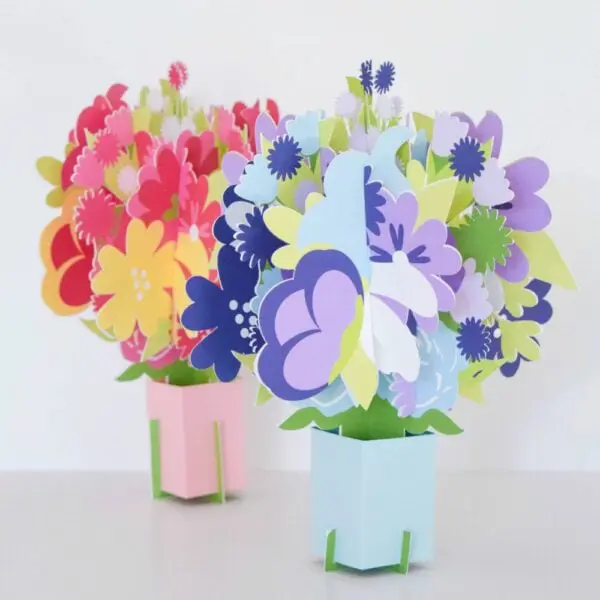
We have so many paper flower creations, gift ideas, holiday decorating fun, and more at Abbi Kirsten Collections, with free Cricut workshops and our free 3-part series on creating your own SVGs from Scratch. And if it’s more paper flower creations you’re looking for, here are a few crafters’ favorites!
Find Hundreds Of Free Templates In The Craft Vault!
Did you make this craft?
We would love to see what you have created! Tag @abbi_kirsten_collections on Instagram so we can see your creations!