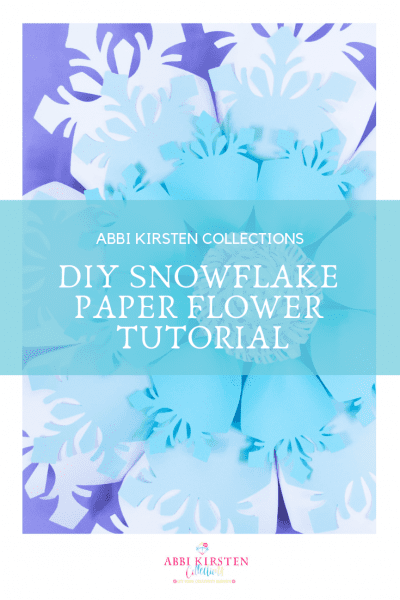
Giant Paper Snowflake Tutorial with Snowflake Templates
This post may contain affiliate links that won’t change your price but will share some commission.
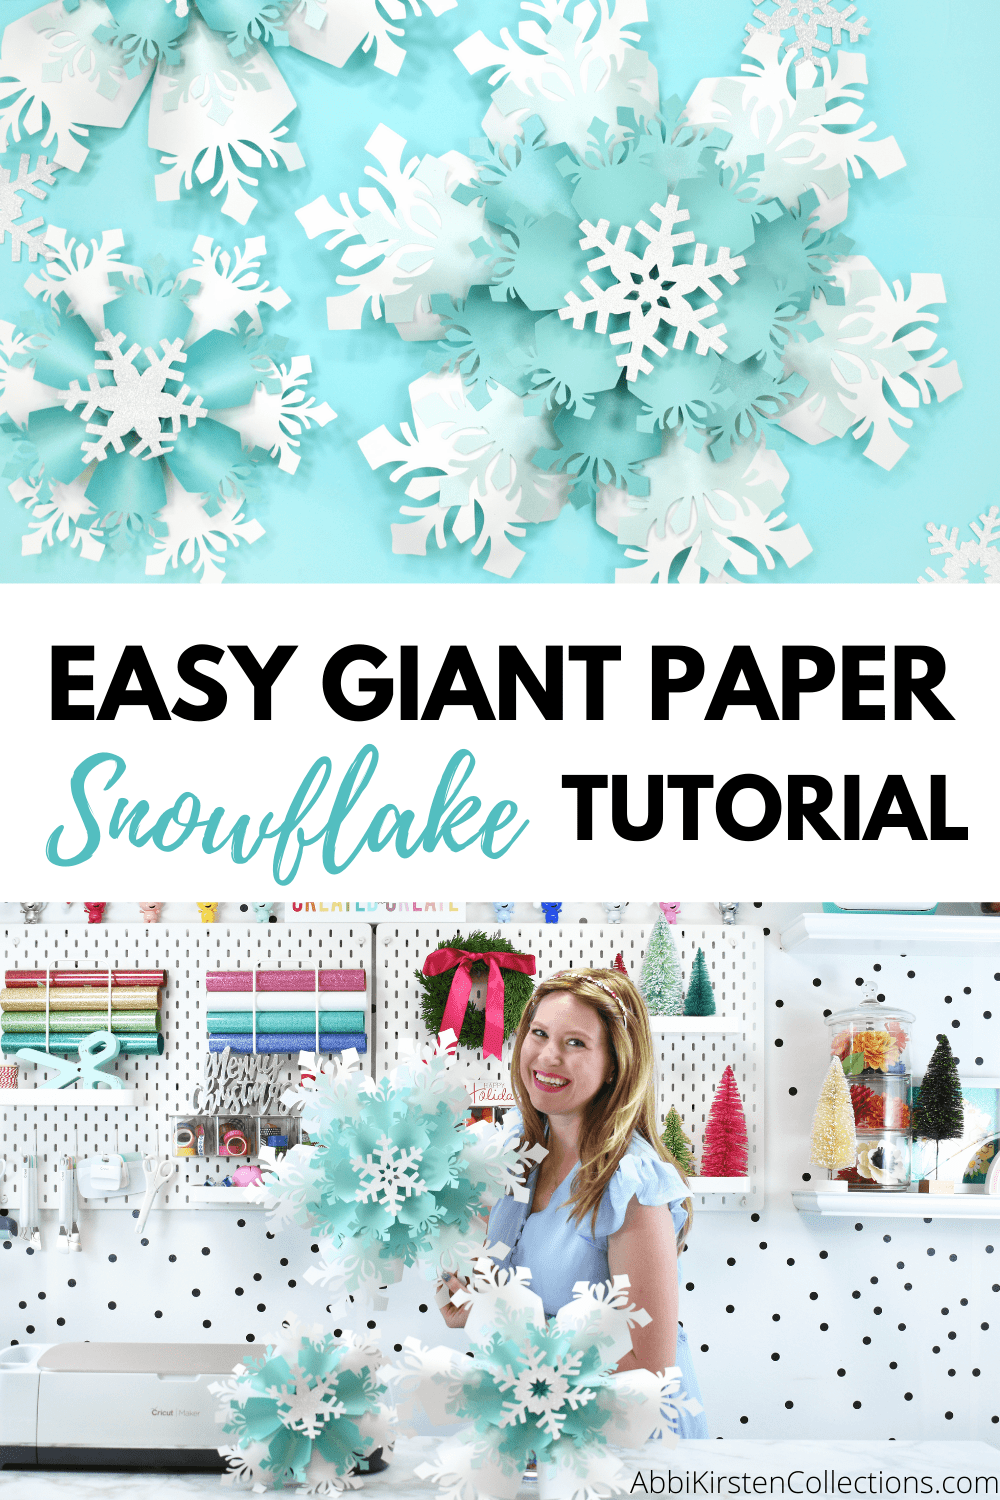
It’s getting cooler outside, and it’s almost time to start planning those winter parties, decorating every corner, & so much more! Today I’m bringing you a lovely DIY Snowflake Paper Flower Tutorial that anyone and everyone can do at home. This wintery design is sure to bring a little seasonal joy to any space or event.
When I made this design in 2017, I had no idea you guys would go so bananas for it. This year, my paper Christmas tree from last year and the new Christmas Tree this year seem to be holding the spotlight right next to this giant snowflake design.
Ready to make it? Gather the following supplies below.
Giant Paper Snowflake Tutorial Supplies & Steps
Supplies for Giant Paper Snowflakes:
- Glue Gun
- 65-pound cardstock or metallic cardstock
- Scissors and/or cutting machine (Cricut Explore Air 2 Machine)
- Find the giant snowflake templates in the Craft Vault for A-Stars, plus every design I have ever created. Log in and search the keyword “snowflake” or design #266. Likewise, find them on Etsy.
- Small 1″ foam ball (optional)
- Rhinestones (optional)
- You can always view my full, tried, and true recommended paper flower supply list here!
- If you want to make the pompom center instead, you can use scissors or find the new pompom SVG in the shop!
Download The Giant Paper Snowflake Templates
Snowflake Templates from the AKC Member Vault (Best Value)
Grab these gorgeous paper snowflake templates inside the Craft Vault. You can log in below and find them by searching the keywords “snowflake” or design #266
If you aren’t a member yet, you will want to sign up for all Abbi Kirsten’s crafts here. There are currently hundreds of designs, such as paper flower templates, SVG cut files, and printables, plus a dozen new ones added each month.
OR
Download The Paper Snowflake Templates In The Shop
Being an A-Star Crafter is the best value because you gain access to every template I’ve ever made. But if it’s not a good fit, you can also pick up just the giant snowflake design in the shop!
UPDATE: Since the release of these snowflakes several years ago, I have filmed a brand new video and teach you how to use a 6-sided base, plus explain how to downsize for various snowflake sizes!
How to Make Giant Paper Snowflakes
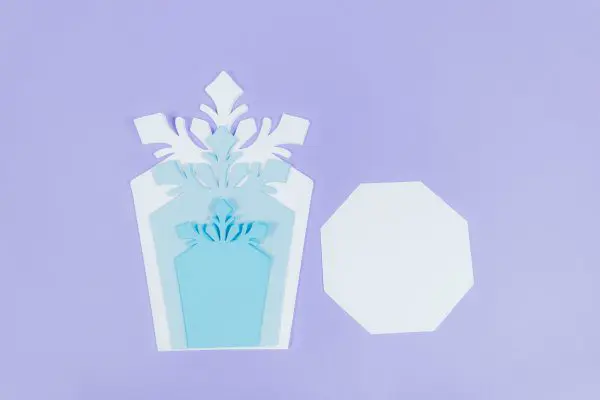
First, cut the following number of paper snowflake petals:
You will have 3 differently shaped pieces to cut out. To get started on your paper snowflake tutorial, cut the following number of petal pieces out. You will also need one 7-sided or 8-sided base piece for your center to mount all of your petals on.
- Extra Large Petal – 8 (or 7 if you use the 7-sided base or 6 if you use the 6 size-sided base)
- Large Petal – 8 (or 7 if you use the 7-sided base or 6 if you use the 6 size-sided base)
- Small Petal – 8 (or 7 if you use the 7-sided base or 6 if you use the 6 size-sided base)
- 8-Sided Base – 1
Step 1: Fold the Bottoms of the Snowflake “Petals”
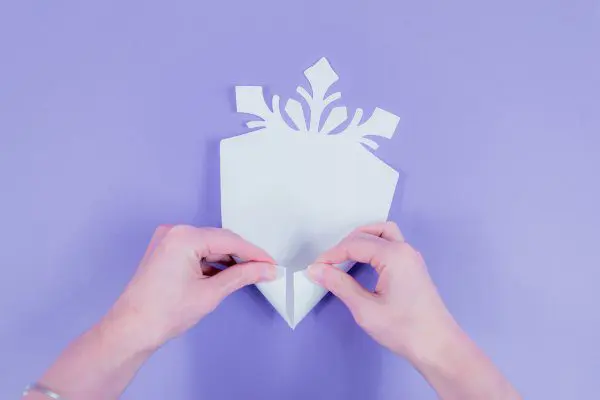
To start, fold the bottom of the petal around itself like a cone and secure it with glue. Do this with all your petals the same way.

RELATED POSTS
- Silver and Gold Ornaments
- DIY Tinsel Tree Letters
- Giant Paper Holly Garland
- Free printable Christmas wrapping paper
Step 2: Begin to Stack and Glue the Snowflake Petals
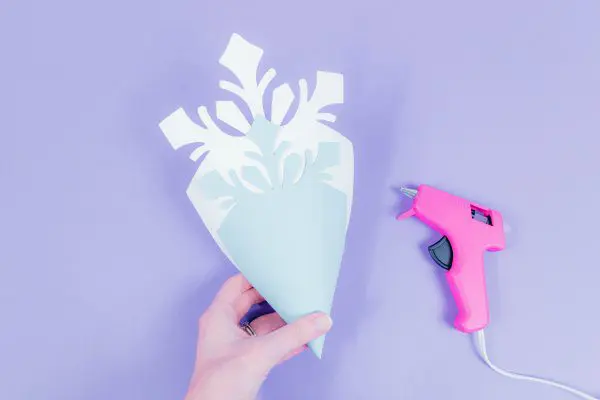
Next, add glue to the XL petal’s top of the cone and layer the large petal over it as I do. Repeat with all the other petals the same way.
Step 3: Prep the Base of the Snowflake
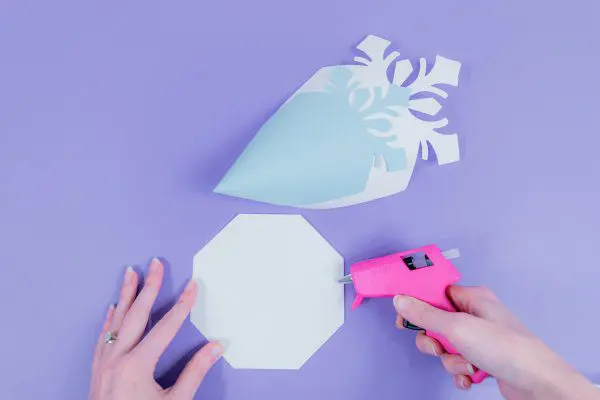
Cut out your medium 8-sided (or 7-sided or 6-sided) petal perfect base. Each of the sides represents a spot for each of the petals. Note: View our updated tutorial here with the 6-side base and downsizing tips!
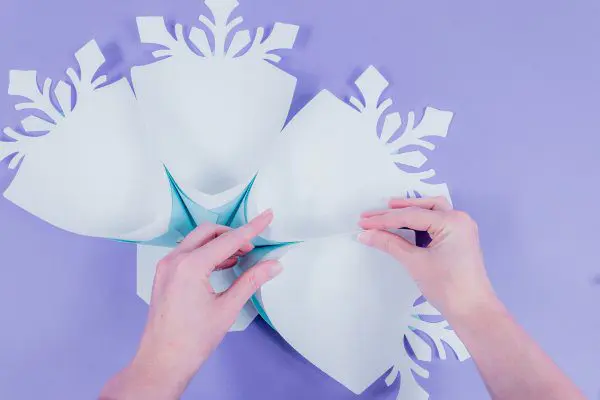
Step 4: Attach the Petals to the Base
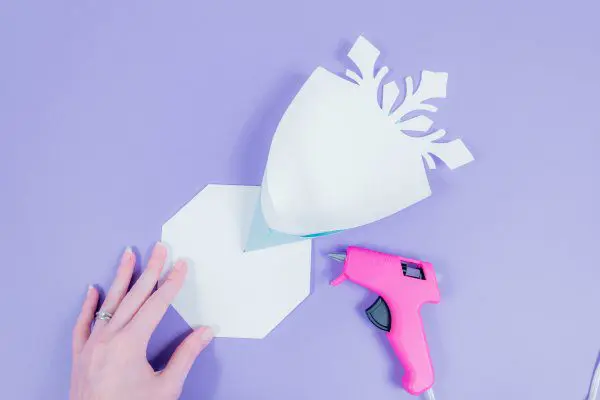
Either adding glue to the petal or the base, attach each petal in a circle to the base on each side of the octagon or whichever base you opt for.
Step 5: Continue Gluing Snowflake Petals
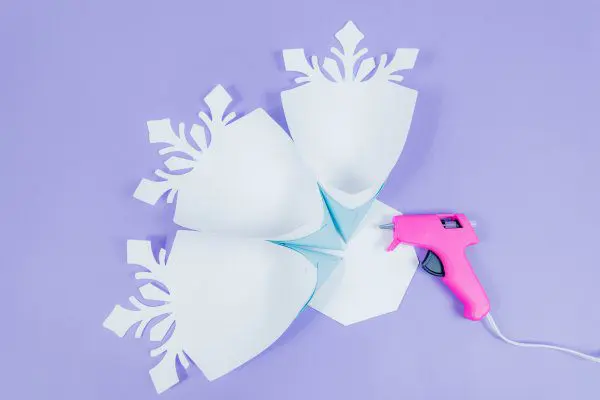
As you go, you may want to lay the petals out before gluing them down to make sure they are coming together evenly. Repeat for all 8 petals or for however many you need for your chosen base.
Feel free to add a little glue in between the petals to better secure the whole flower. This will keep the snowflake from flopping around.
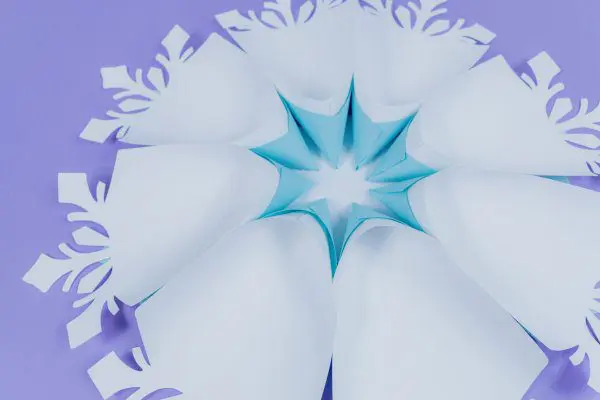
Step 6: Flip the Snowflake

Flip your paper snowflake flower over. This is going to be the top side of your snowflake paper flower.
Step 7: Glue the Smallest Snowflake Petals to the Front of the Snowflake

Add glue to the tip of the small rolled-up petal. Place the petal open side up in between the bottom petals so that they alternate. Keep going until you’ve added all the small petals.

Optional Step 8: Add Sparkle
You are good to complete your flower project here, or you can take it one step further and add some pizazz to the center of your flower. Check out the video tutorial to see how we’ve added some sparkle to the giant paper snowflake with a 1″ foam ball covered with rhinestones. For an alternate option, check out the pics below to see our fringe flower centerpiece. Alternatively, you can also add one of the simple snowflake SVG cut outs to the center for a final touch.
How to Create the Fringe Center for the Giant Paper Snowflake (Optional Step)
Step 1: Fold and Cut a Piece of Paper

Cut an 8.5 x 11″ piece of paper in half lengthwise to get two 5.5 x 11″ strips of paper. You can go a step further by using a shiny or sparkly craft or scrapbook-style paper of your choosing.
Step 2: Cut Paper with Fringe Scissors
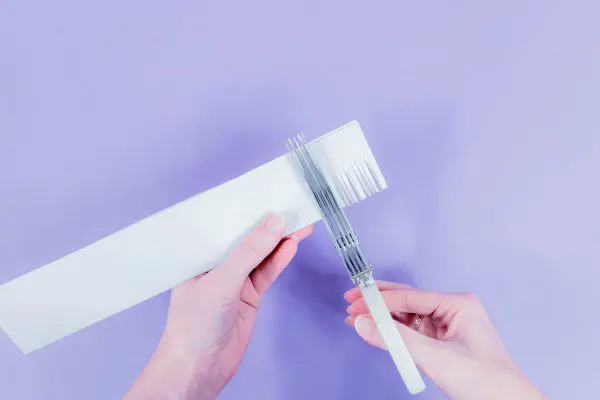
Fold each of the 5.5 x 11″ strips of paper in half length-wise and cut small slits along the folded edge of the paper. Each slit should be approximately 1/16″ – 1/8″ wide, depending on how broad you’d like your fringes to be.
Step 3: Fluff the Fringe
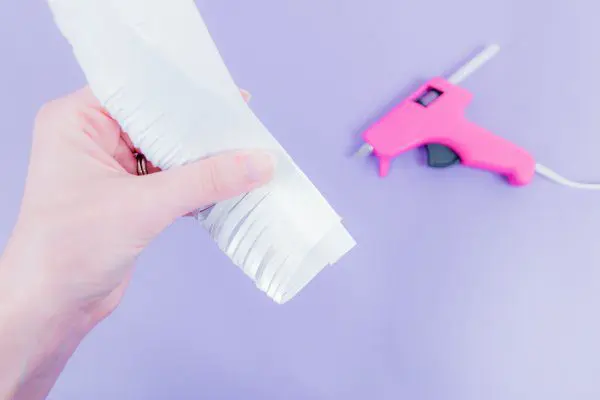
Tack down the open, unfolded edge of the fringe strip with a few dots of glue. You can take this time to also fluff up the fringed edge a bit to give it some volume. This will help to fill in the gaps & blend it all together in our next steps.
MORE CRAFT POSTS TO LOVE
- Giant Paper Sunflower Tutorial – Paper Flower SVG and PDF Printable Templates
- 3D Layered Paper Mandala Craft Tutorial – Sunflower Layered Mandala SVG File
- Cardboard Tube Crafts – 6 Clever Ways to Reuse Vinyl Cardboard Tubes
- Holiday Maker-Fest – Paper Poinsettia and Holly Christmas Garland
- Prime Crafter’s Picks – Amazon Prime Deals for Crafters!
Step 4: Roll the Fringe Pompom Center
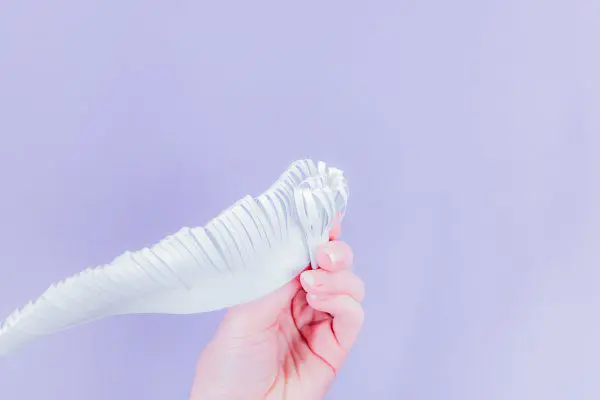
Begin to roll your fringe strip from one end until you’ve created a small circular center for your flower. Apply a small dot of glue at the end to make sure your centerpiece doesn’t unravel.
Step 5: Add additional Layers, then Attach it to The Snowflake
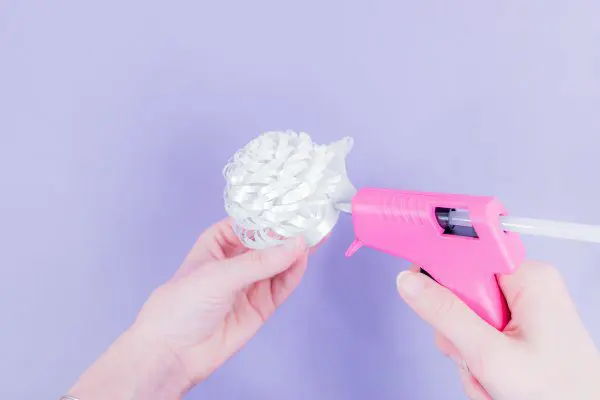
Repeat Steps 1-4 once more to create a second layer of fringe to add along the outside to make a larger centerpiece.
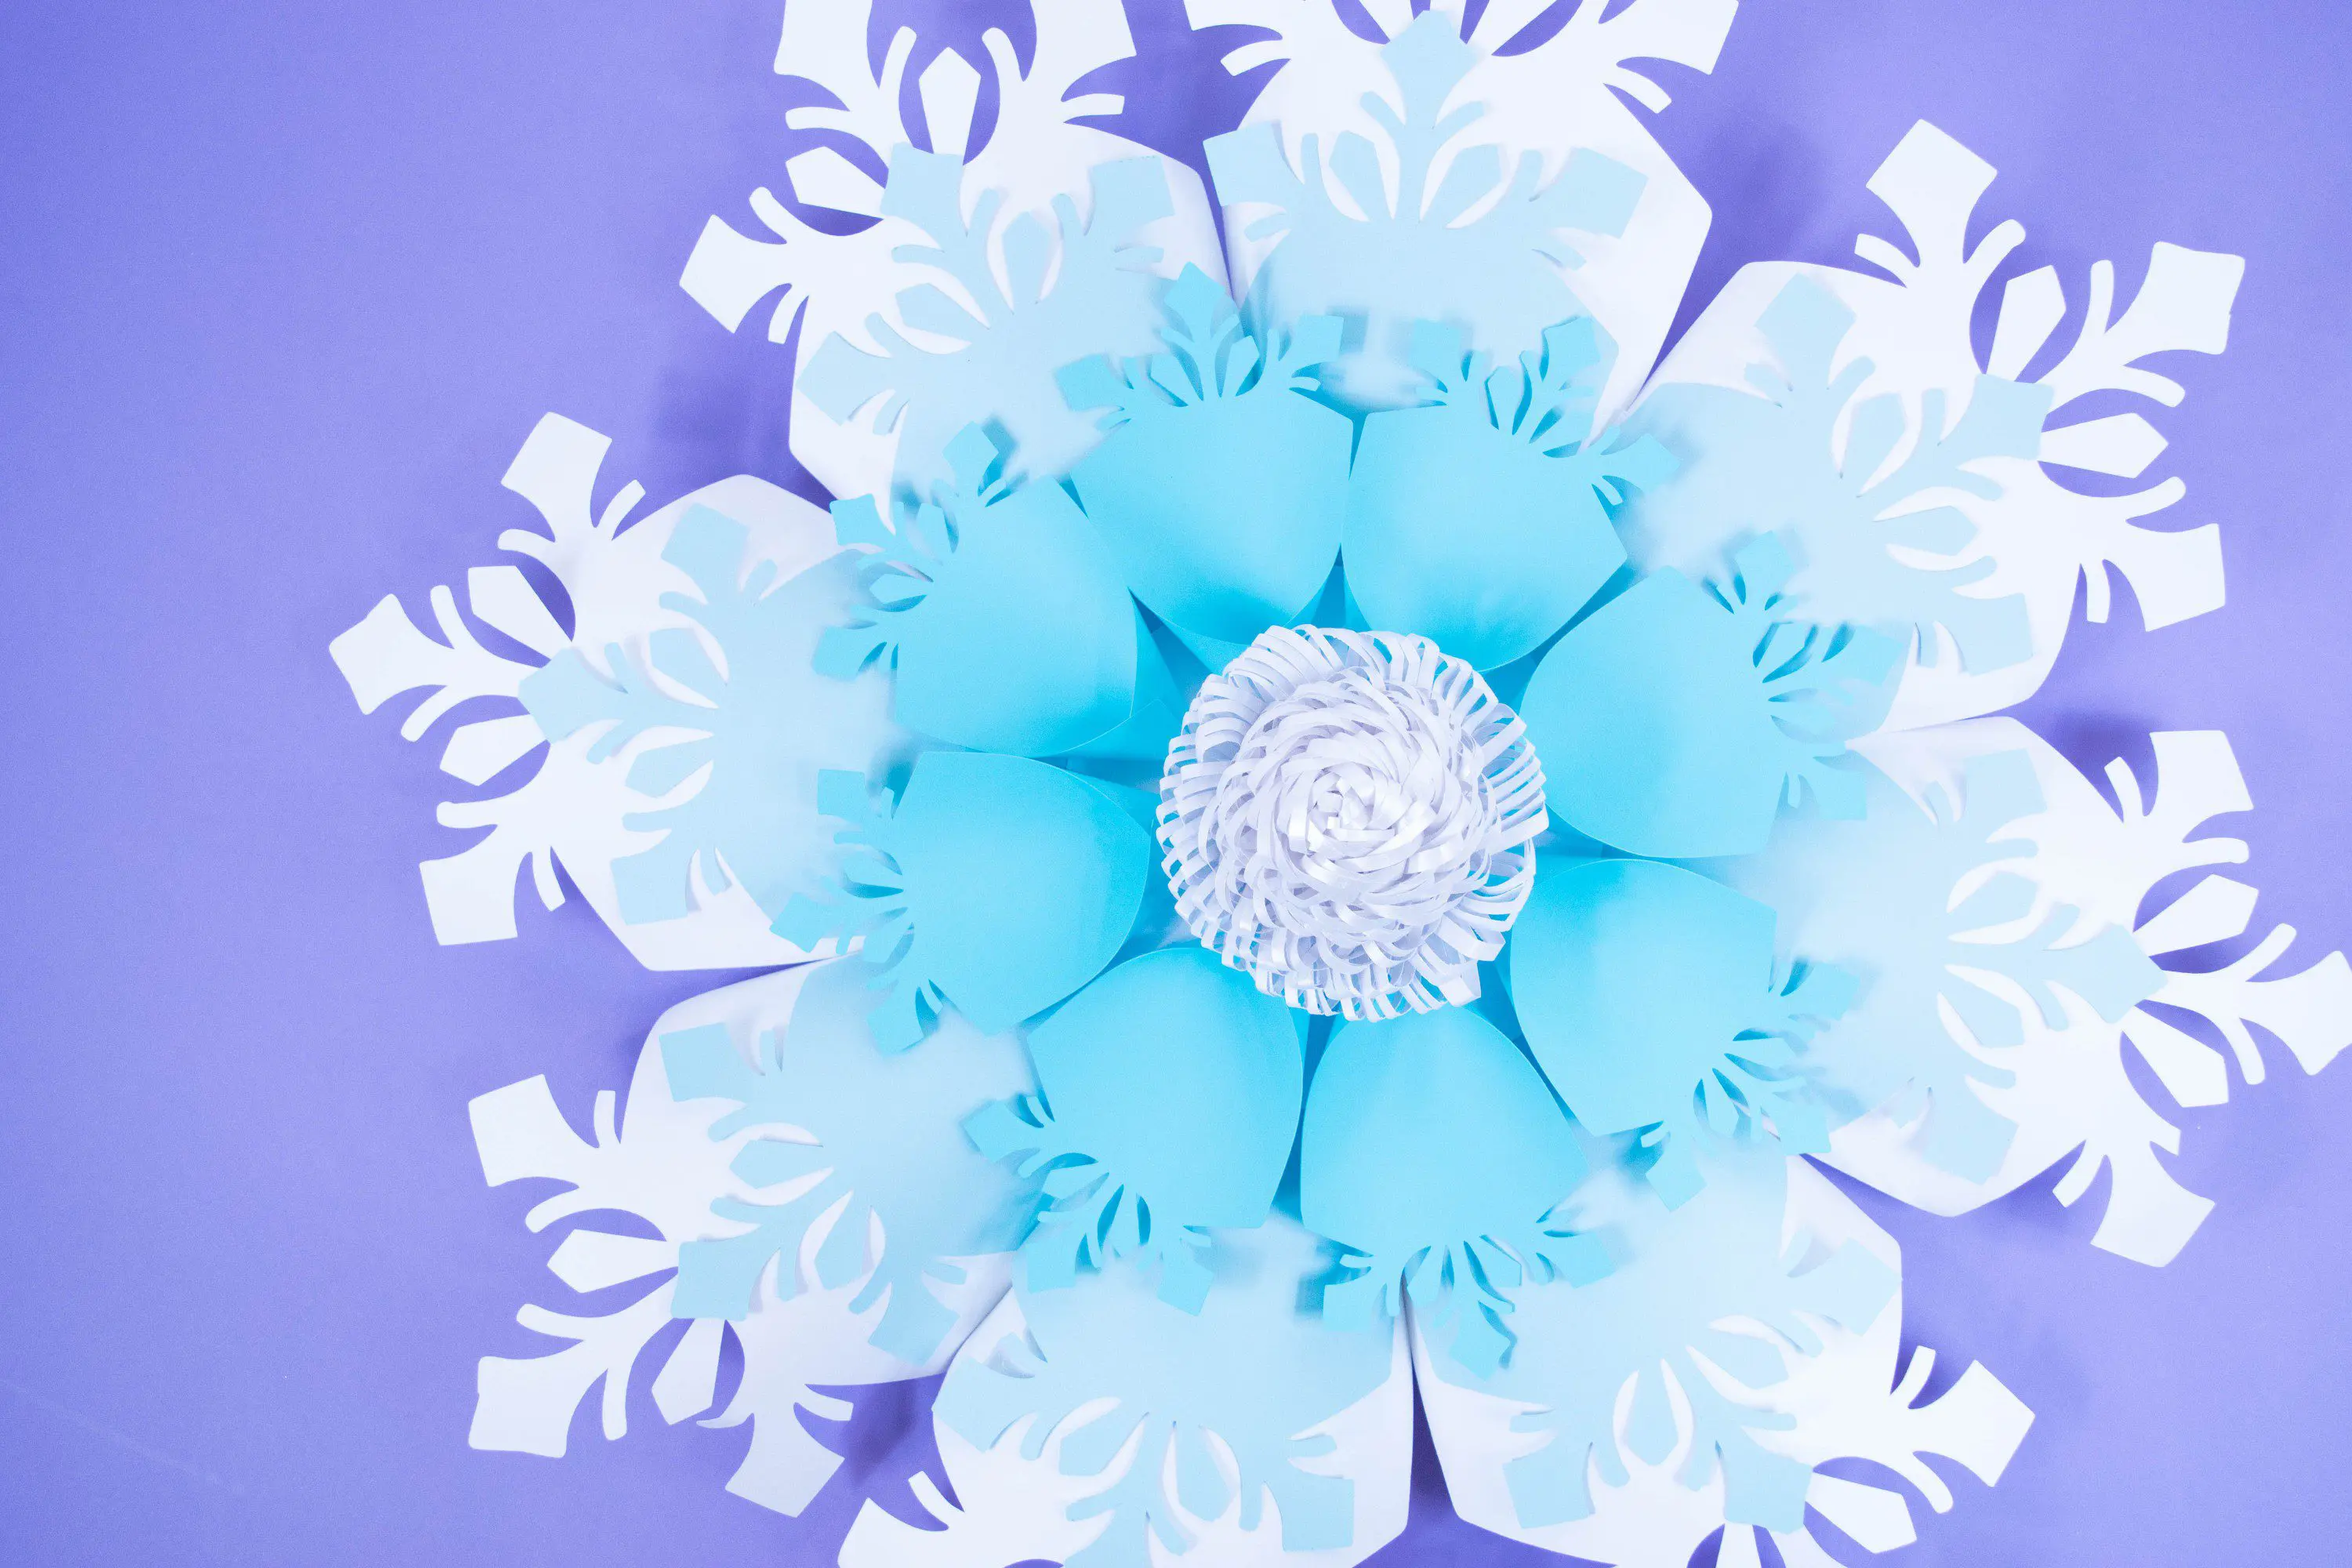
Now that you’ve added your snazzy centerpiece, your snowflake flower is complete!
ENJOY!
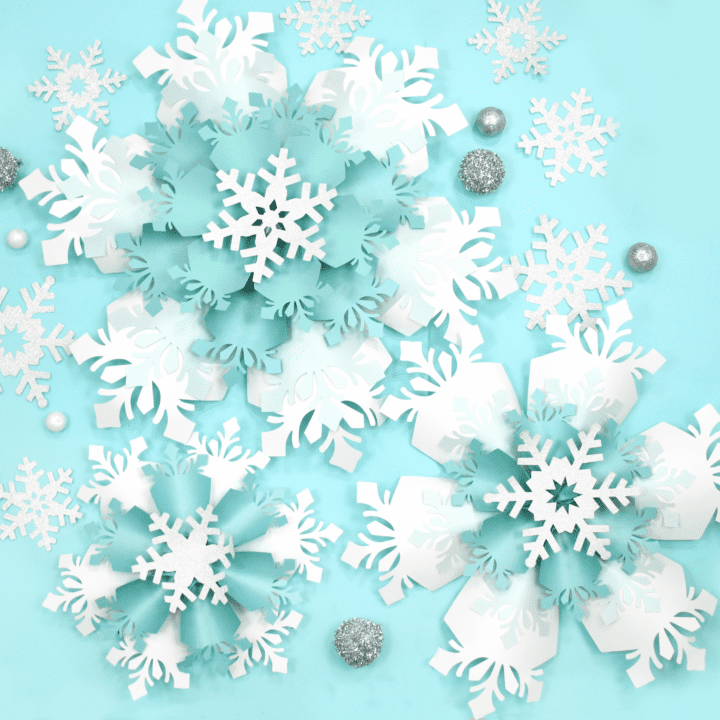
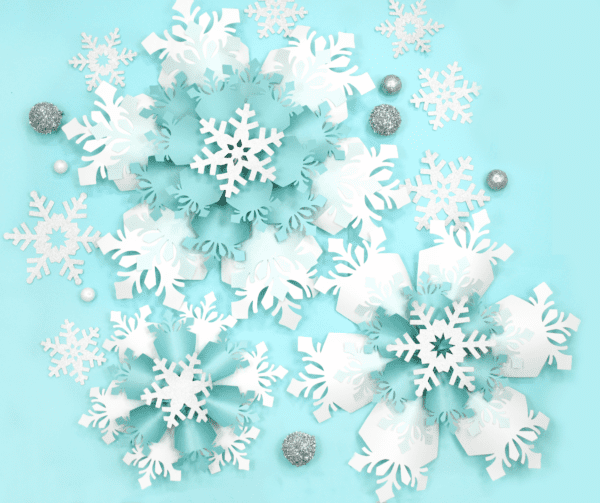
Giant Paper Snowflakes Craft
These giant paper snowflakes are the perfect holiday decoration! Learn how to make these gorgeous paper Christmas and wintertime decorations in a few easy steps.
Materials
- Glue Gun
- 65-pound cardstock or metallic cardstock
- Scissors and/or cutting machine (Cricut Explore Air 2 Machine)
- Giant Snowflake Template
- Small 1″ foam ball (optional)
- Rhinestones (optional)
Instructions
First, cut the following number of petals:
- Extra Large Petal – 8 (or 7 if you use the 7-sided base or 6 if you use the 6size-sided base)
- Large Petal – 8 (or 7 if you use the 7-sided base or 6 if you use the 6 size-sided base)
- Small Petal – 8 (or 7 if you use the 7-sided base or 6 if you use the 6 size-sided base)
- 8-Sided Base – 1
How to Make a Paper Snowflake:
- To start, fold the bottom of the petal around itself like a cone and secure it with glue. Do this with all your petals the same way.
- Next, add glue to the XL petal’s top of the cone and layer the large petal over it as I do. Repeat with all the petals.
- Cut out your medium 8-sided (or 7-sided or 6-sided) petal perfect base. Each of the sides represents a spot for each of the petals.
- Either adding glue to the petal or the base, attach each petal in a circle to the base.
- As you go, you may want to lay the petals out before gluing them down to make sure they are coming together evenly. Repeat for all the petals or for however many you need for your chosen base.
- Flip your paper snowflake flower over. This is going to be the top side of your snowflake paper flower.
- Add glue to the tip of the small rolled-up snowflake petal. Place the petal open side up in between the bottom petals so that they alternate. Keep going until you’ve added all 7 small petals.
- Optional: add a snowflake cut out, rhinestone center, or pompom center to complete the snowflake. Check out the video tutorial to see how we’ve added some sparkle with a 1″ foam ball covered with rhinestones.
How To Make A Pompom Center
- Fold each of the 5.5 x 11″ strips of paper in half length-wise and cut small slits along the folded edge of the paper. Each slit should be approximately 1/16″ – 1/8″ wide, depending on how broad you’d like your fringes to be.
- Tack down the open unfolded edge of the fringe strip with a few dots of glue. You can take this time to also fluff up the fringed edge a bit to give it some volume. This will help to fill in the gaps & blend it all together in our next steps.
- Begin to roll your fringe strip from one end until you’ve created a small circular center for your flower. Apply a small dot of glue at the end to make sure your centerpiece doesn’t unravel.
- Repeat Steps 1-4 once more to create a second layer of fringe to add along the outside to make a larger centerpiece. Now that you’ve added your snazzy centerpiece, your snowflake flower is complete
I loved creating this paper snowflake tutorial because it adds such a fun touch of color to any winter party or decor! How do you like it? How would you use this paper snowflake tutorial?
Leave a comment below and give me all the details! If you love it, share it with a friend!

Step-By-Step Giant Paper Snowflake Video Tutorial
If you prefer to follow along with the video for this DIY snowflake paper flower, check out the video tutorial below! VIEW THE NEW AND IMPROVED VERSION HERE!
New Giant Paper Snowflake Video Tutorial
Original Snowflake Tutorial
About Abbi Kirsten
Welcome to my colorful corner of the internet, where we play with vibrant crafts and unlock your creative magic! Hang out with me and get lost in a fun array of projects, tutorials, and products, from stunning papercraft ideas to flower templates, Cricut help for beginners, and endless crafter’s hacks.
Join A-Star Crafters and participate in monthly Craft-Alongs in our community Facebook group!


OMG I cannot wait to make these, looking for the perfect snowflake decorations for my daughter’s winter baby shower, these are perfect!!!
Thank you for sharing!
Dawn