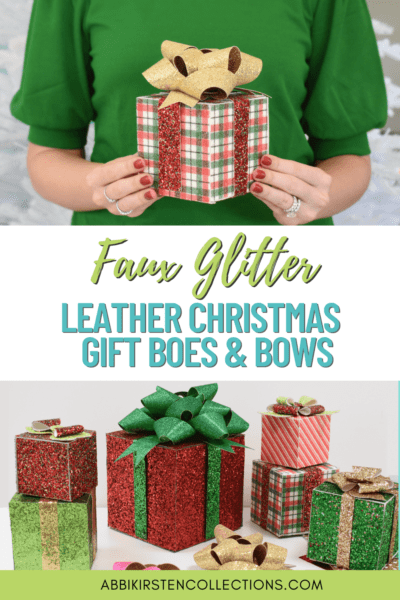
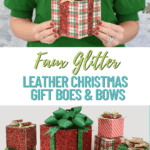
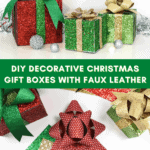
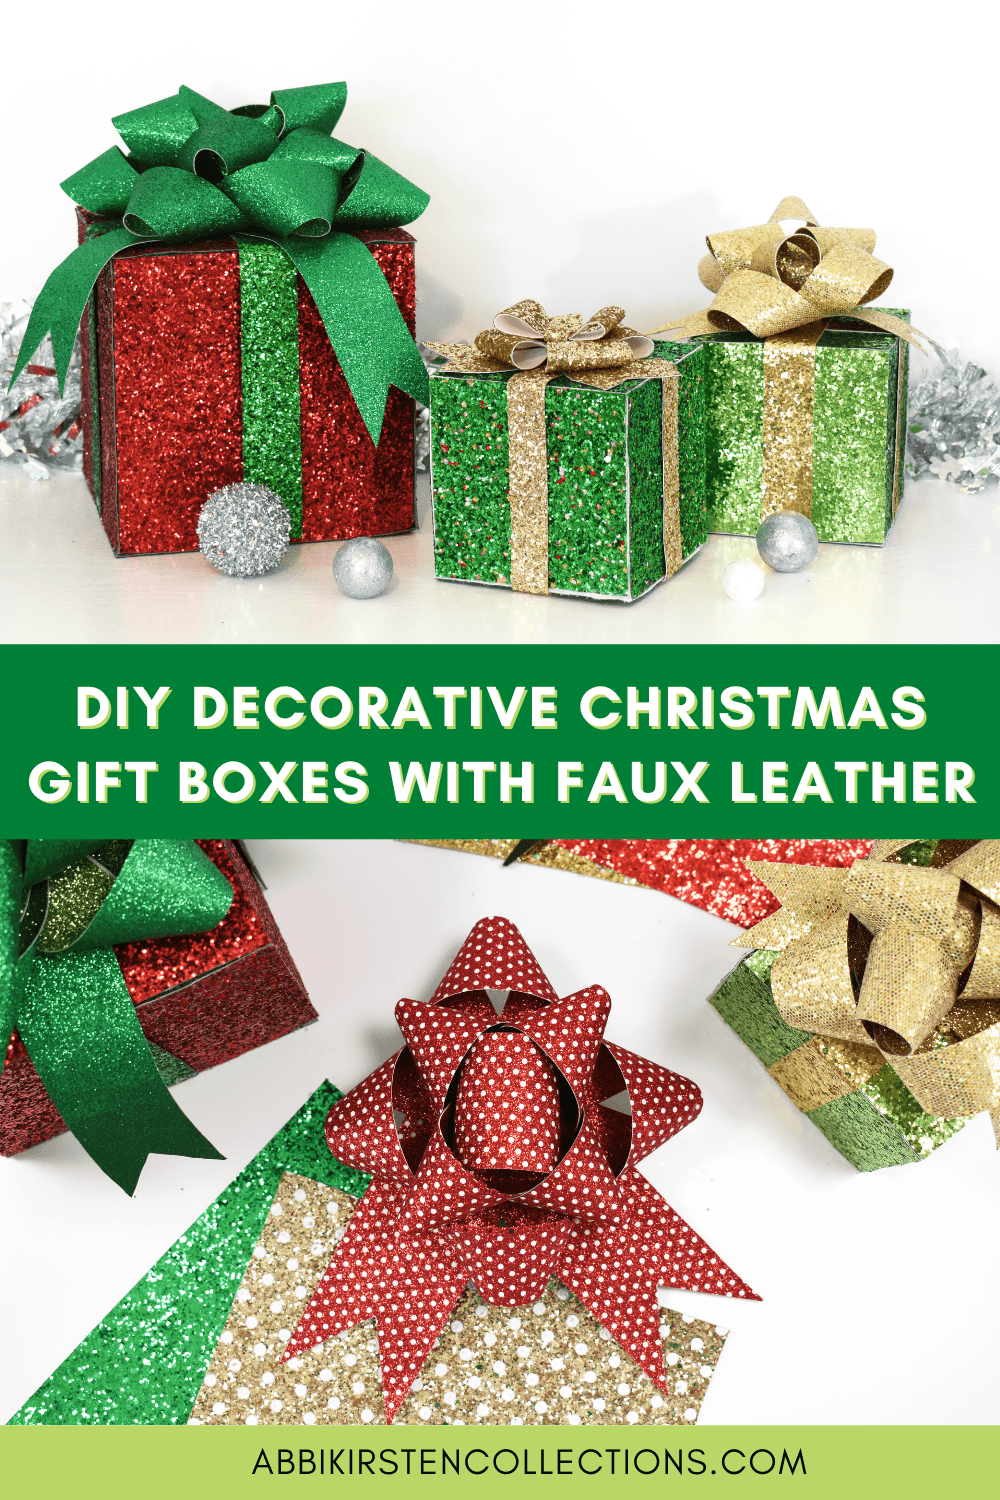
DIY Decorative Christmas Gift Boxes with Faux Glitter Leather
This post may contain affiliate links that won’t change your price but will share some commission.
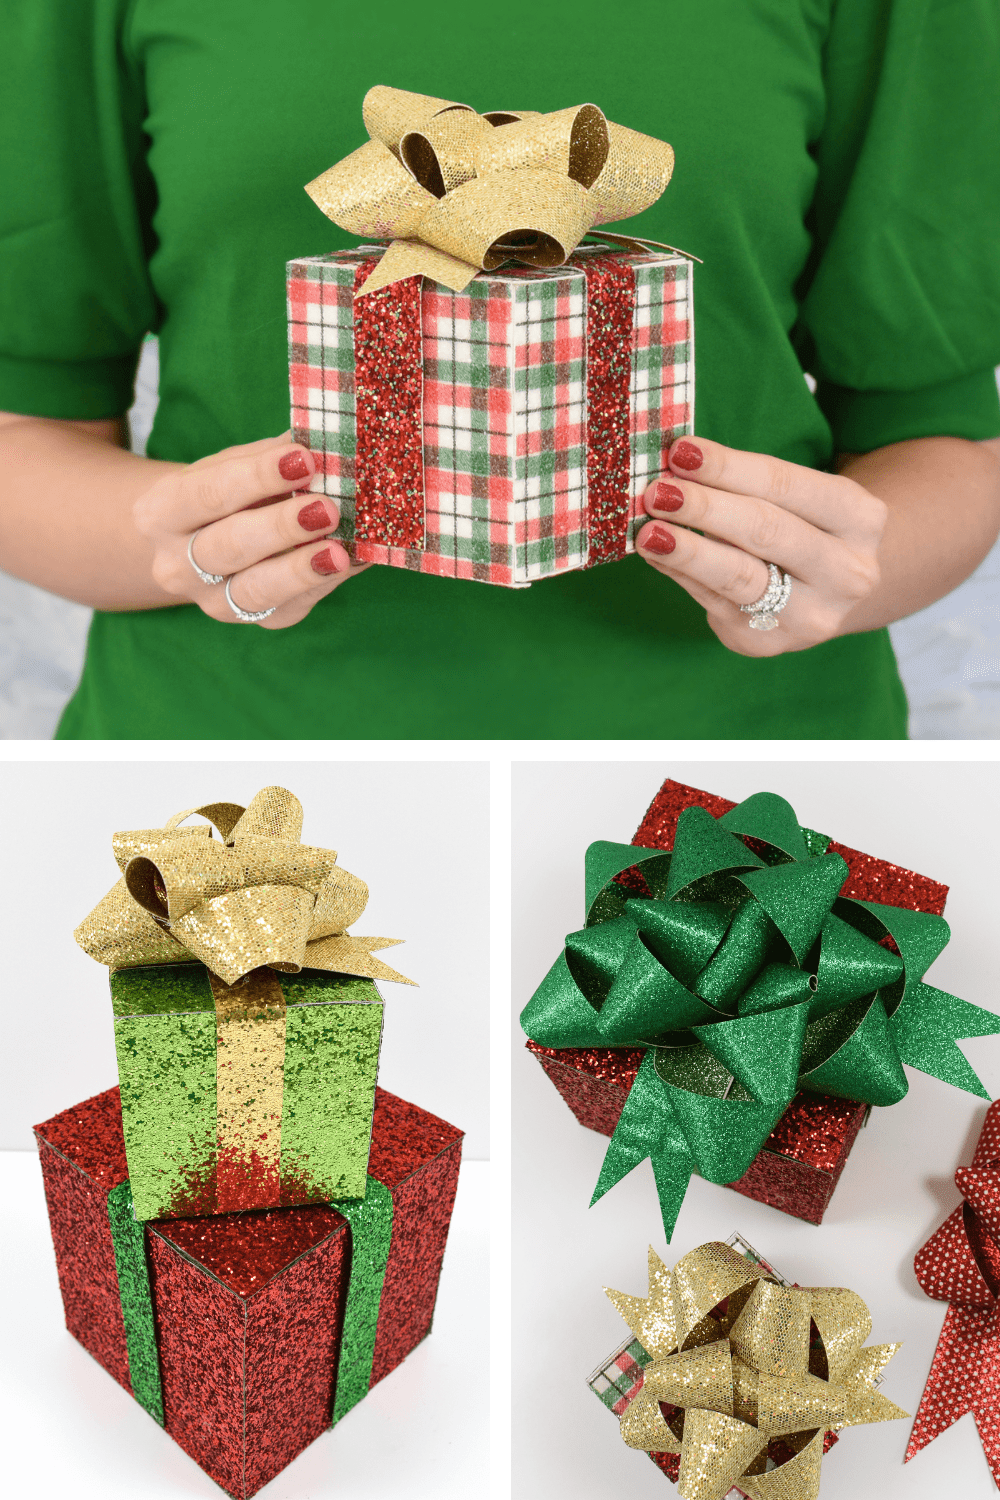
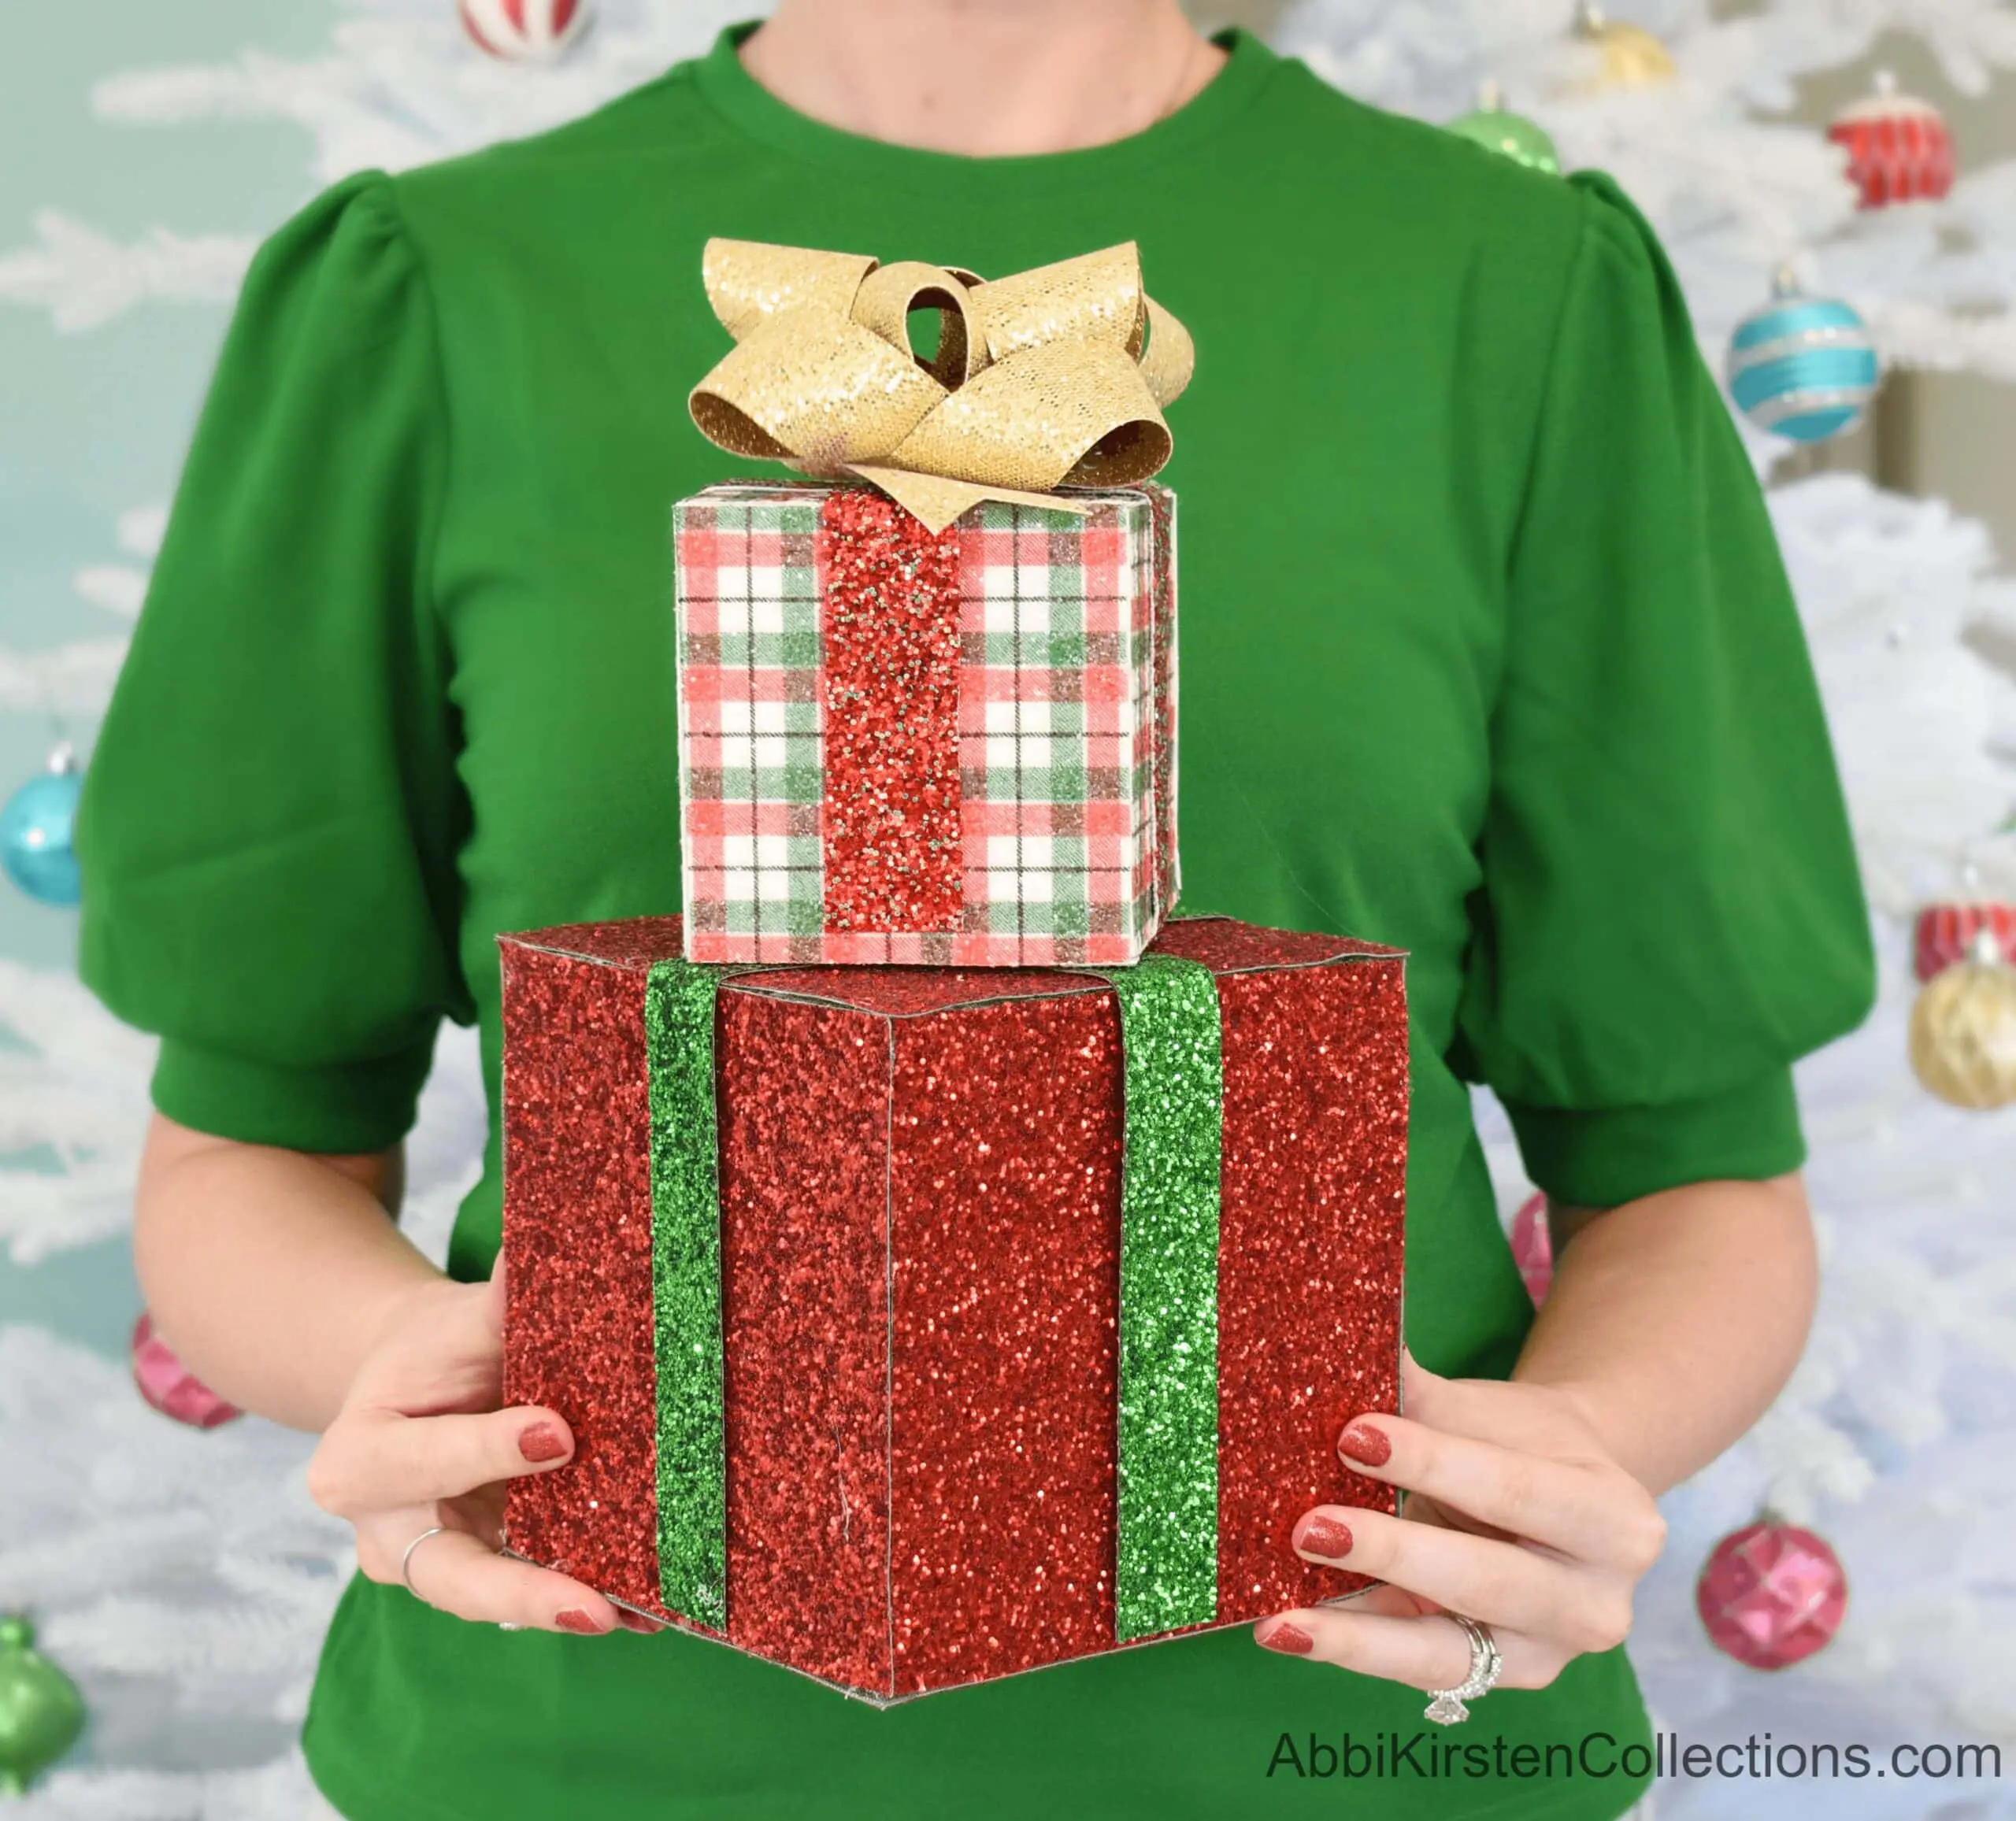
Decorative Christmas Gift Boxes
Recently I share my Faux Lether Christmas Tree Craft and my new Poinsettia Christmas Mandala Card. These crafts started my holiday collection of new videos and tutorials on the blog. I have lots more to share, like today’s new tutorial, Decorative Christmas Gift Boxes with Faux Glitter Leather (a.k.a canvas) sheets.
There are no templates needed to create these gift boxes and bows, which makes this project friendly for those who do not own a Cricut machine.
To get started, review the lists of supplies and scroll down to watch the full step-by-step tutorial. I have also included the bow measurements, as mentioned in the video below.

Supplies to Make Decorative Gift Boxes with Glittery Faux Leather
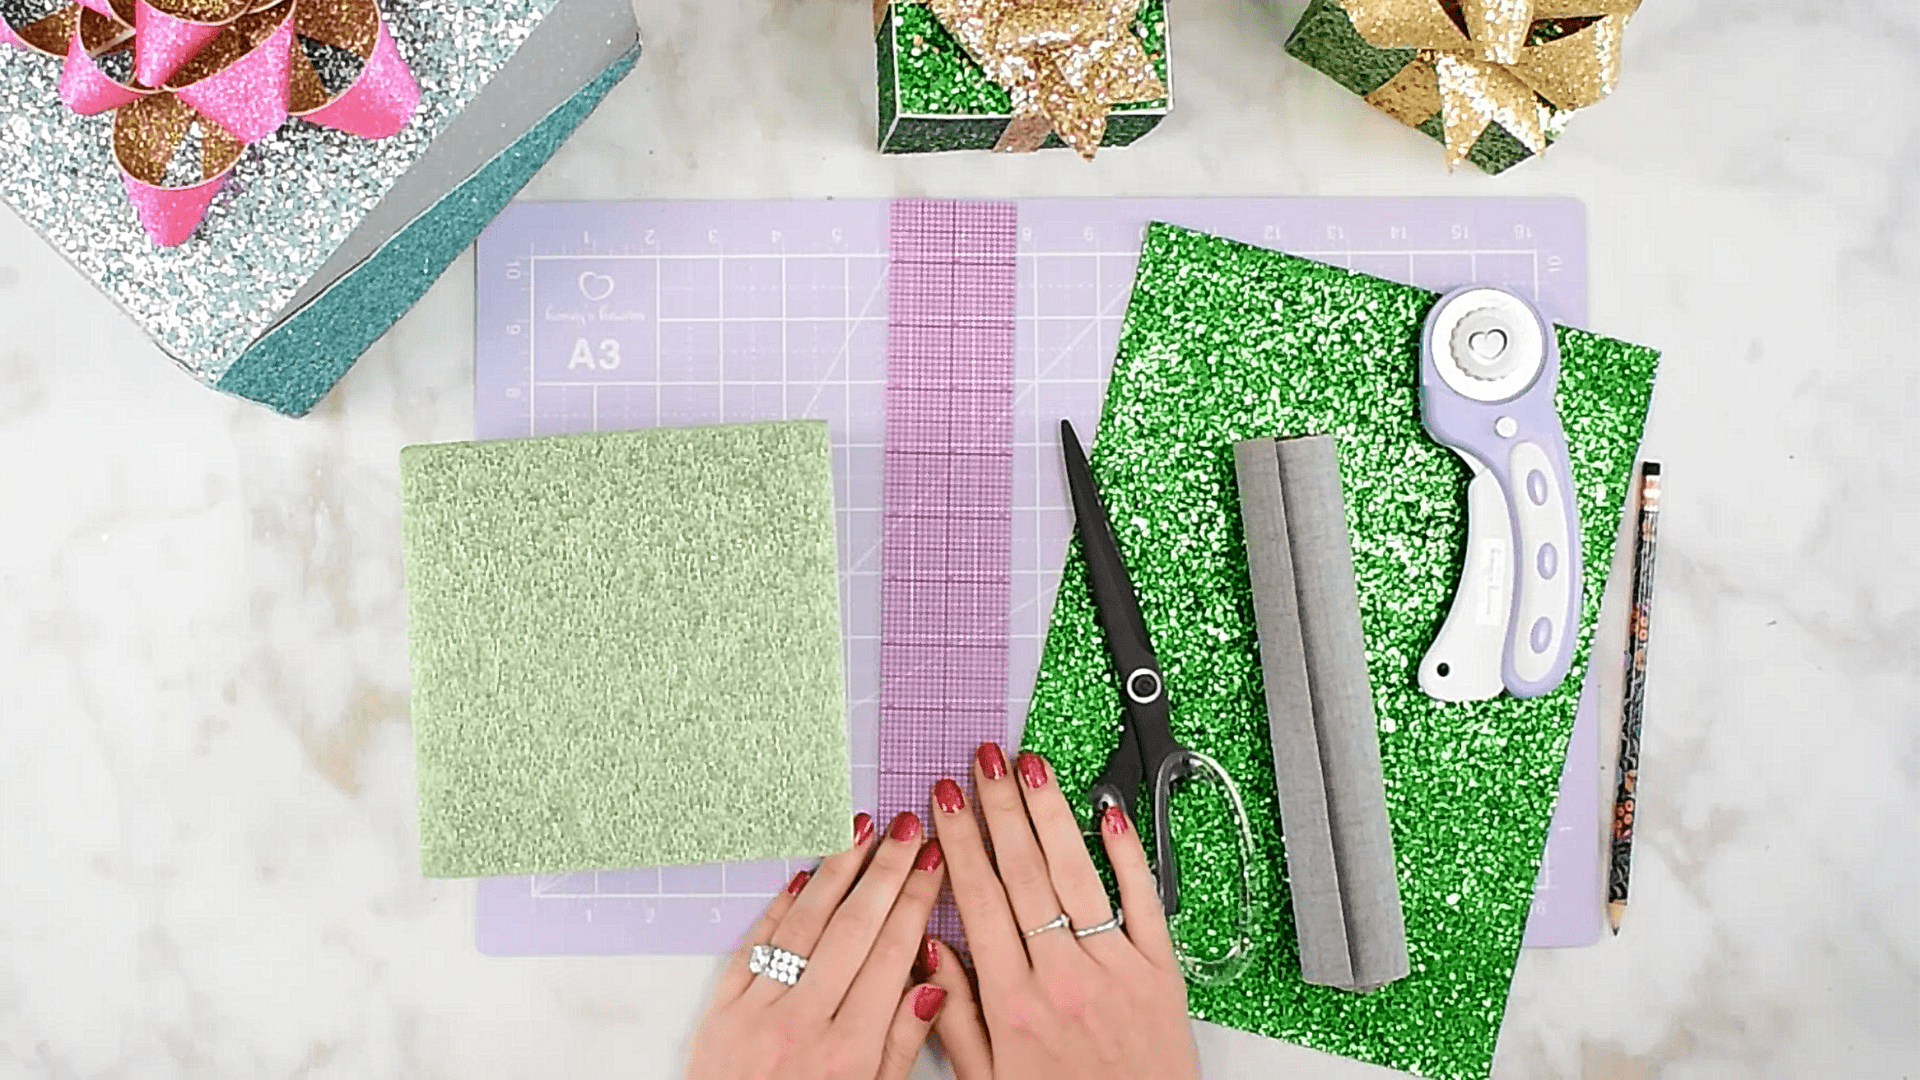
- Pair of scissors
- Faux leather or glitter canvas sheets – I love Craftyrifics brand as well as Jewel Box Supply. Be sure to check out Amazon and Etsy for lots of glitter and leather sheets too!
- Styrofoam boxes in various sizes
- Pencil for tracing the boxes onto the back of the canvas sheets.
- Rotary blade
- Cutting mat
- Straight edge
- Heat transfer vinyl for the bows

These decorative Christmas gift boxes are perfect to use on your Christmas tree, on a wreath, or your mandala, and they can be used year after year!
Related Posts: DIY Faux Glitter Leather Cone Christmas Tree Craft | DIY Paper Christmas Tree Star Topper | DIY Paper Christmas Tree Craft | Free Faux Leather Hair Bow Templates And Tutorial | Poinsettia Flower Mandala Christmas Cards Tutorial

Decorative Christmas Gift Boxes & Bows with Faux Leather Video Tutorial
For full details, be sure to watch the video below!
Quick Directions to Create Glitter Faux Leather Gift Boxes & Bows
To create the boxes:
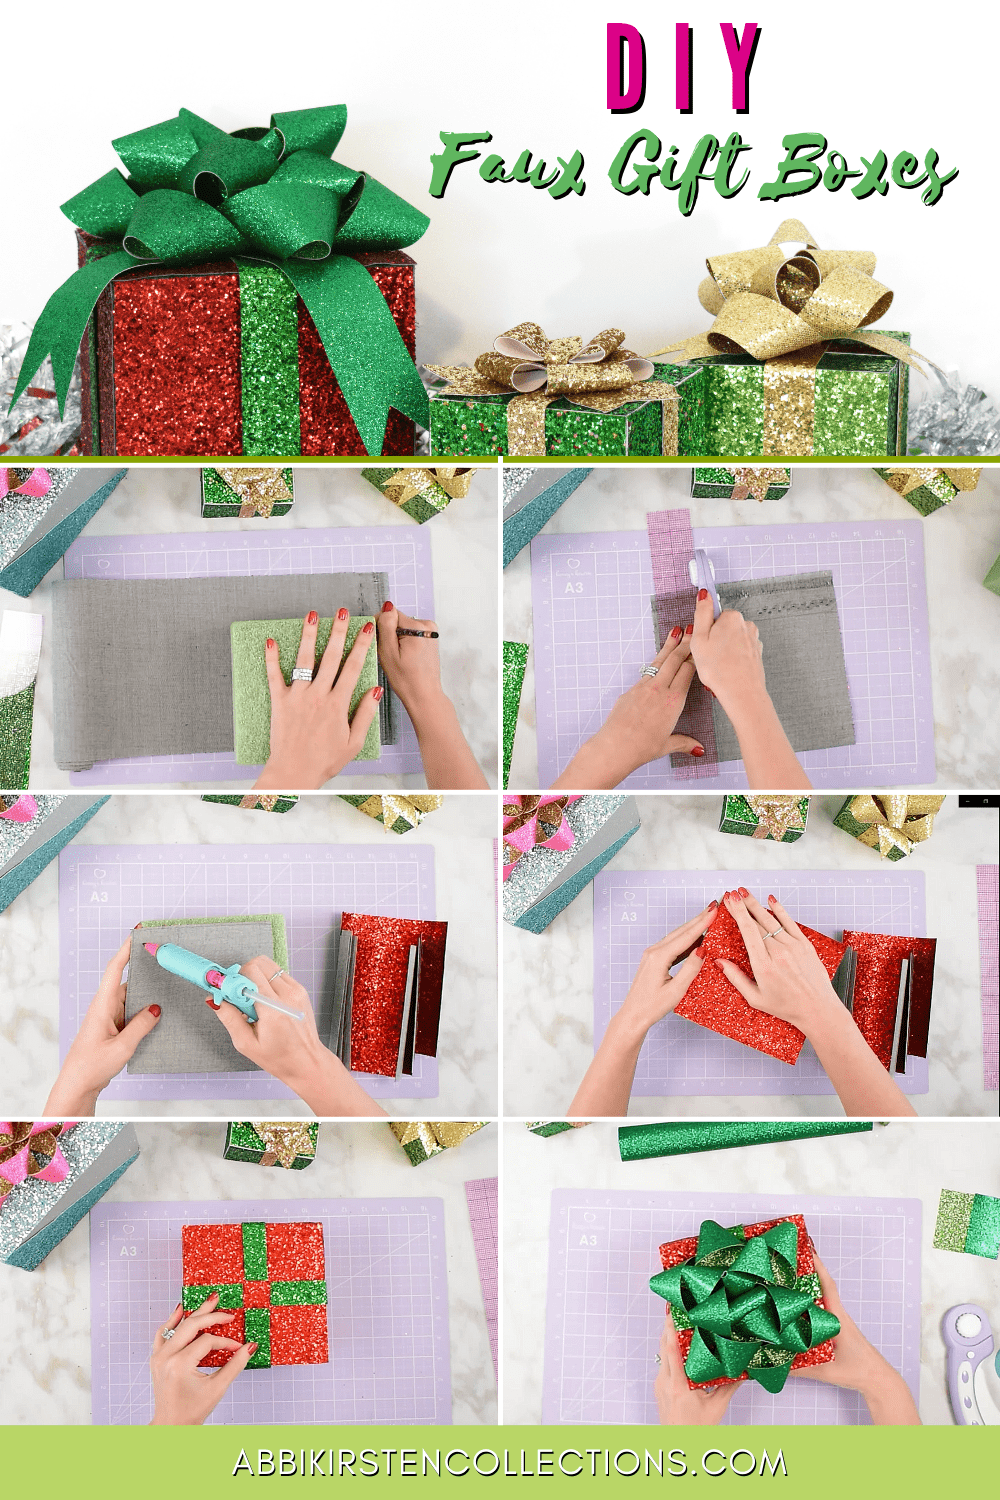
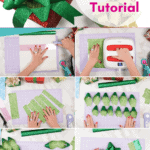
- Start by measuring your box on top of the glitter canvas/leather. Trace with a pencil.
- Use your straight edge, rotary blade, and cutting mat to trim the canvas down to the side. Repeat this for each of the 6 sides of your box.
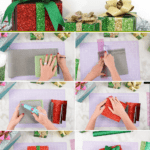
- Once you have cut all 6 sides, start gluing each side on. See video for tips for achieving seamless edges.
- To finish the box, add 1-inch by 6-inch strips on each side to represent the ribbon.
To create the bows:
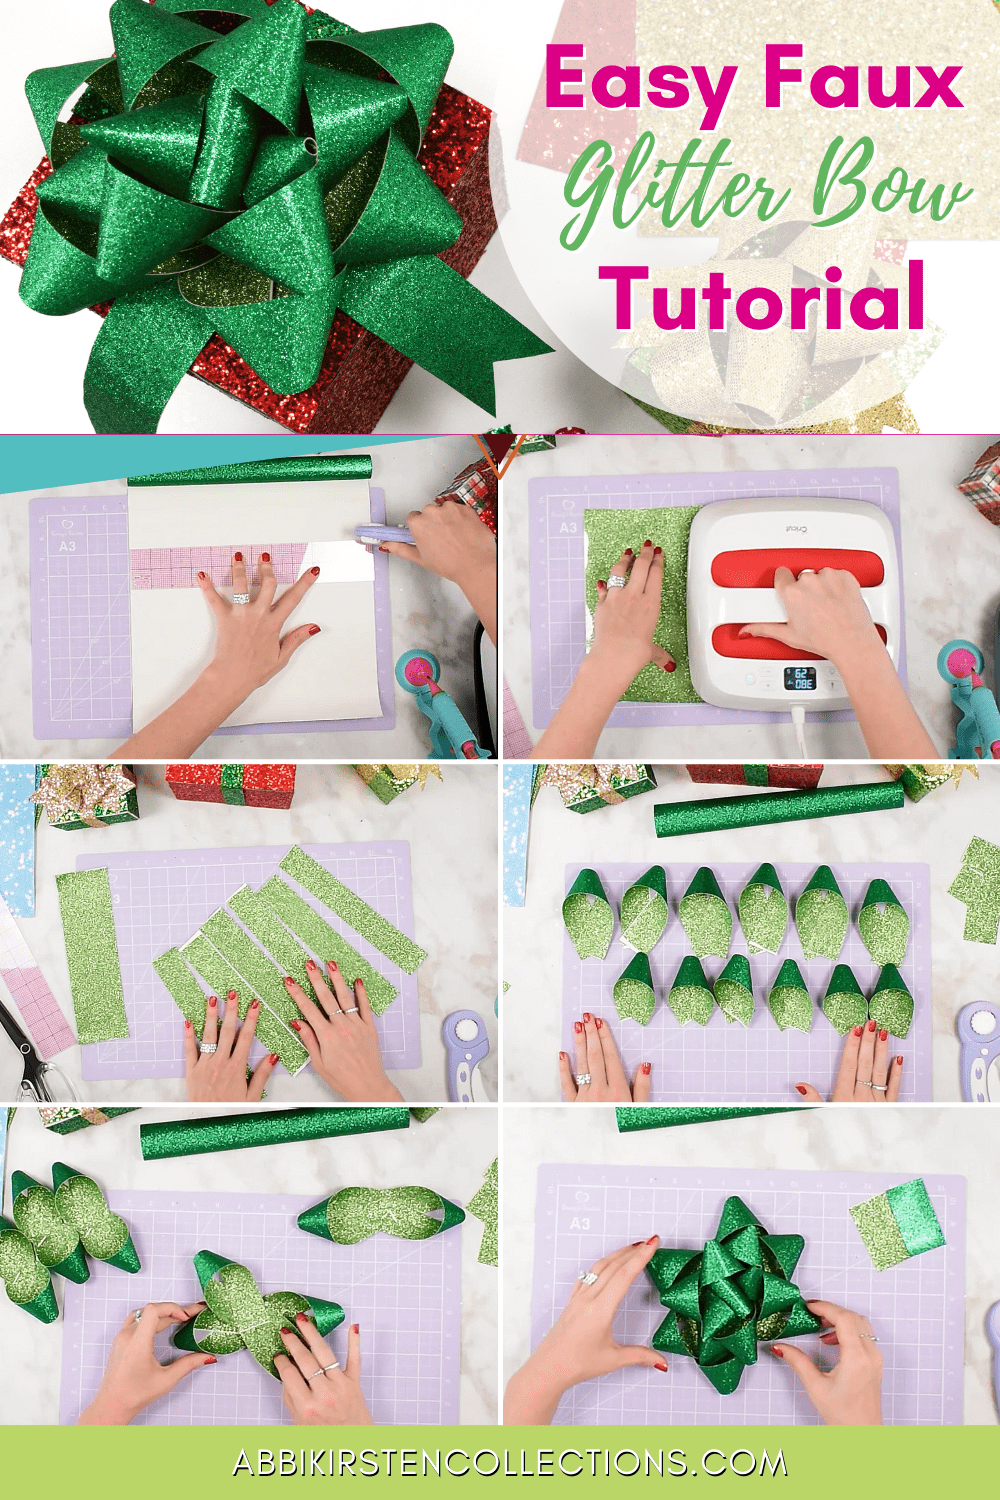
- Cut out a piece of HTV and use your Easypress or iron to cover the white backside of the glitter canvas. Now your canvas leather is double-sided!
- Cut strips in the following measurements:
- 8.5 H x 1.5 W inches (cut 6)
- 7 H x 1.5 W inches (cut 6)
- 4 H x 1.5 W inches (cut 3-4)
3. Fold each strip into the shape of a ribbon (looks like the breast cancer ribbon). You will have 6 of these.
4. Glue two of the folded ribbons across from each other. It will look like a figure 8. Repeat 2x. Repeat steps 3 and 4 with the 6 smaller strips of ribbon.
5. You should have 3 pieces once this is done. Diagonally stack these pieces on top of one another. Repeat with the 3 smaller pieces, alternating the points to the larger ones. See the video for clear instructions.
6. Add in two final ribbons folded pieces to the center and one final center loop to complete the bow. Use the bow to glue to the top of a gift box, wreath, or place on a Christmas tree!
Small Gift Bow Tutorial
This video shows how to make a small bow, be sure to watch the large one in the above video too.
JOIN THE COMMUNITY AND UNLOCK THE FREEBIE VAULT
Check out what’s free inside the Freebie Vault by signing up via the form below.
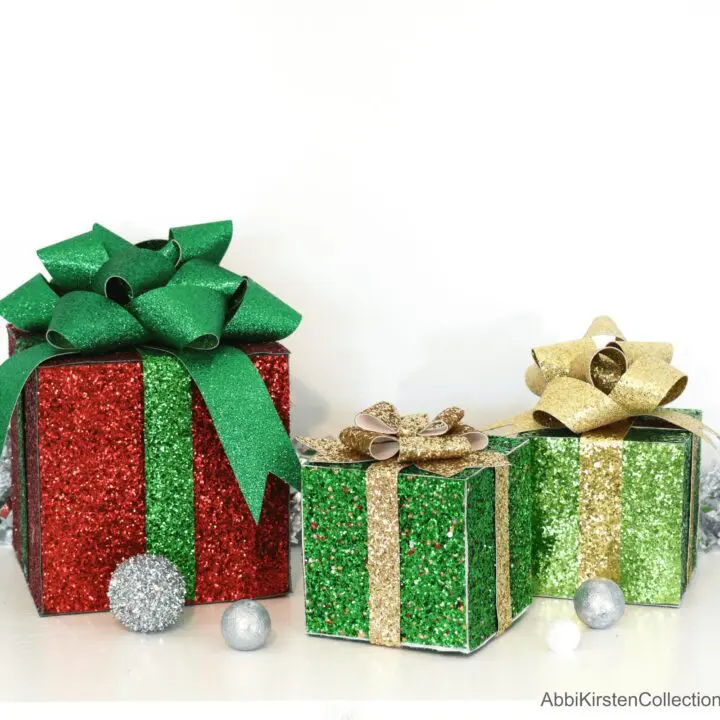
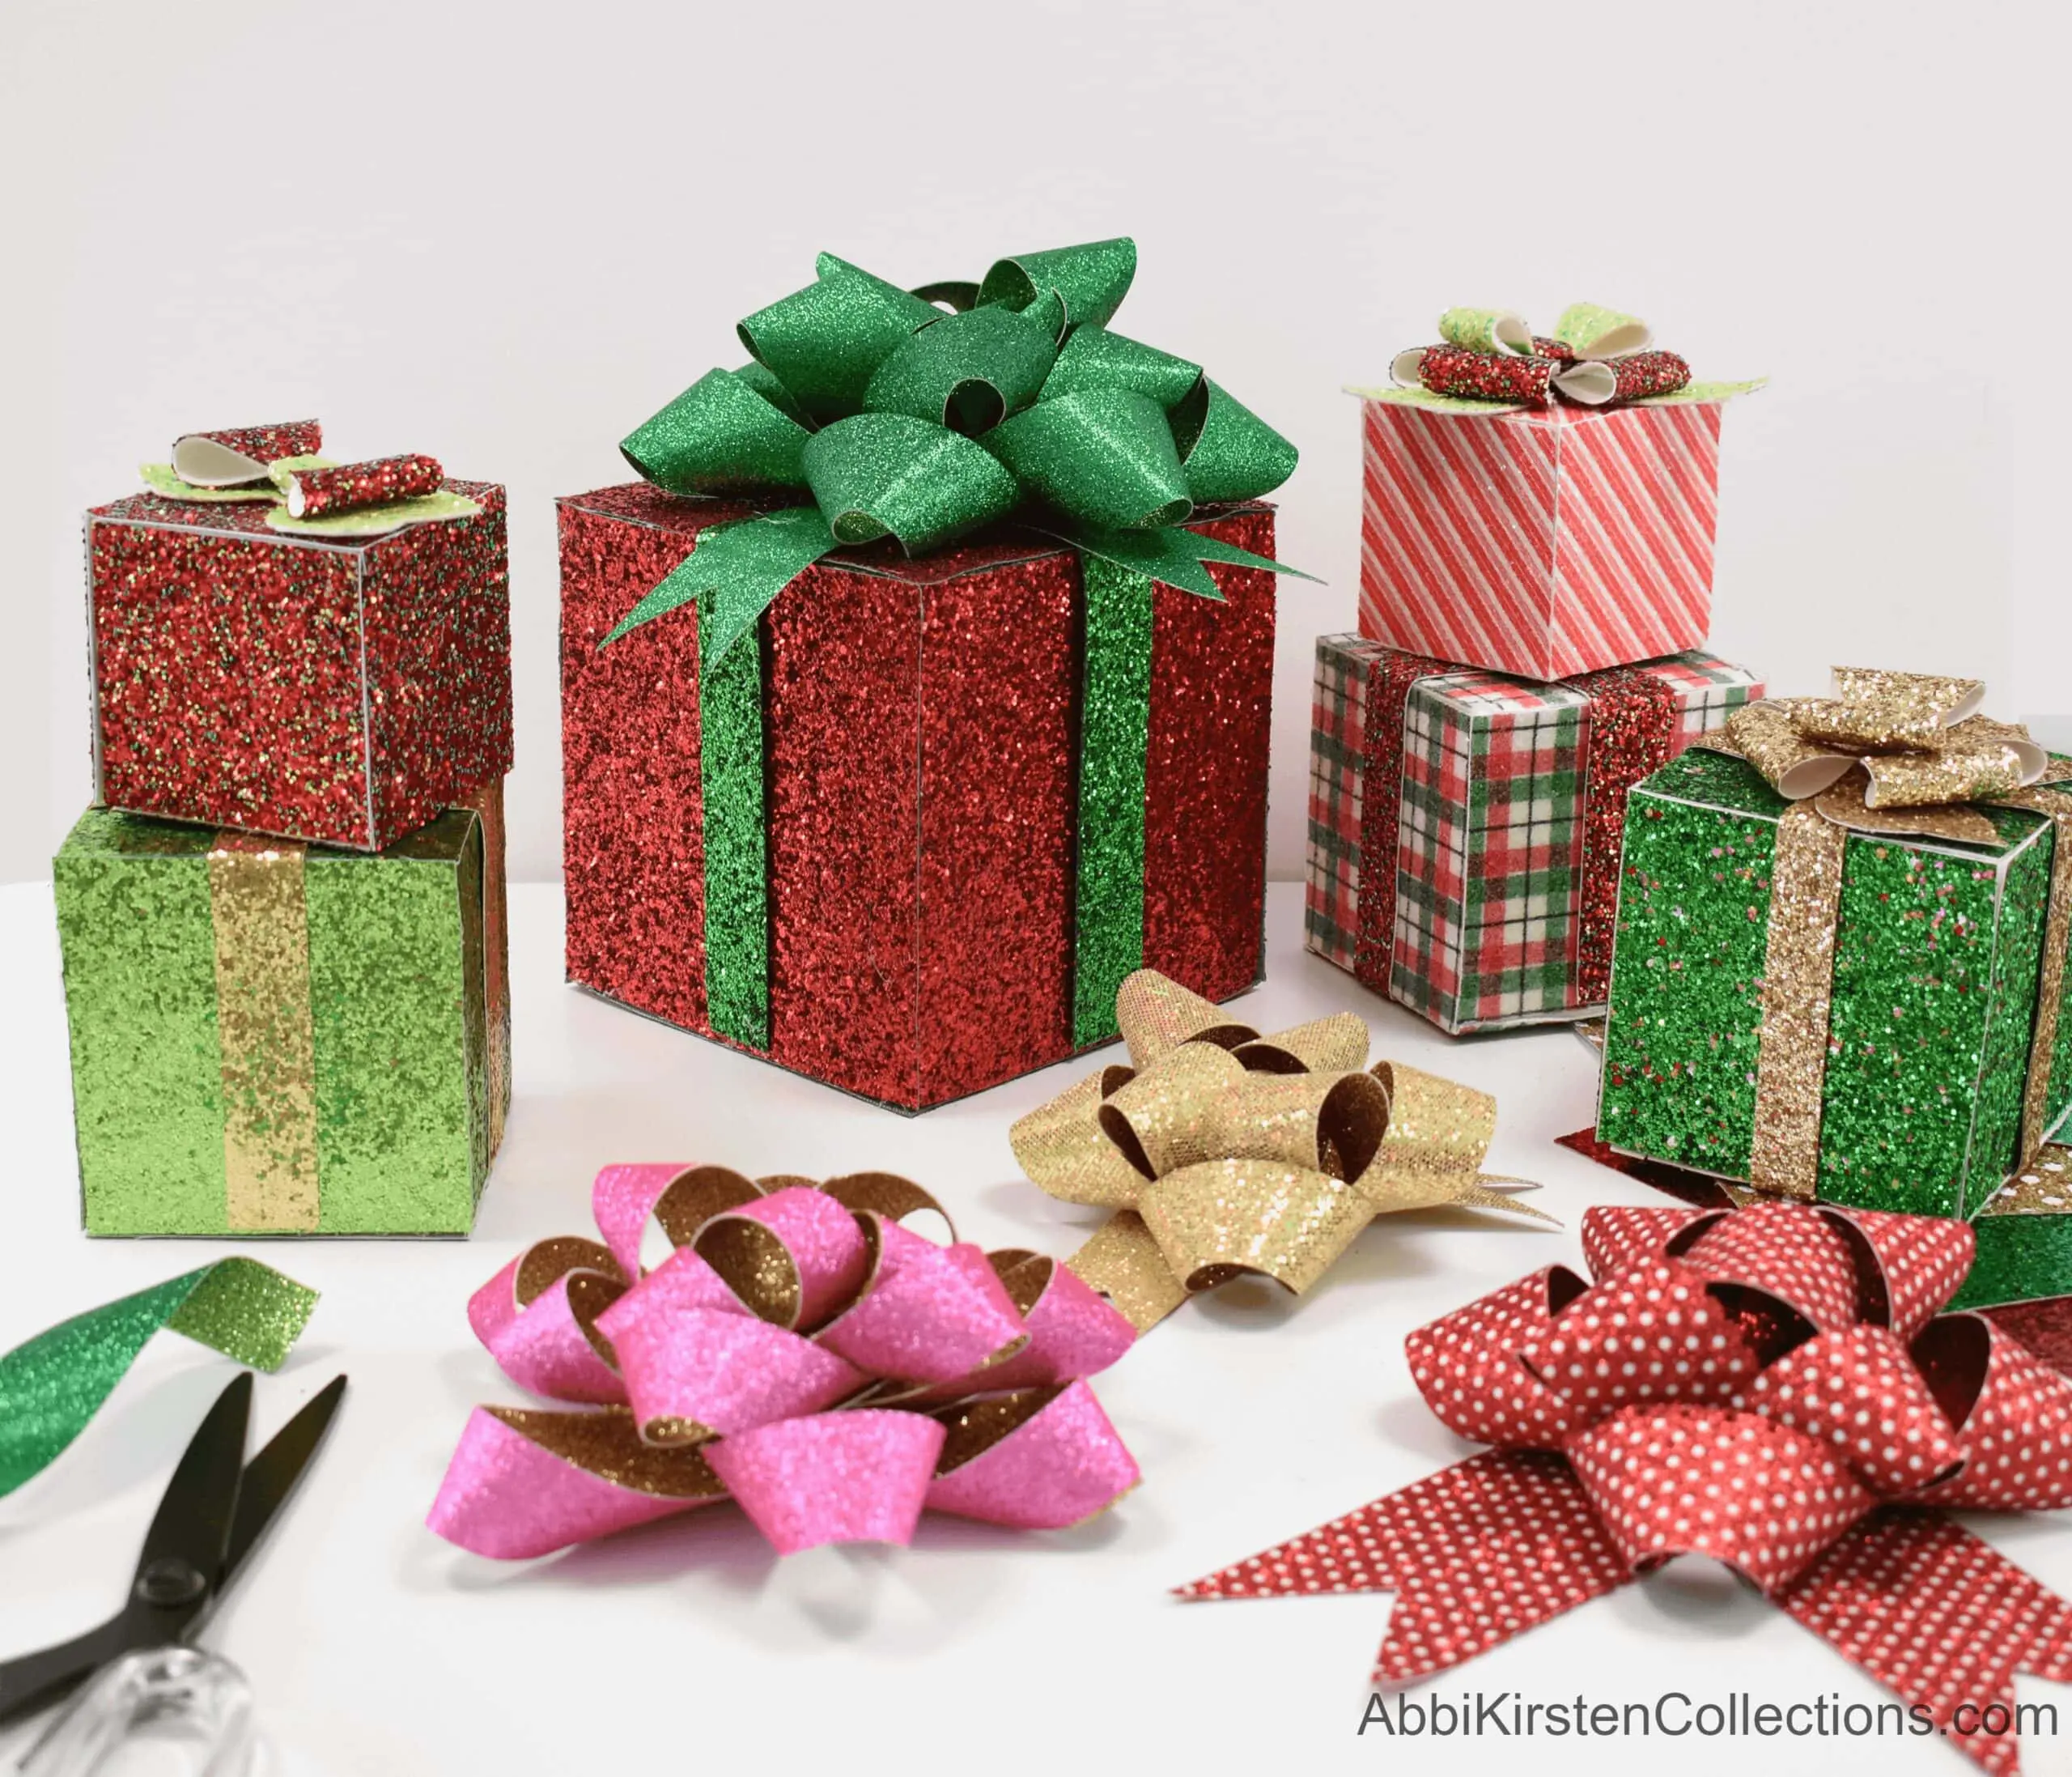
Decorative Gift Boxes for Christmas
These decorative Christmas gift boxes are the perfect festive Christmas decor! Make as many boxes as you'd like, in any size, using glitter leather and this easy-to-follow tutorial.
Materials
Instructions
Create The Boxes:
- Start by measuring your box on top of the glitter canvas/leather. Trace with a pencil.
- Use your straight edge, rotary blade, and cutting mat to trim the canvas down to the side. Repeat this for each of the 6 sides of your box.
- Once you have cut all 6 sides, start gluing each side on. See video for tips for achieving seamless edges.
- To finish the box, add 1-inch by 6-inch strips on each side to represent the ribbon.
Create The Bows:
- Cut out a piece of HTV and use your Easypress or iron to cover the white backside of the glitter canvas. Now your canvas leather is double-sided!
- Cut strips in the following measurements: 8.5 H x 1.5 W inches (cut 6), 7 H x 1.5 W inches (cut 6), 4 H x 1.5 W inches (cut 3-4).
- Fold each strip into the shape of a ribbon (looks like the breast cancer ribbon). You will have 6 of these.
- Glue two of the folded ribbons across from each other. It will look like a figure 8. Repeat 2x. Repeat steps 3 and 4 with the 6 smaller strips of ribbon.
- You should have 3 pieces once this is done. Diagonally stack these pieces on top of one another. Repeat with the 3 smaller pieces, alternating the points to the larger ones. See the video for clear instructions.
- Add in two final ribbons folded pieces to the center and one final center loop to complete the bow. Use the bow to glue to the top of a gift box, wreath, or place on a Christmas tree!

More Crafts to Love
- How to Make A Paper Cactus: Prickly Pear, Aloe Vera, and Ferocactus
- DIY Cali Poppy Paper Flowers
- Make Fruit Pop-Up Cards With Cricut
- Butterfly and Bug Shadow Boxes
- Make A Spring House Explosion Treat Box
About Abbi Kirsten Collections
I have spent the last 10+ years building my creative skills and sharing them with others. My flower designs are created with simplicity, color, and crafty fun in mind. If you haven’t yet, be sure to join the subscriber community to gain access to all my freebies or visit my signature design shop here!
Want to join my Facebook community to share your crafts and learn from the best? Click here to request access to my group, Crafters and Cricut Lovers.
For further color crafts and inspiration, join me on Instagram & Facebook.